Shadow Warrior 3 first official screenshots-2

Shadow Warrior 3 PC Performance Analysis

Earlier this month, Devolver released the latest part in Flying Wild Hog’s Shadow Warrior series, Shadow Warrior 3. At launch, the game had major stuttering issues, which is why we’ve decided to slightly delay our analysis. Powered by Unreal Engine 4, it’s time now to benchmark it and see how it performs on the PC platform.

For this PC Performance Analysis, we used an Intel i9 9900K with 16GB of DDR4 at 3800Mhz, AMD’s Radeon RX580, RX Vega 64,  RX 6900XT, NVIDIA’s GTX980Ti, RTX 2080Ti and RTX 3080. We also used Windows 10 64-bit, the GeForce 511.79 and the Radeon Software Adrenalin 2020 Edition 22.2.3 drivers.

Shadow Warrior 3 CPU scaling

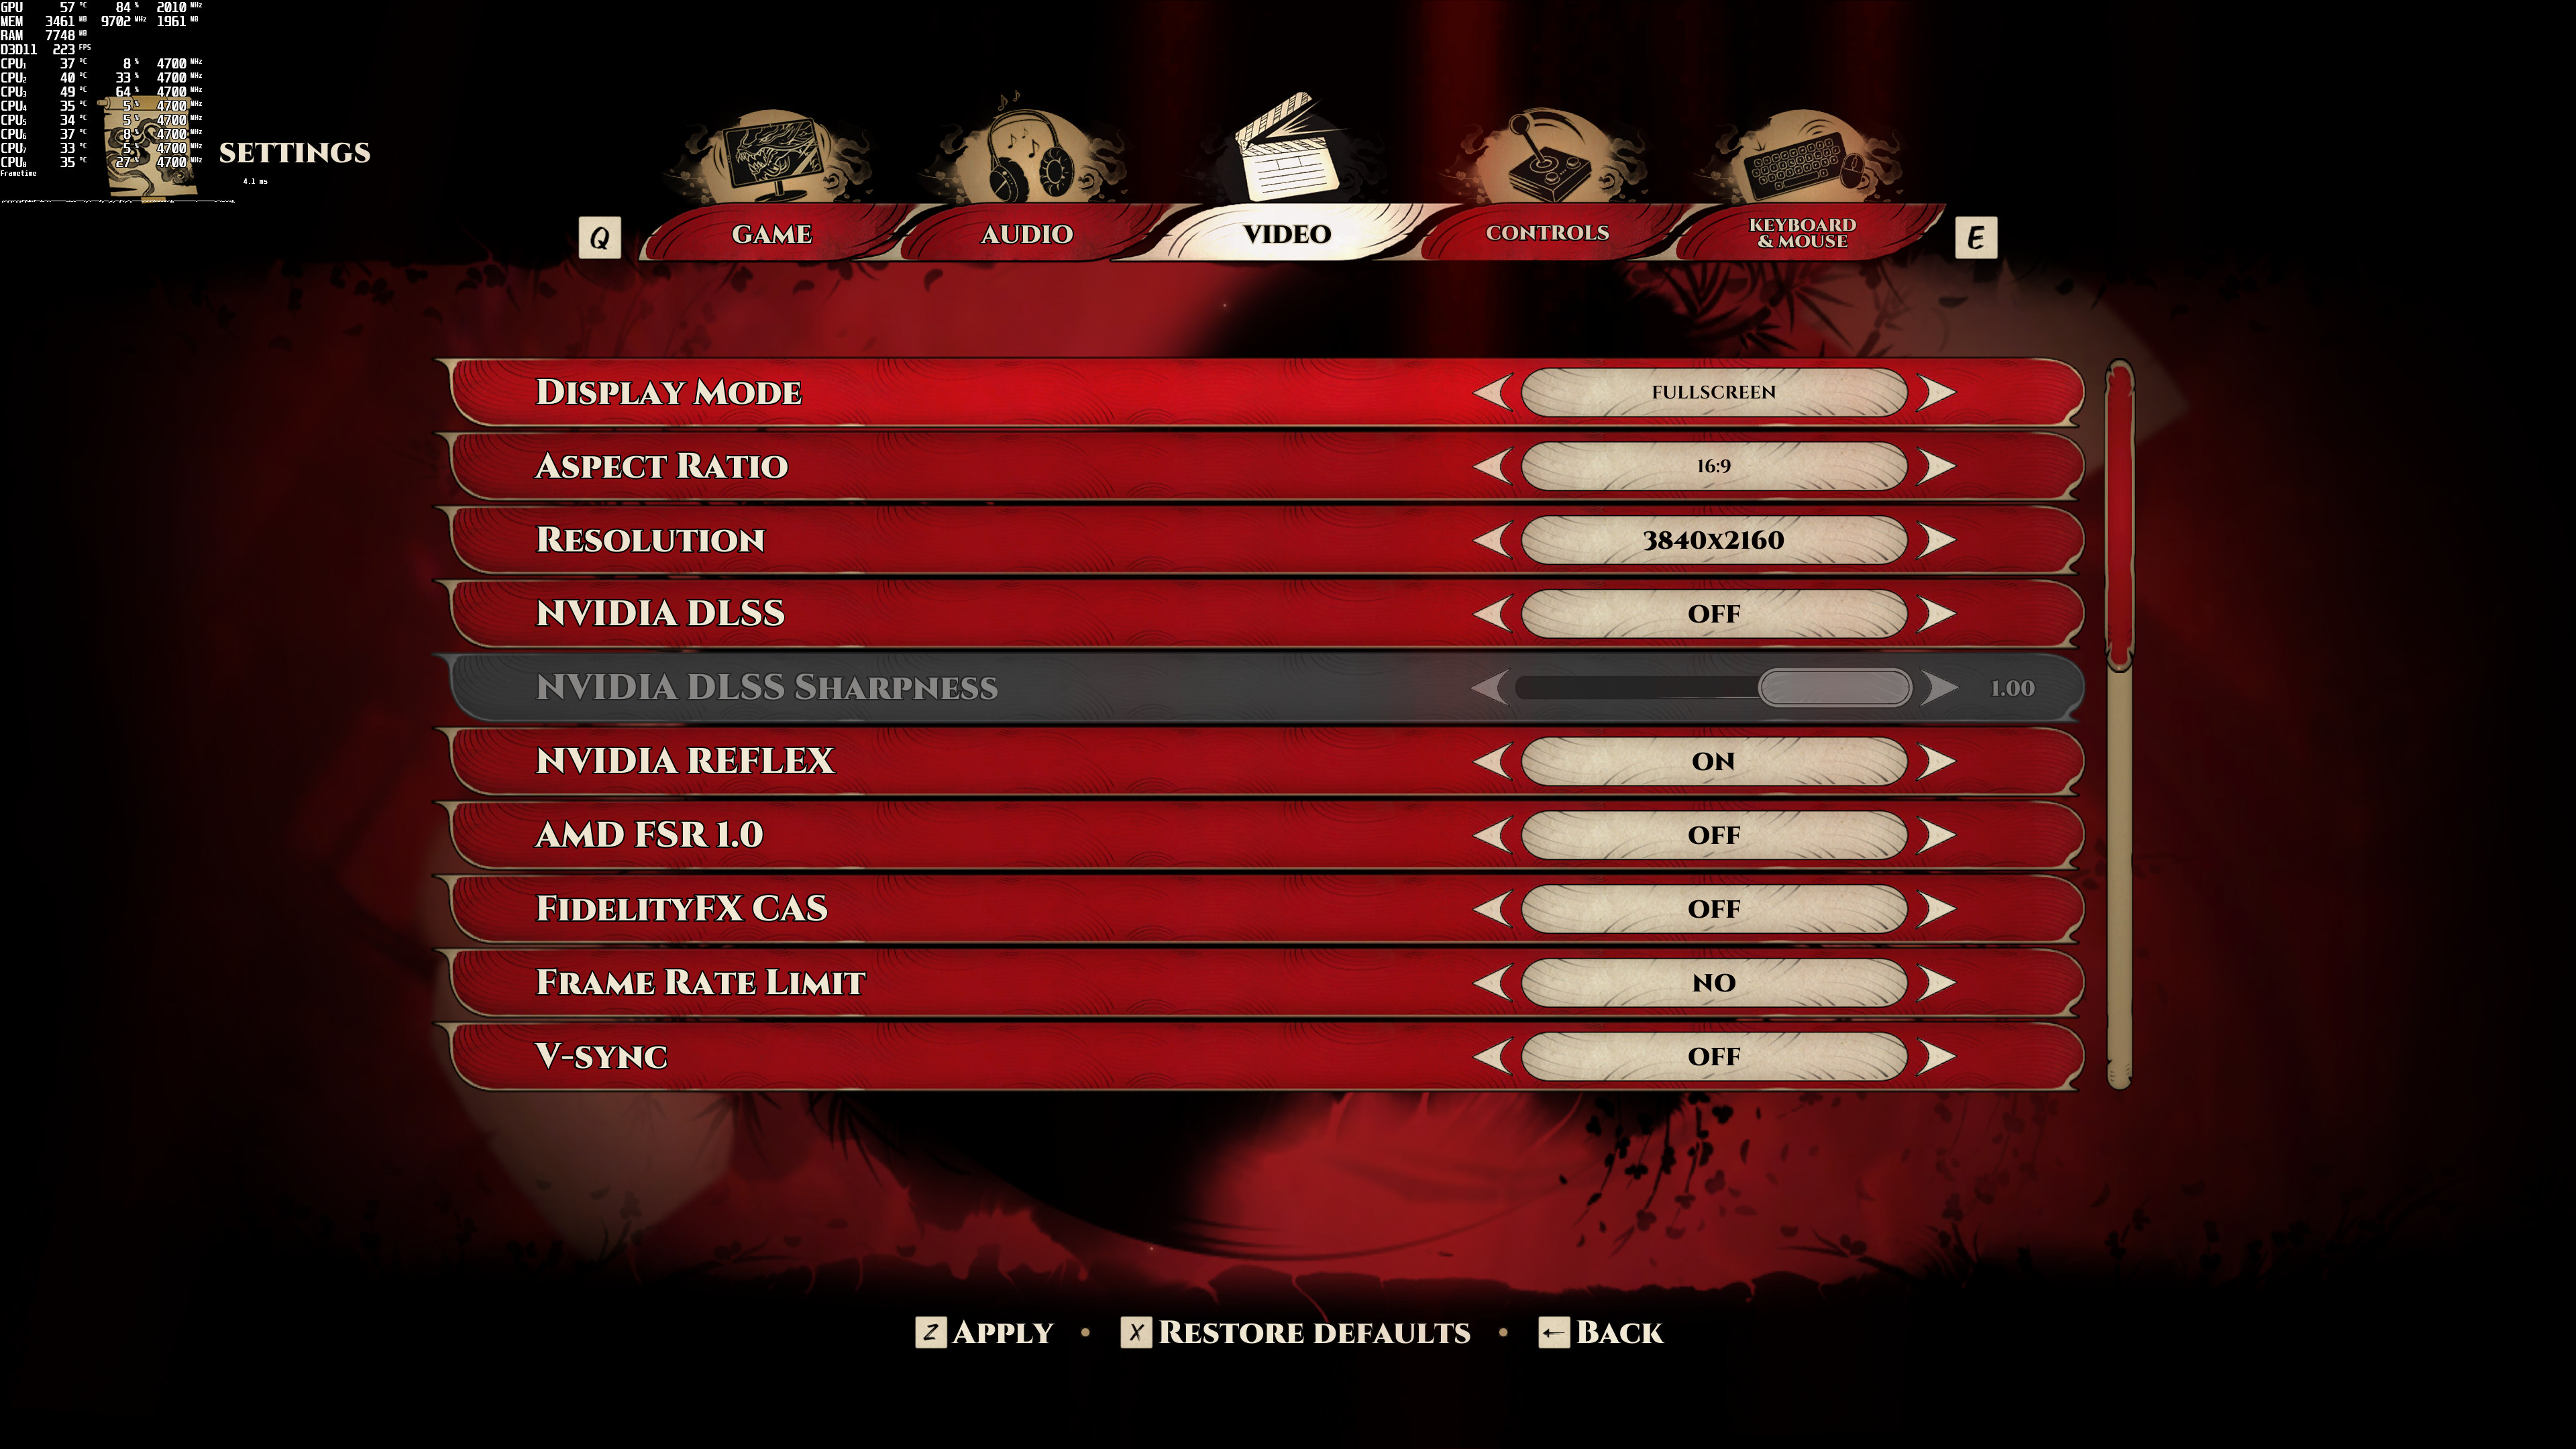
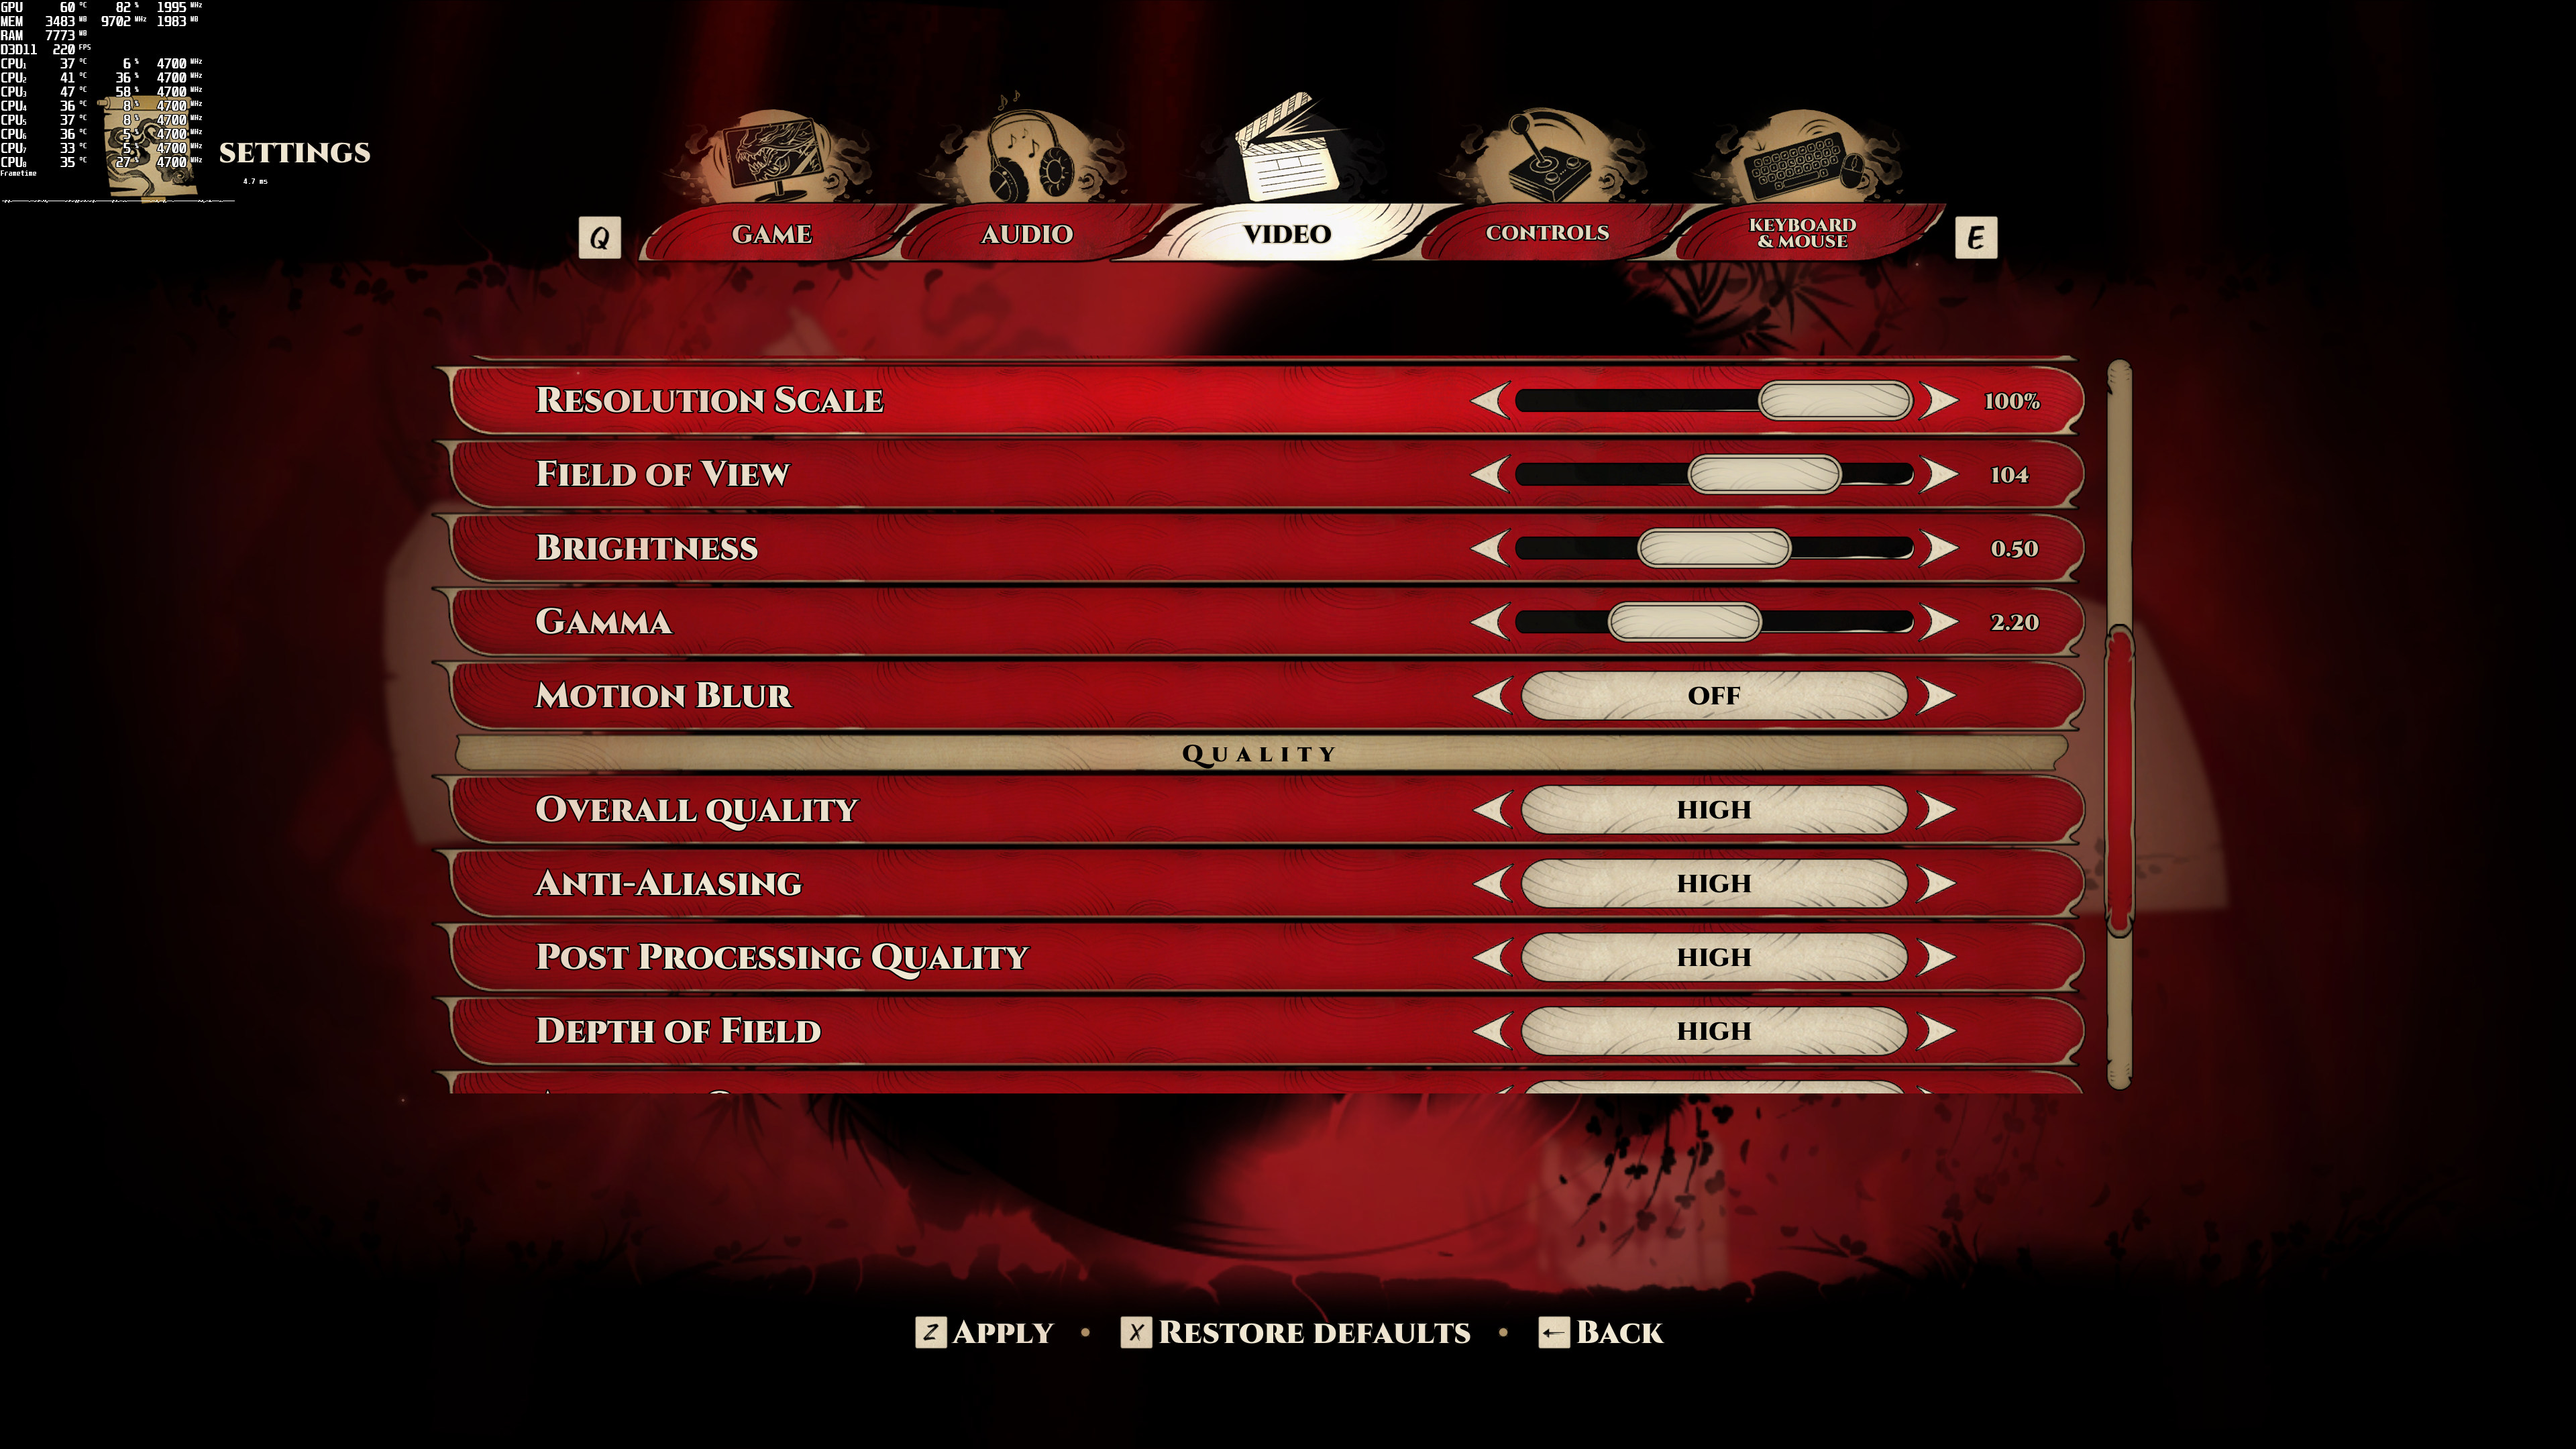
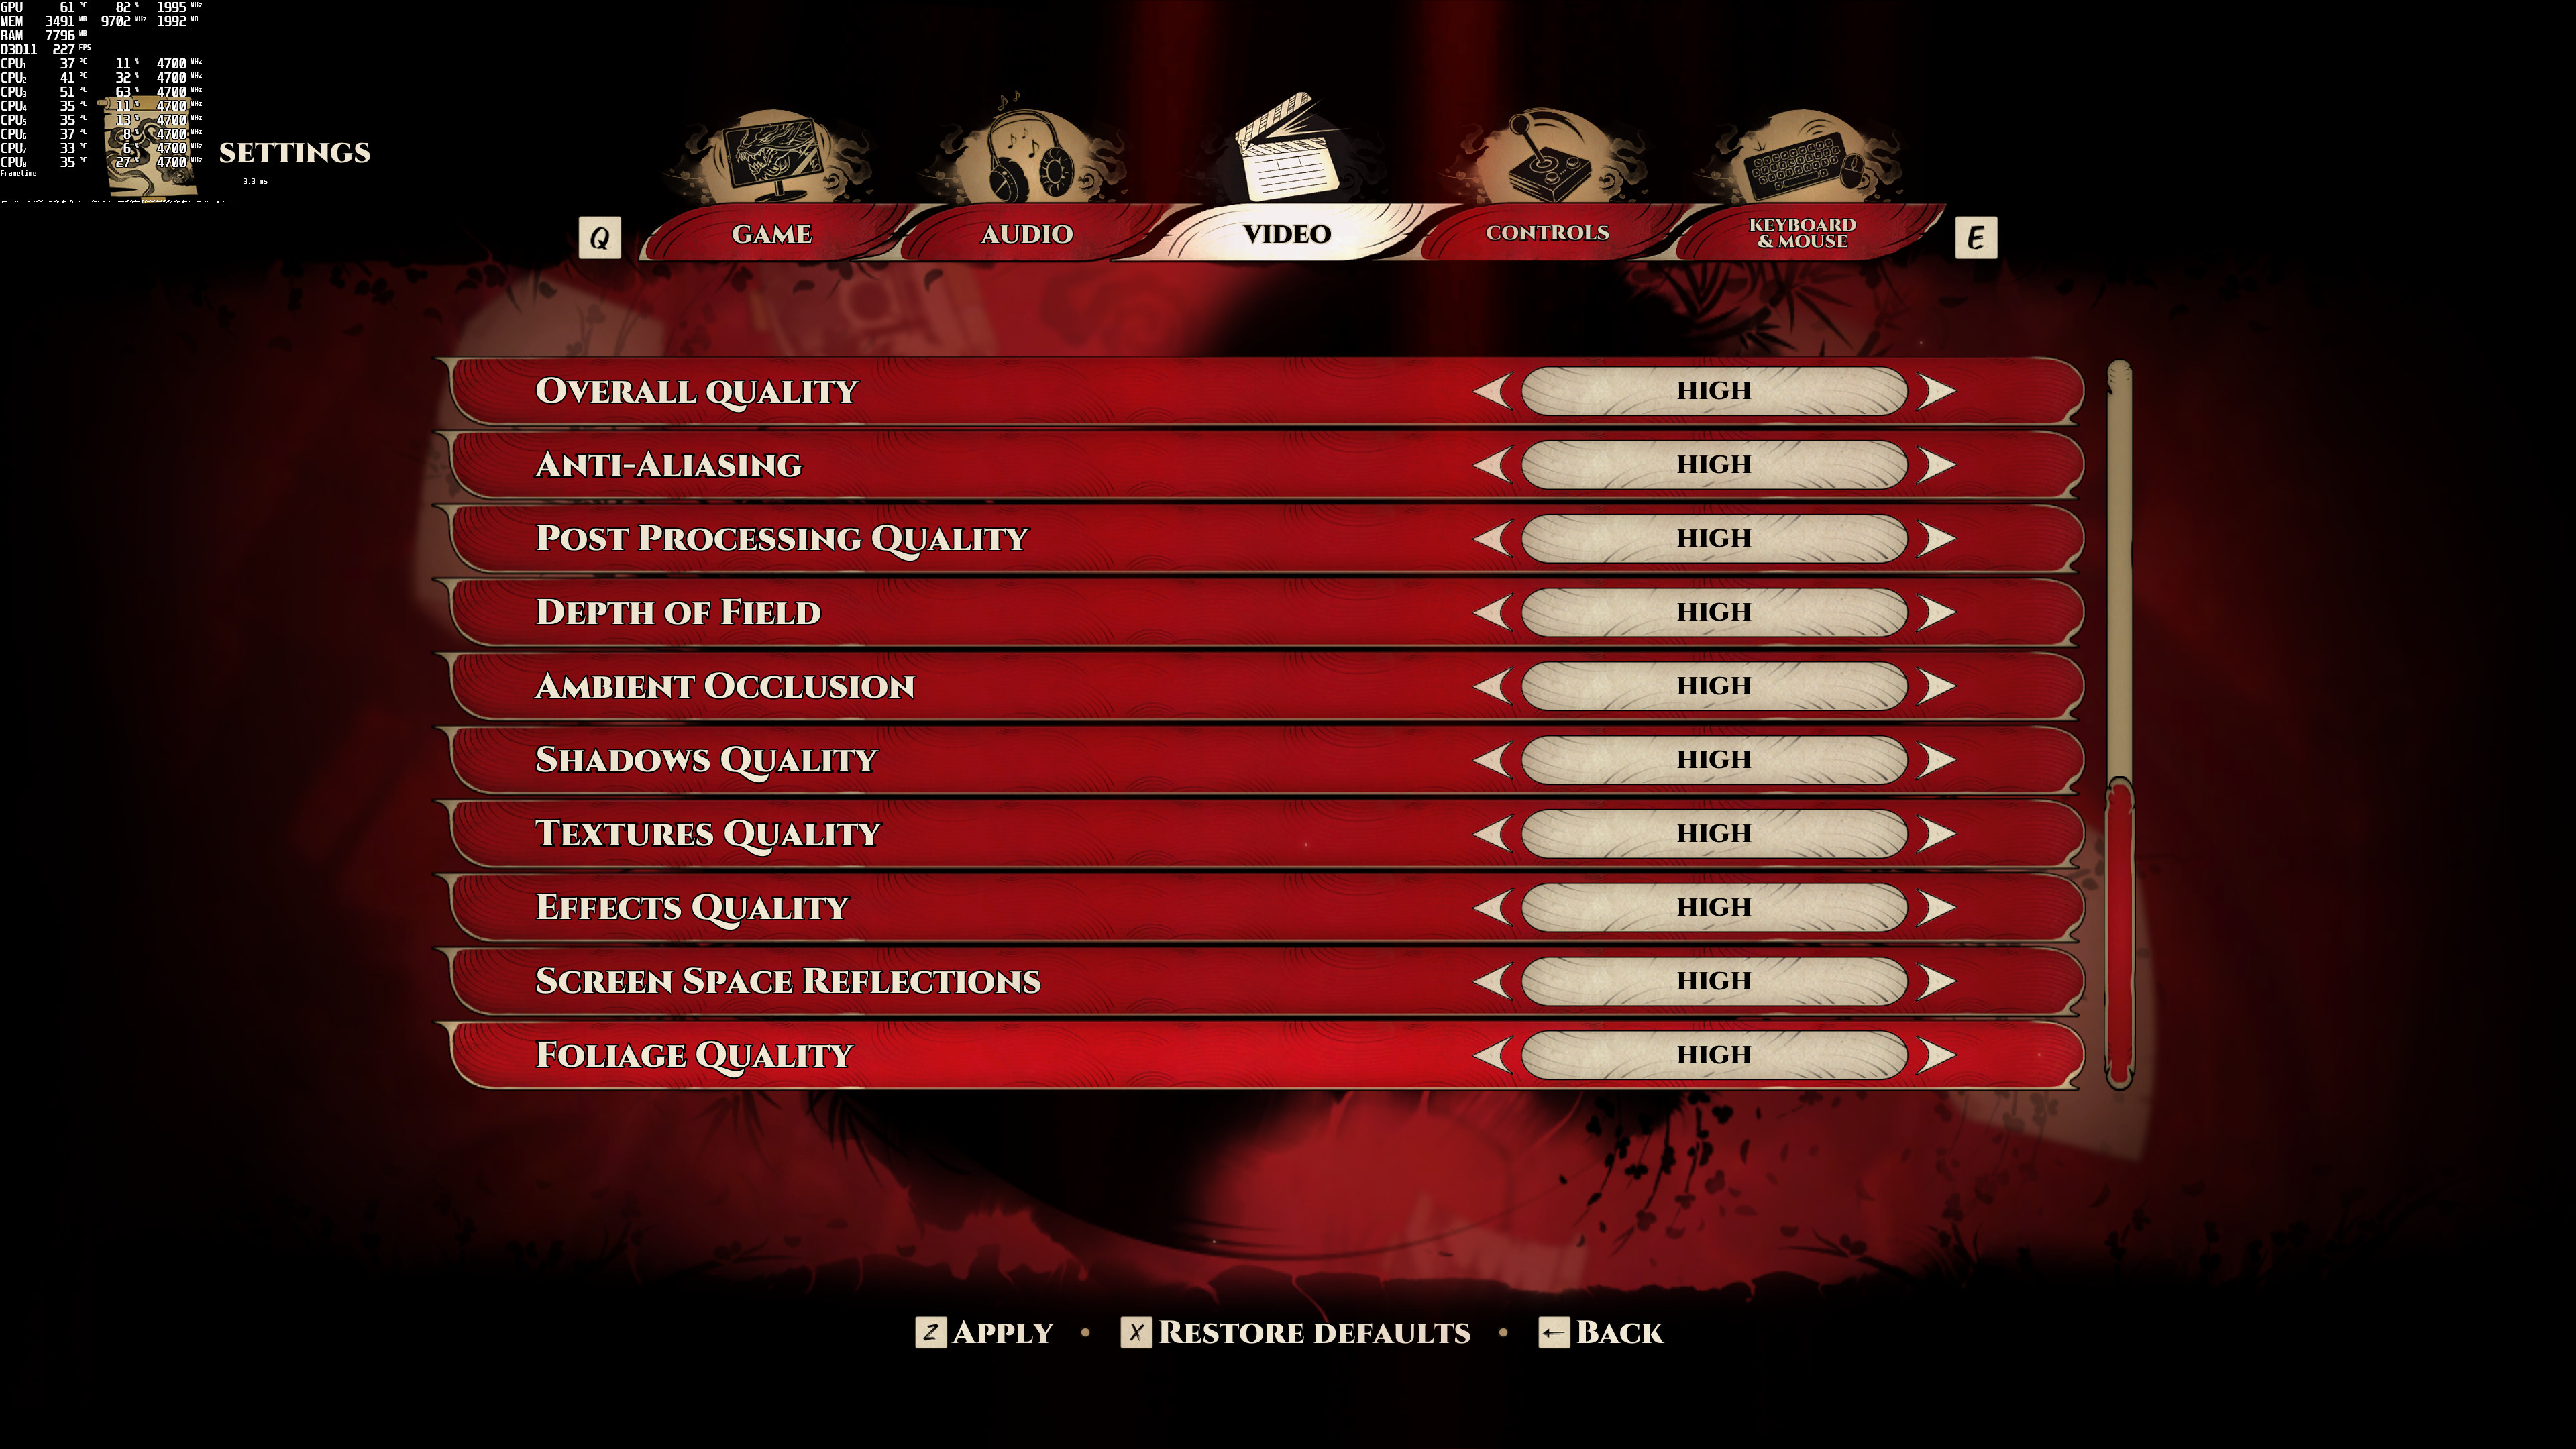
Flying Wild Hog has added a respectable amount of graphics settings. PC gamers can adjust the quality of Anti-aliasing, Post Process, Ambient Occlusion, Shadows, Textures, Effects, SSR and Foliage. The game also supports NVIDIA’s DLSS and AMD’s FSR (you can find some benchmarks here). Additionally, the game has a FOV slider, a Framerate Limit Option, and a Resolution Scaler.

Shadow Warrior 3 PC graphics settings-2Shadow Warrior 3 PC graphics settings-3Shadow Warrior 3 PC graphics settings-4

Shadow Warrior 3 does not feature any built-in benchmark tool. As such, we’ve decided to benchmark a demanding fighting scenario. Do note that we benchmarked one of the most demanding scenes at the beginning of the game. So, while the game may run significantly faster in other less demanding scenes, it can also run even slower at later (and more demanding) levels.

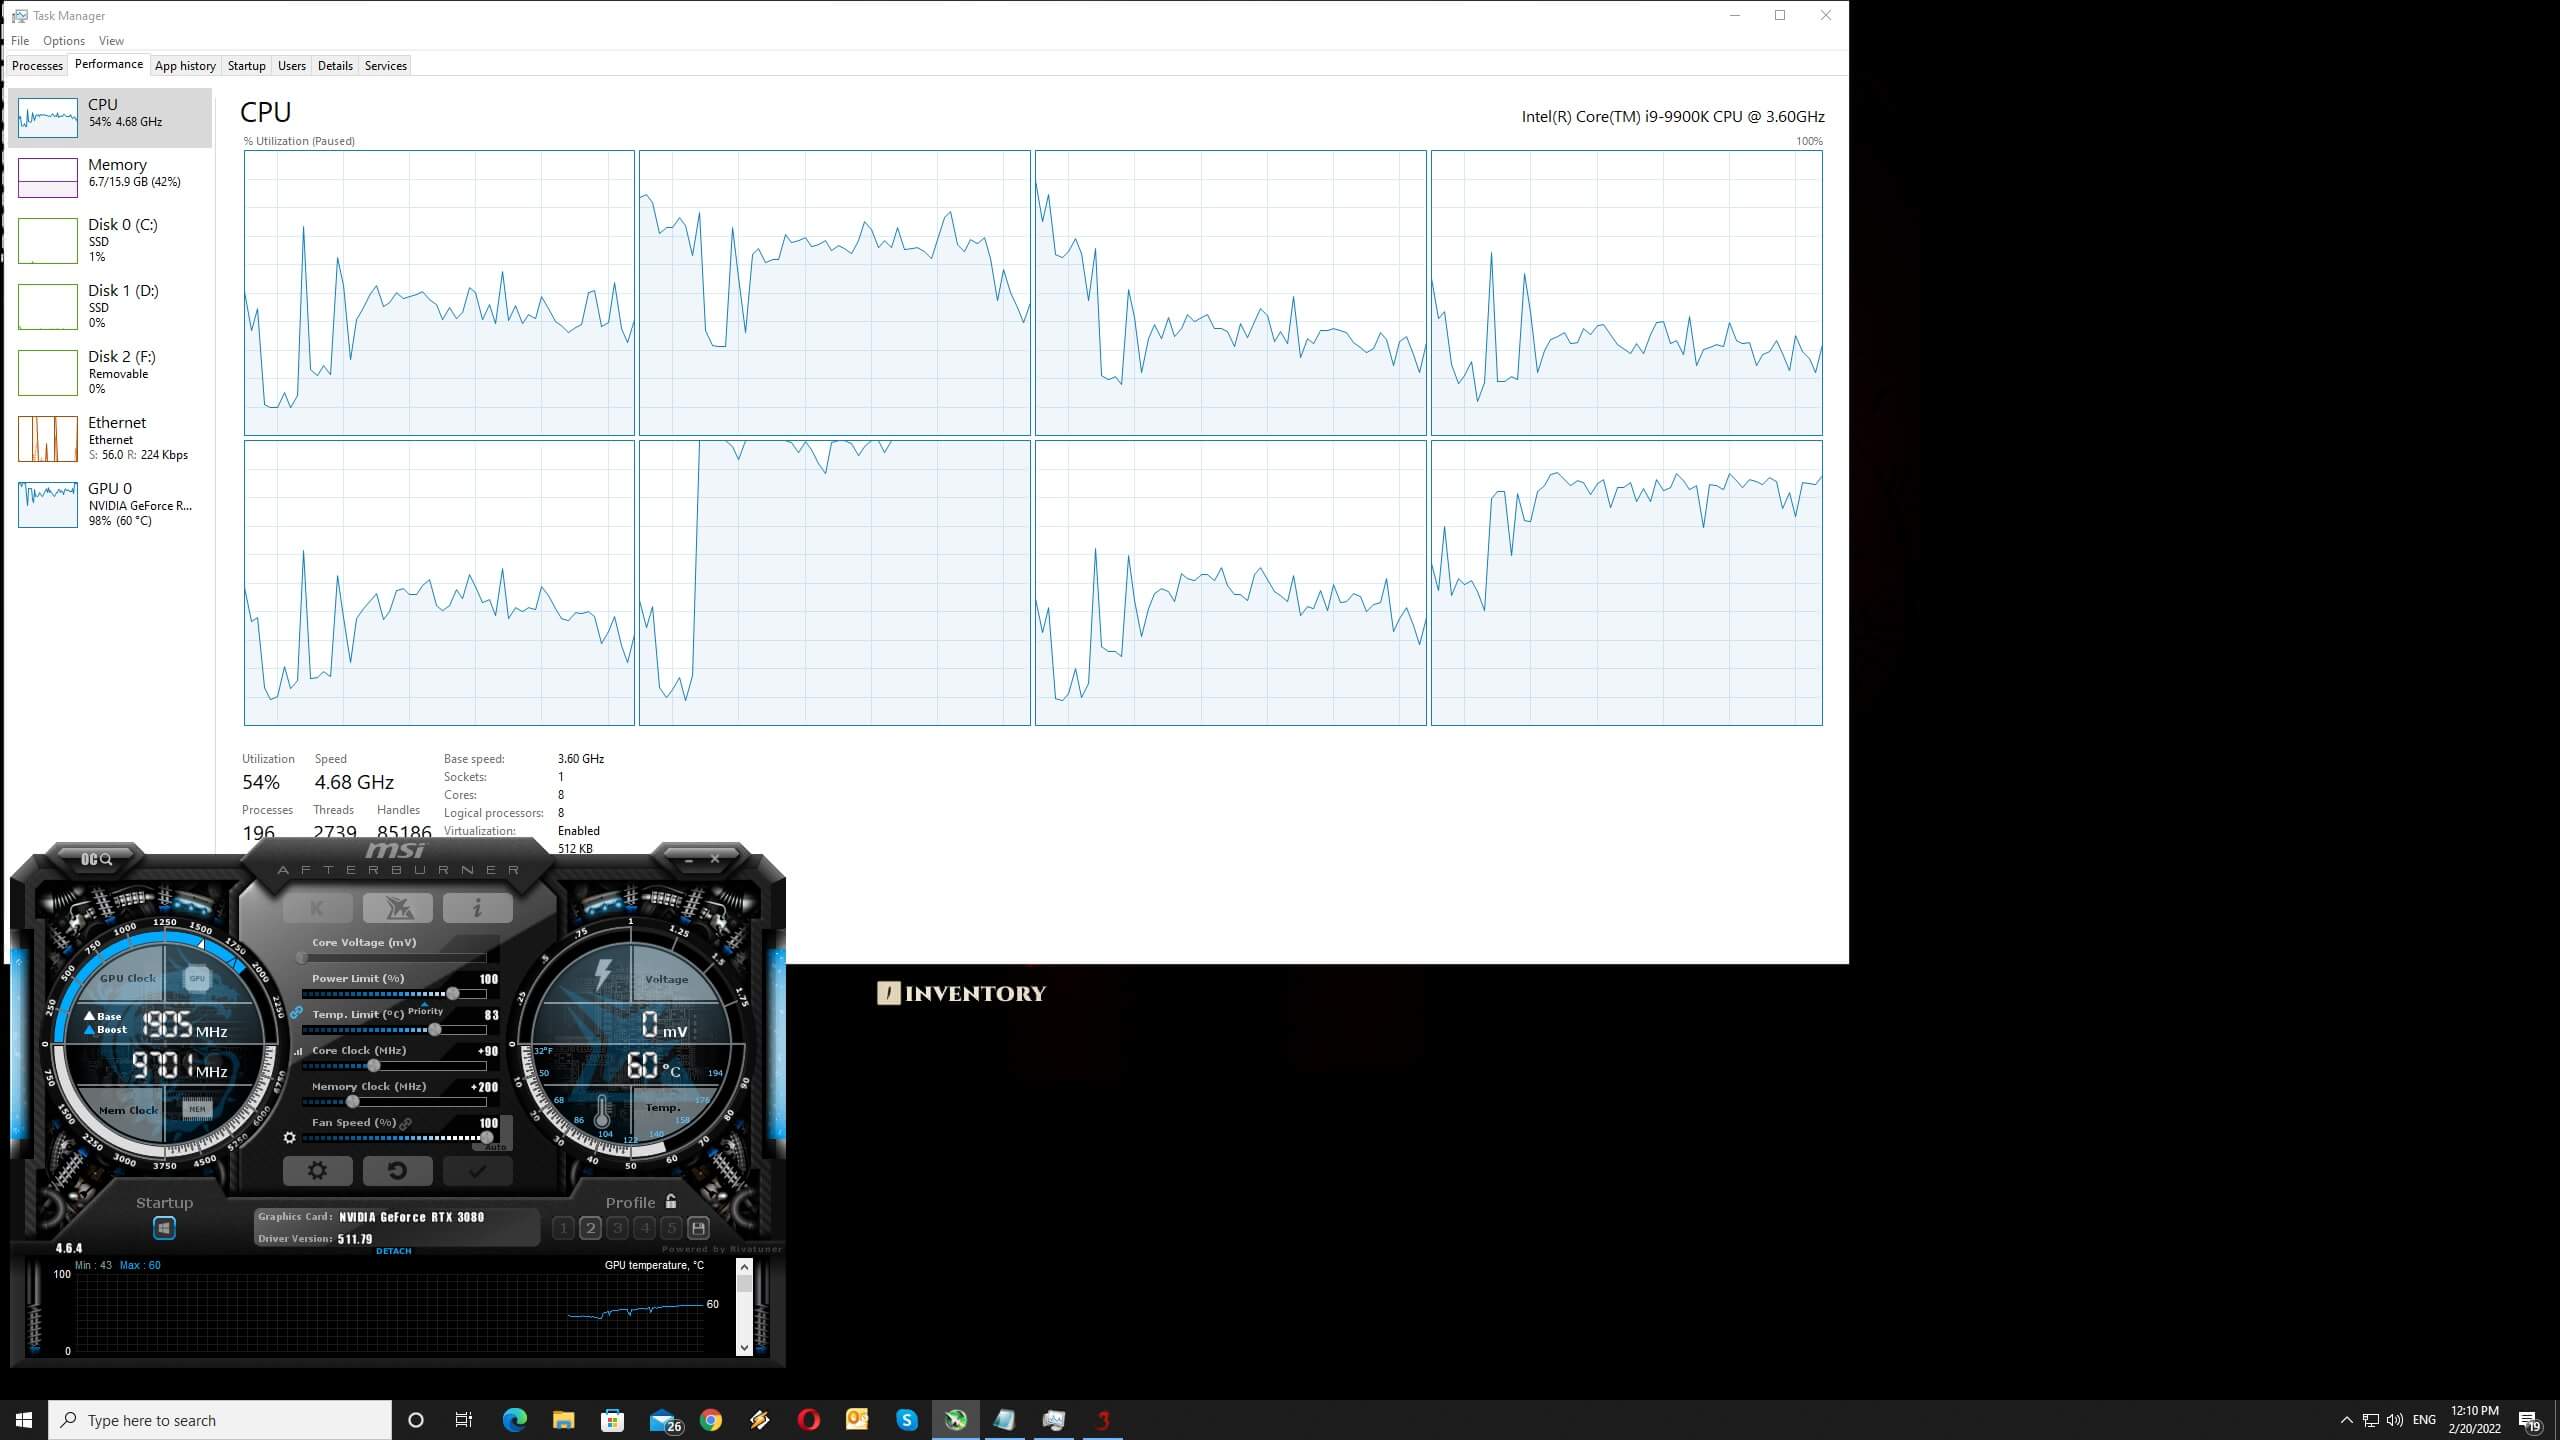
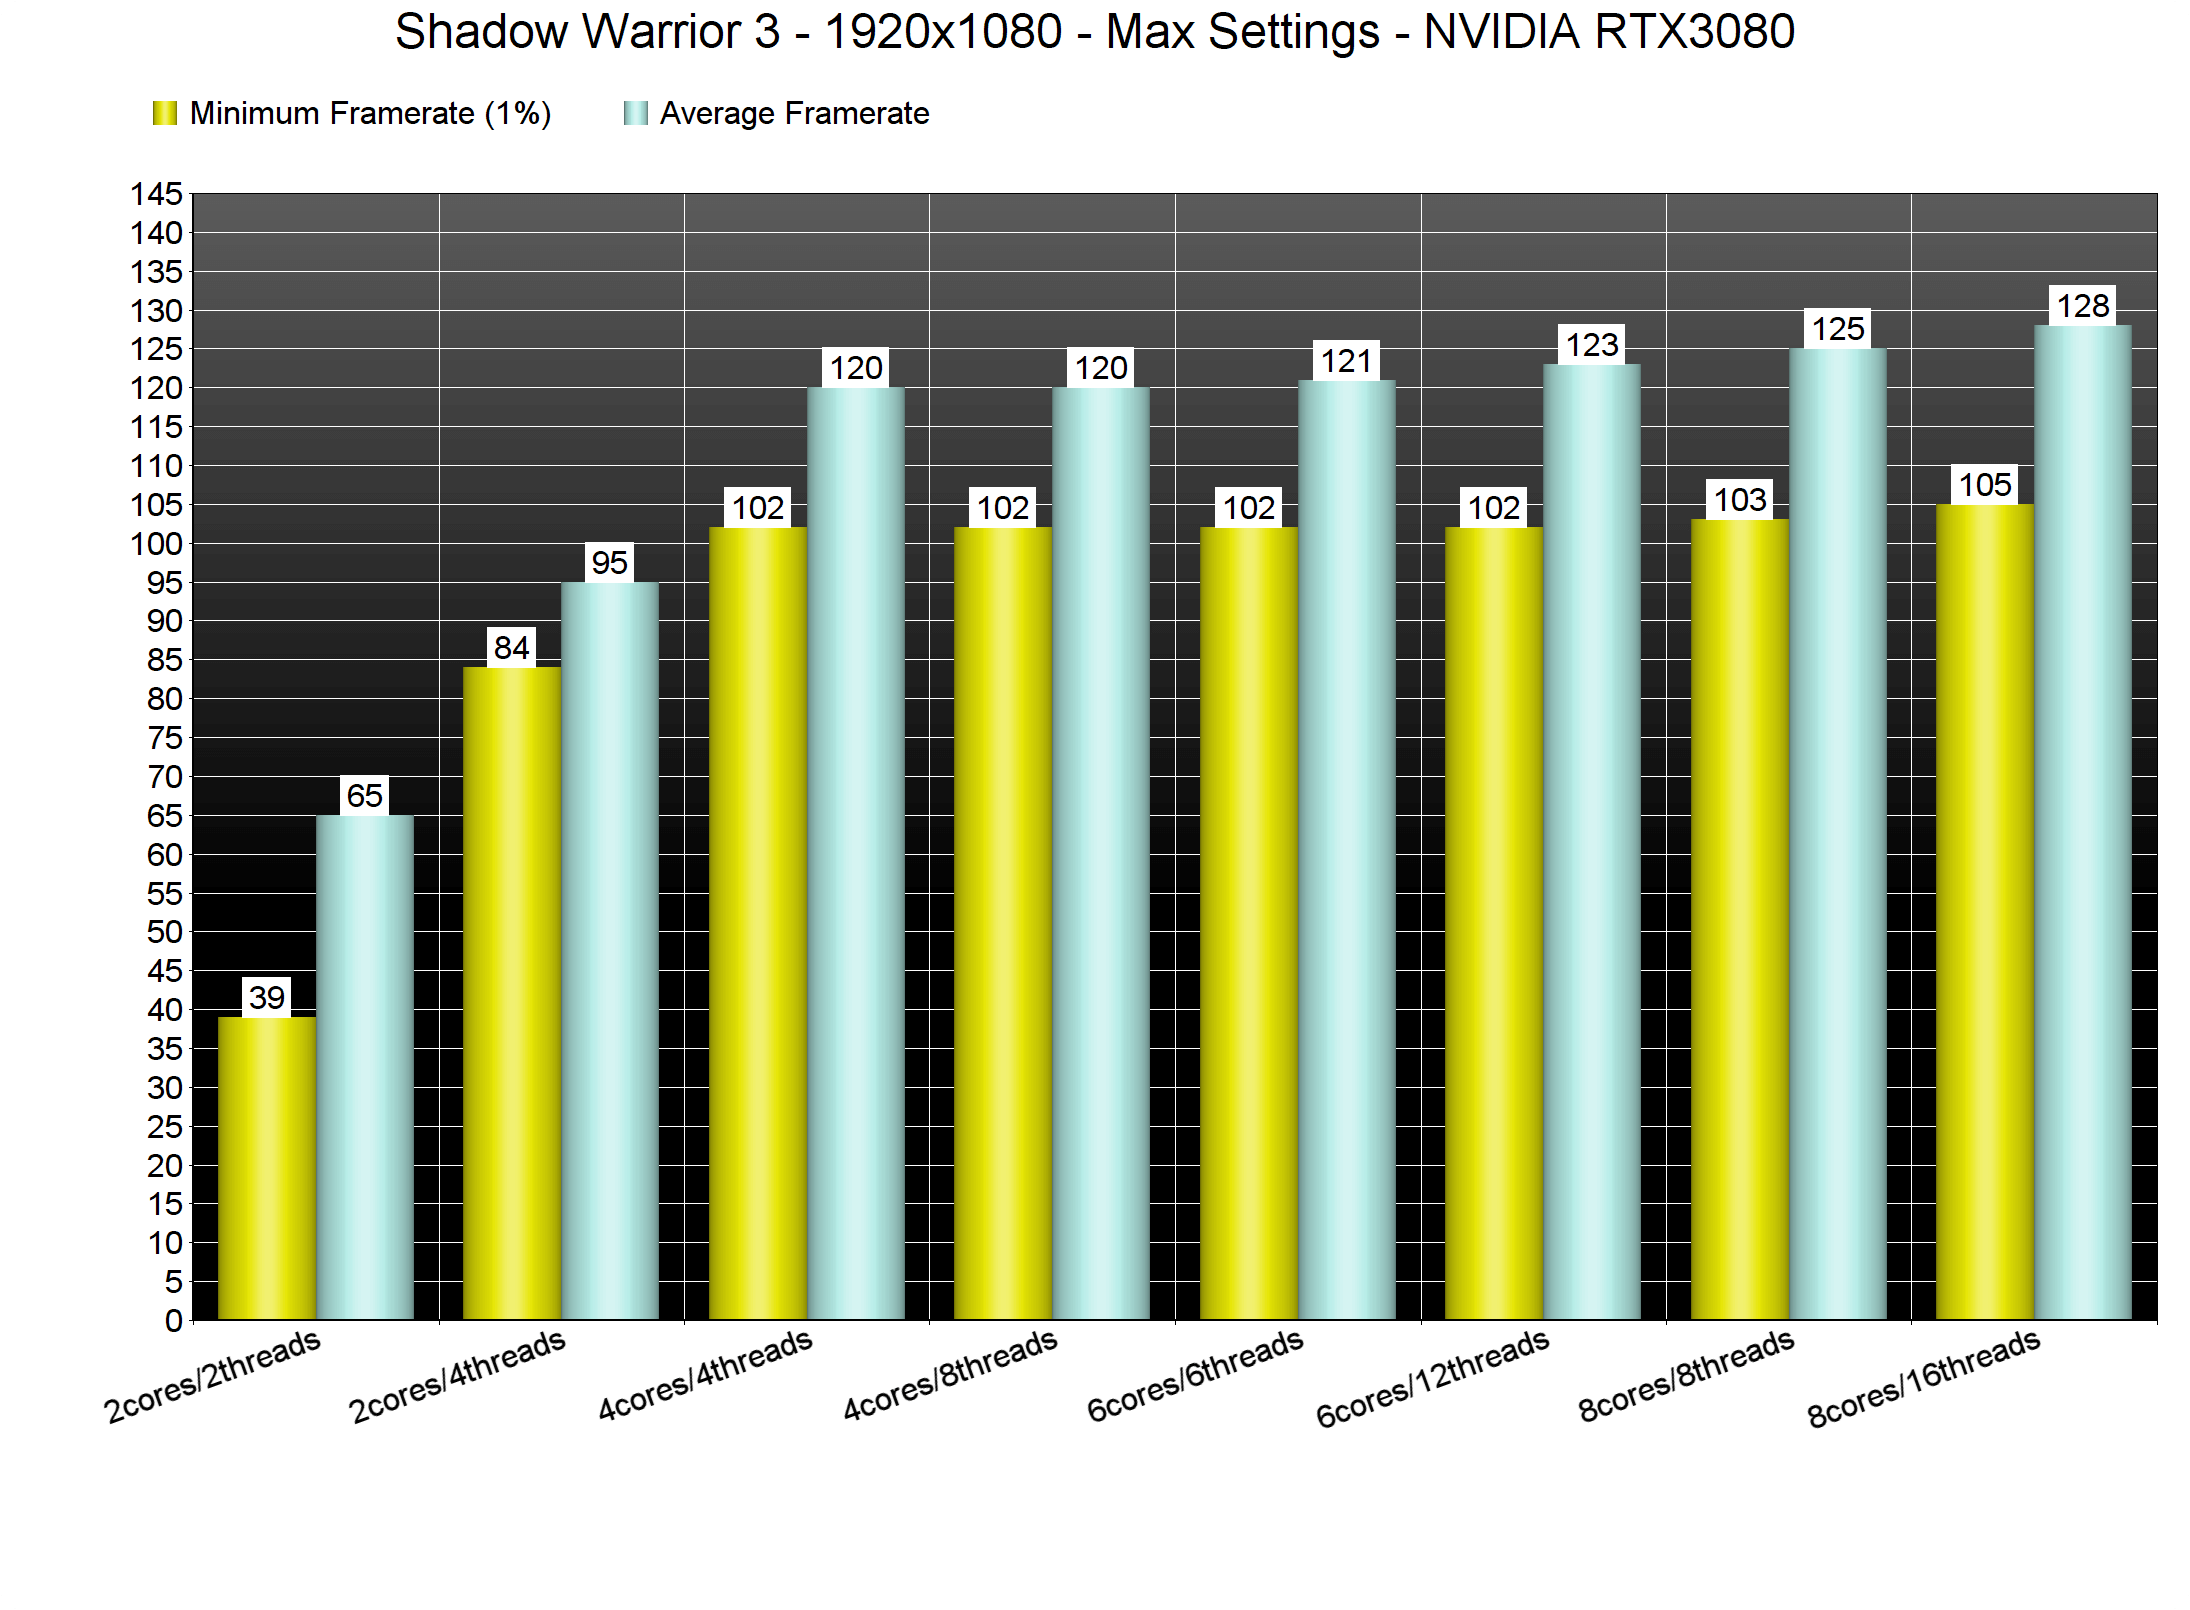
In order to find out how the game scales on multiple CPU threads, we simulated a dual-core, a quad-core and a hexa-core CPU. Surprisingly enough, our simulated dual-core system was able to run the game with constant 60fps at 1080p/Max Settings. That is obviously with Hyper-Threading enabled. Shadow Warrior 3 uses the DX11 API and appears to be mostly using four CPU cores/threads.

Shadow Warrior 3 CPU benchmarks

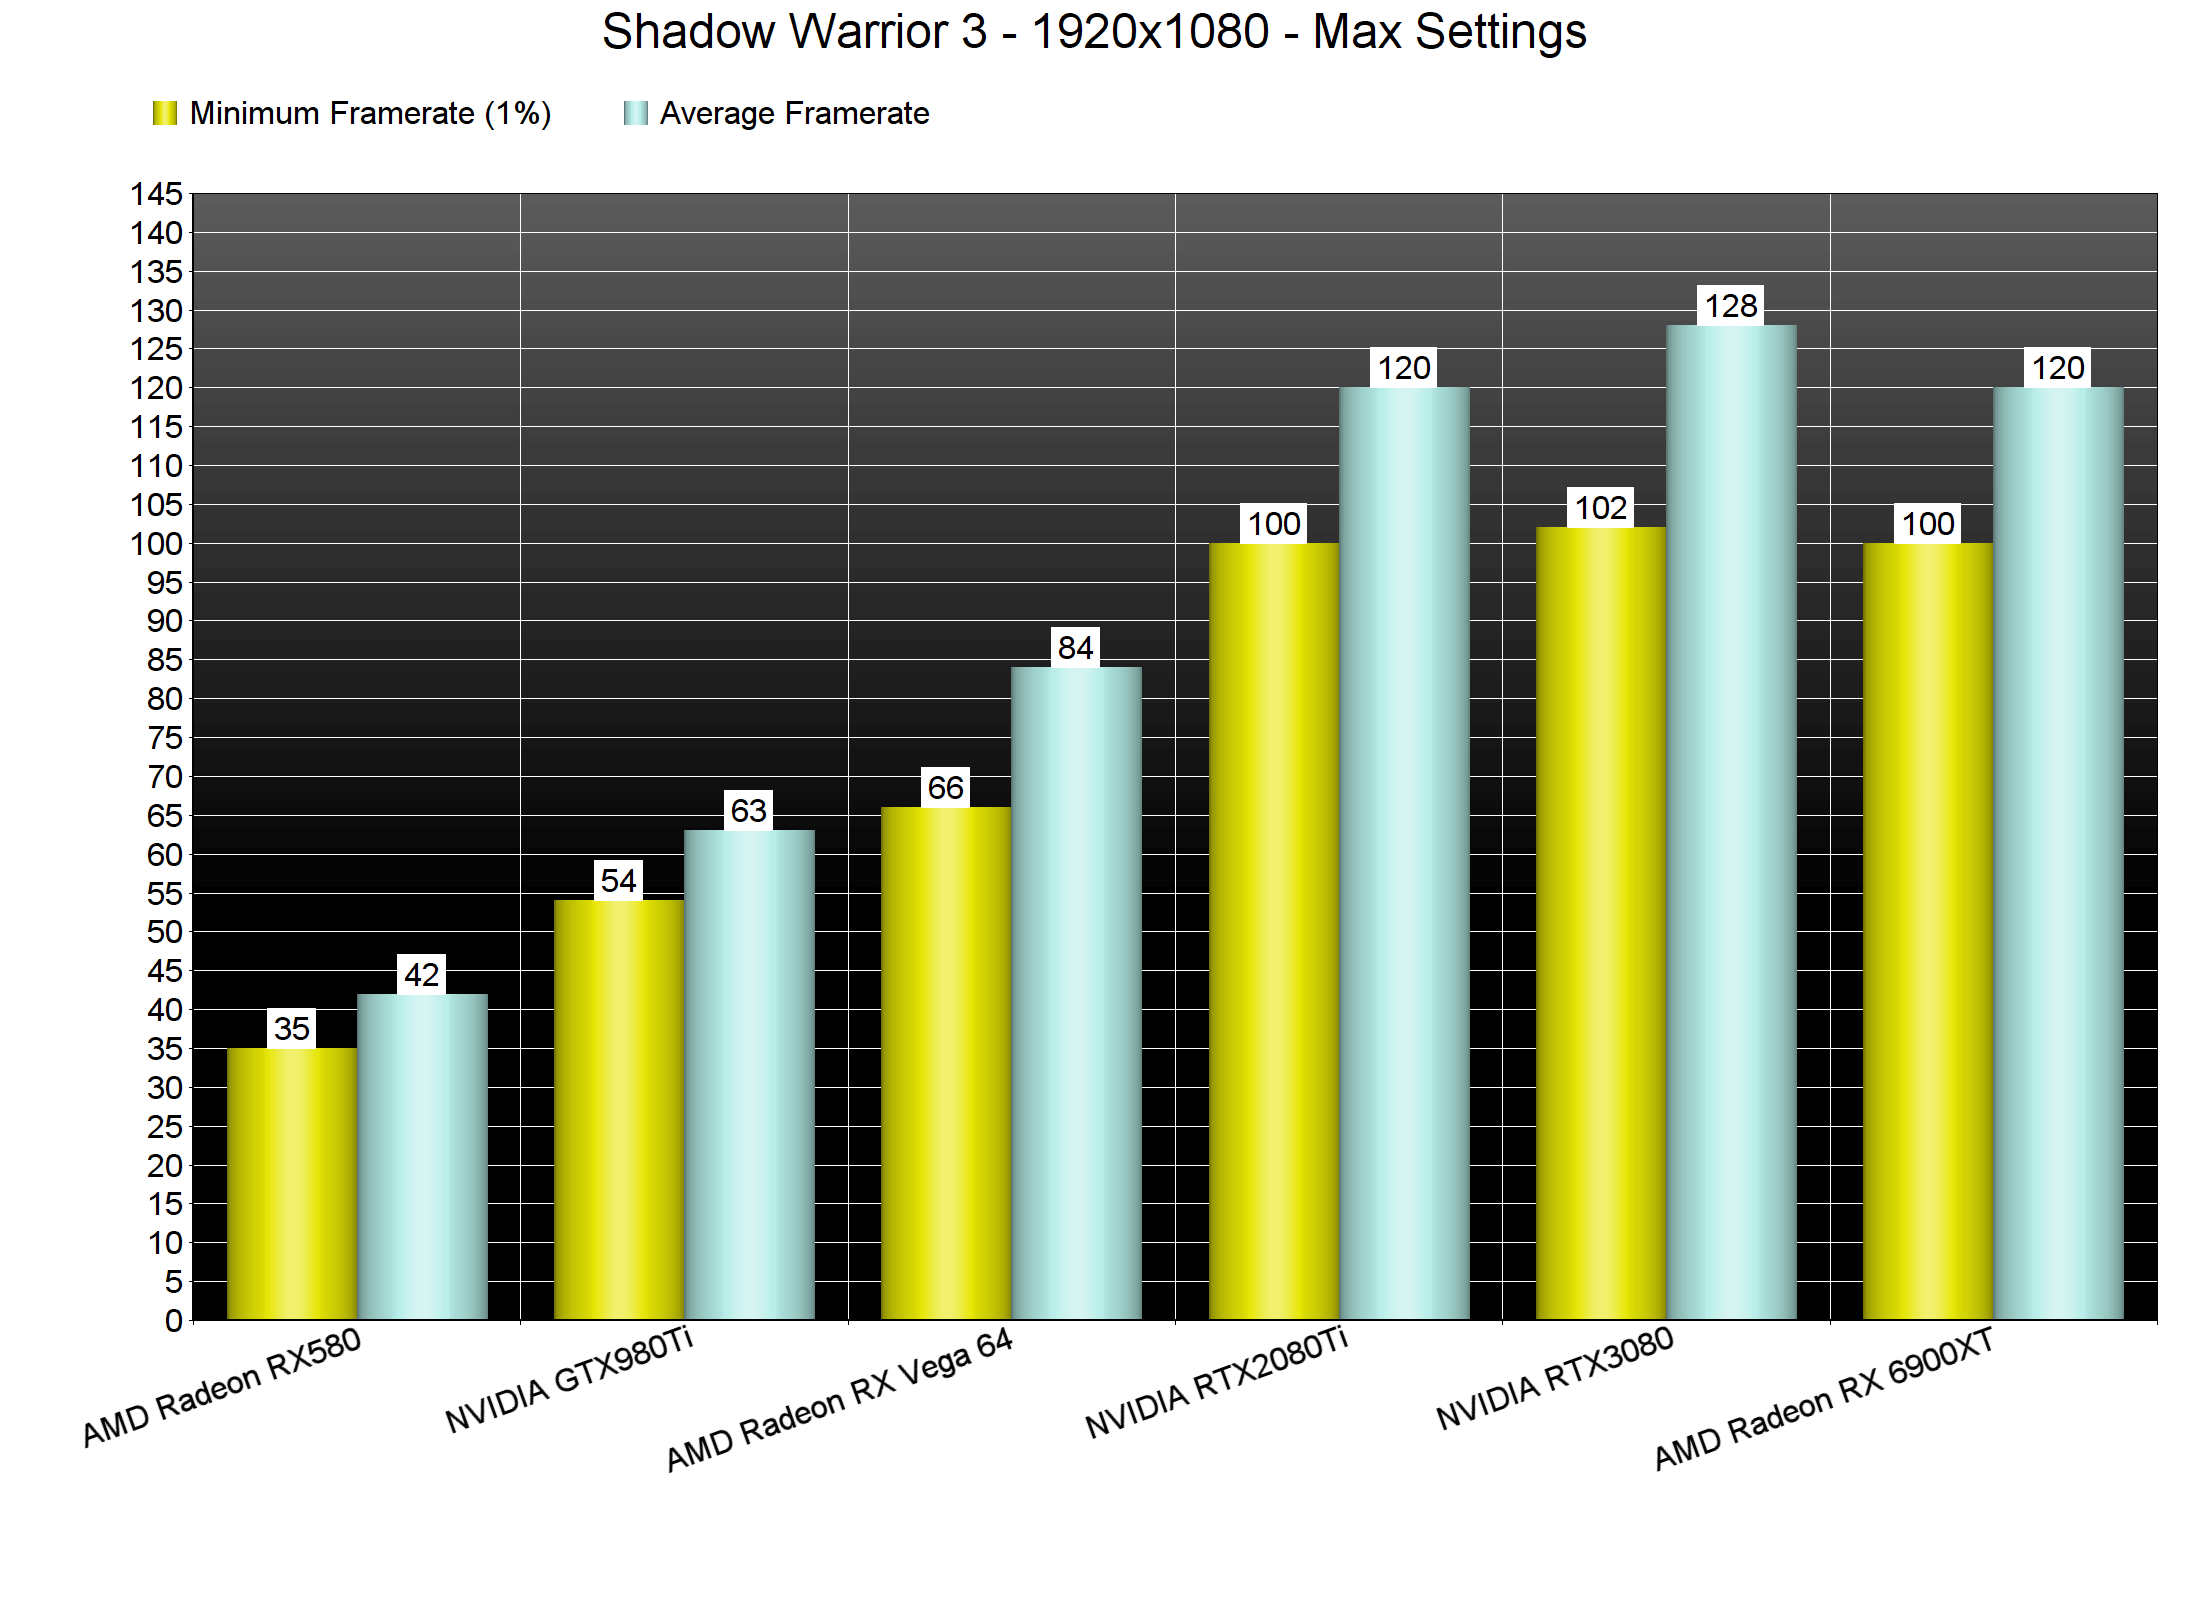
At 1080p/Max Settings, our top four GPUs were able to provide a smooth gaming experience. NVIDIA’s GTX980Ti was able to come close to a 60fps experience, although we did notice numerous drops to mid-50s.

Shadow Warrior 3 GPU benchmarks-1

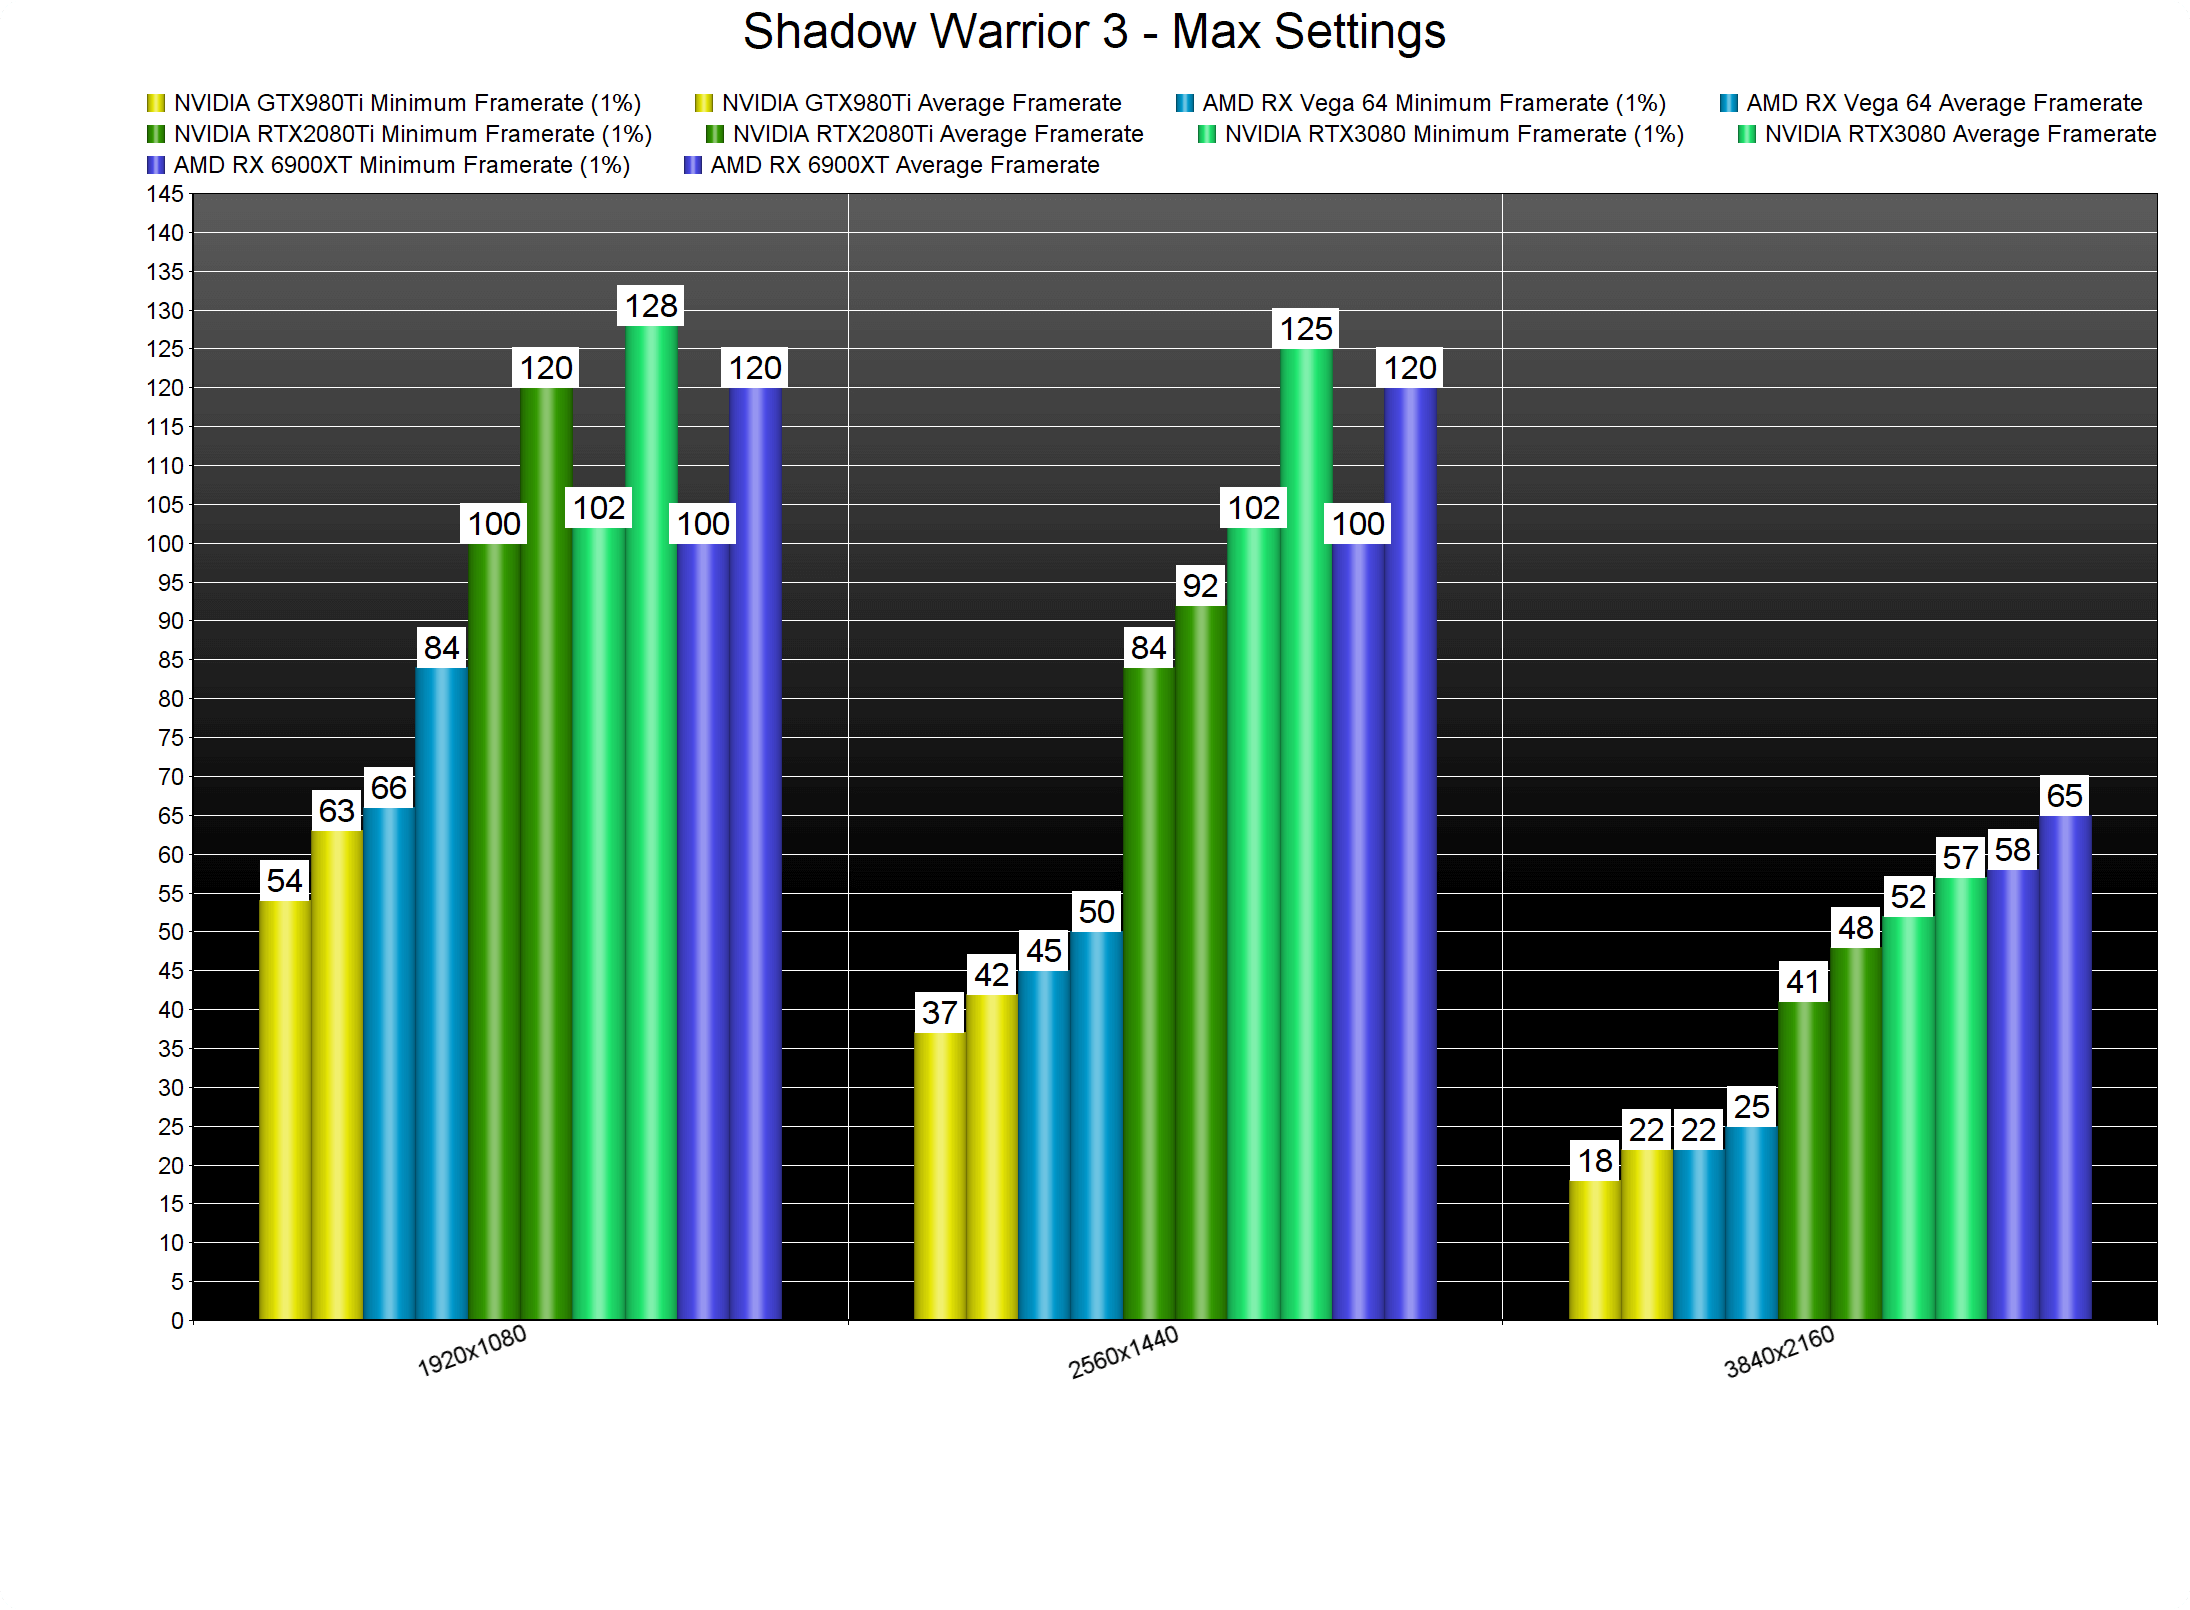
At 1440p/Max Settings, our RTX2080Ti, RTX3080 and RX 6900XT had no trouble running the game. As for 4K/Max Settings, the only GPU that could run the game smoothly was the RX 6900XT. Again, keep in mind that this is a really demanding scenario. Furthermore, both DLSS and FSR look great in this title, so we recommend using them. RTX owners can use DLSS Quality, whereas everyone else can use FSR Ultra Quality.

Shadow Warrior 3 GPU benchmarks-2

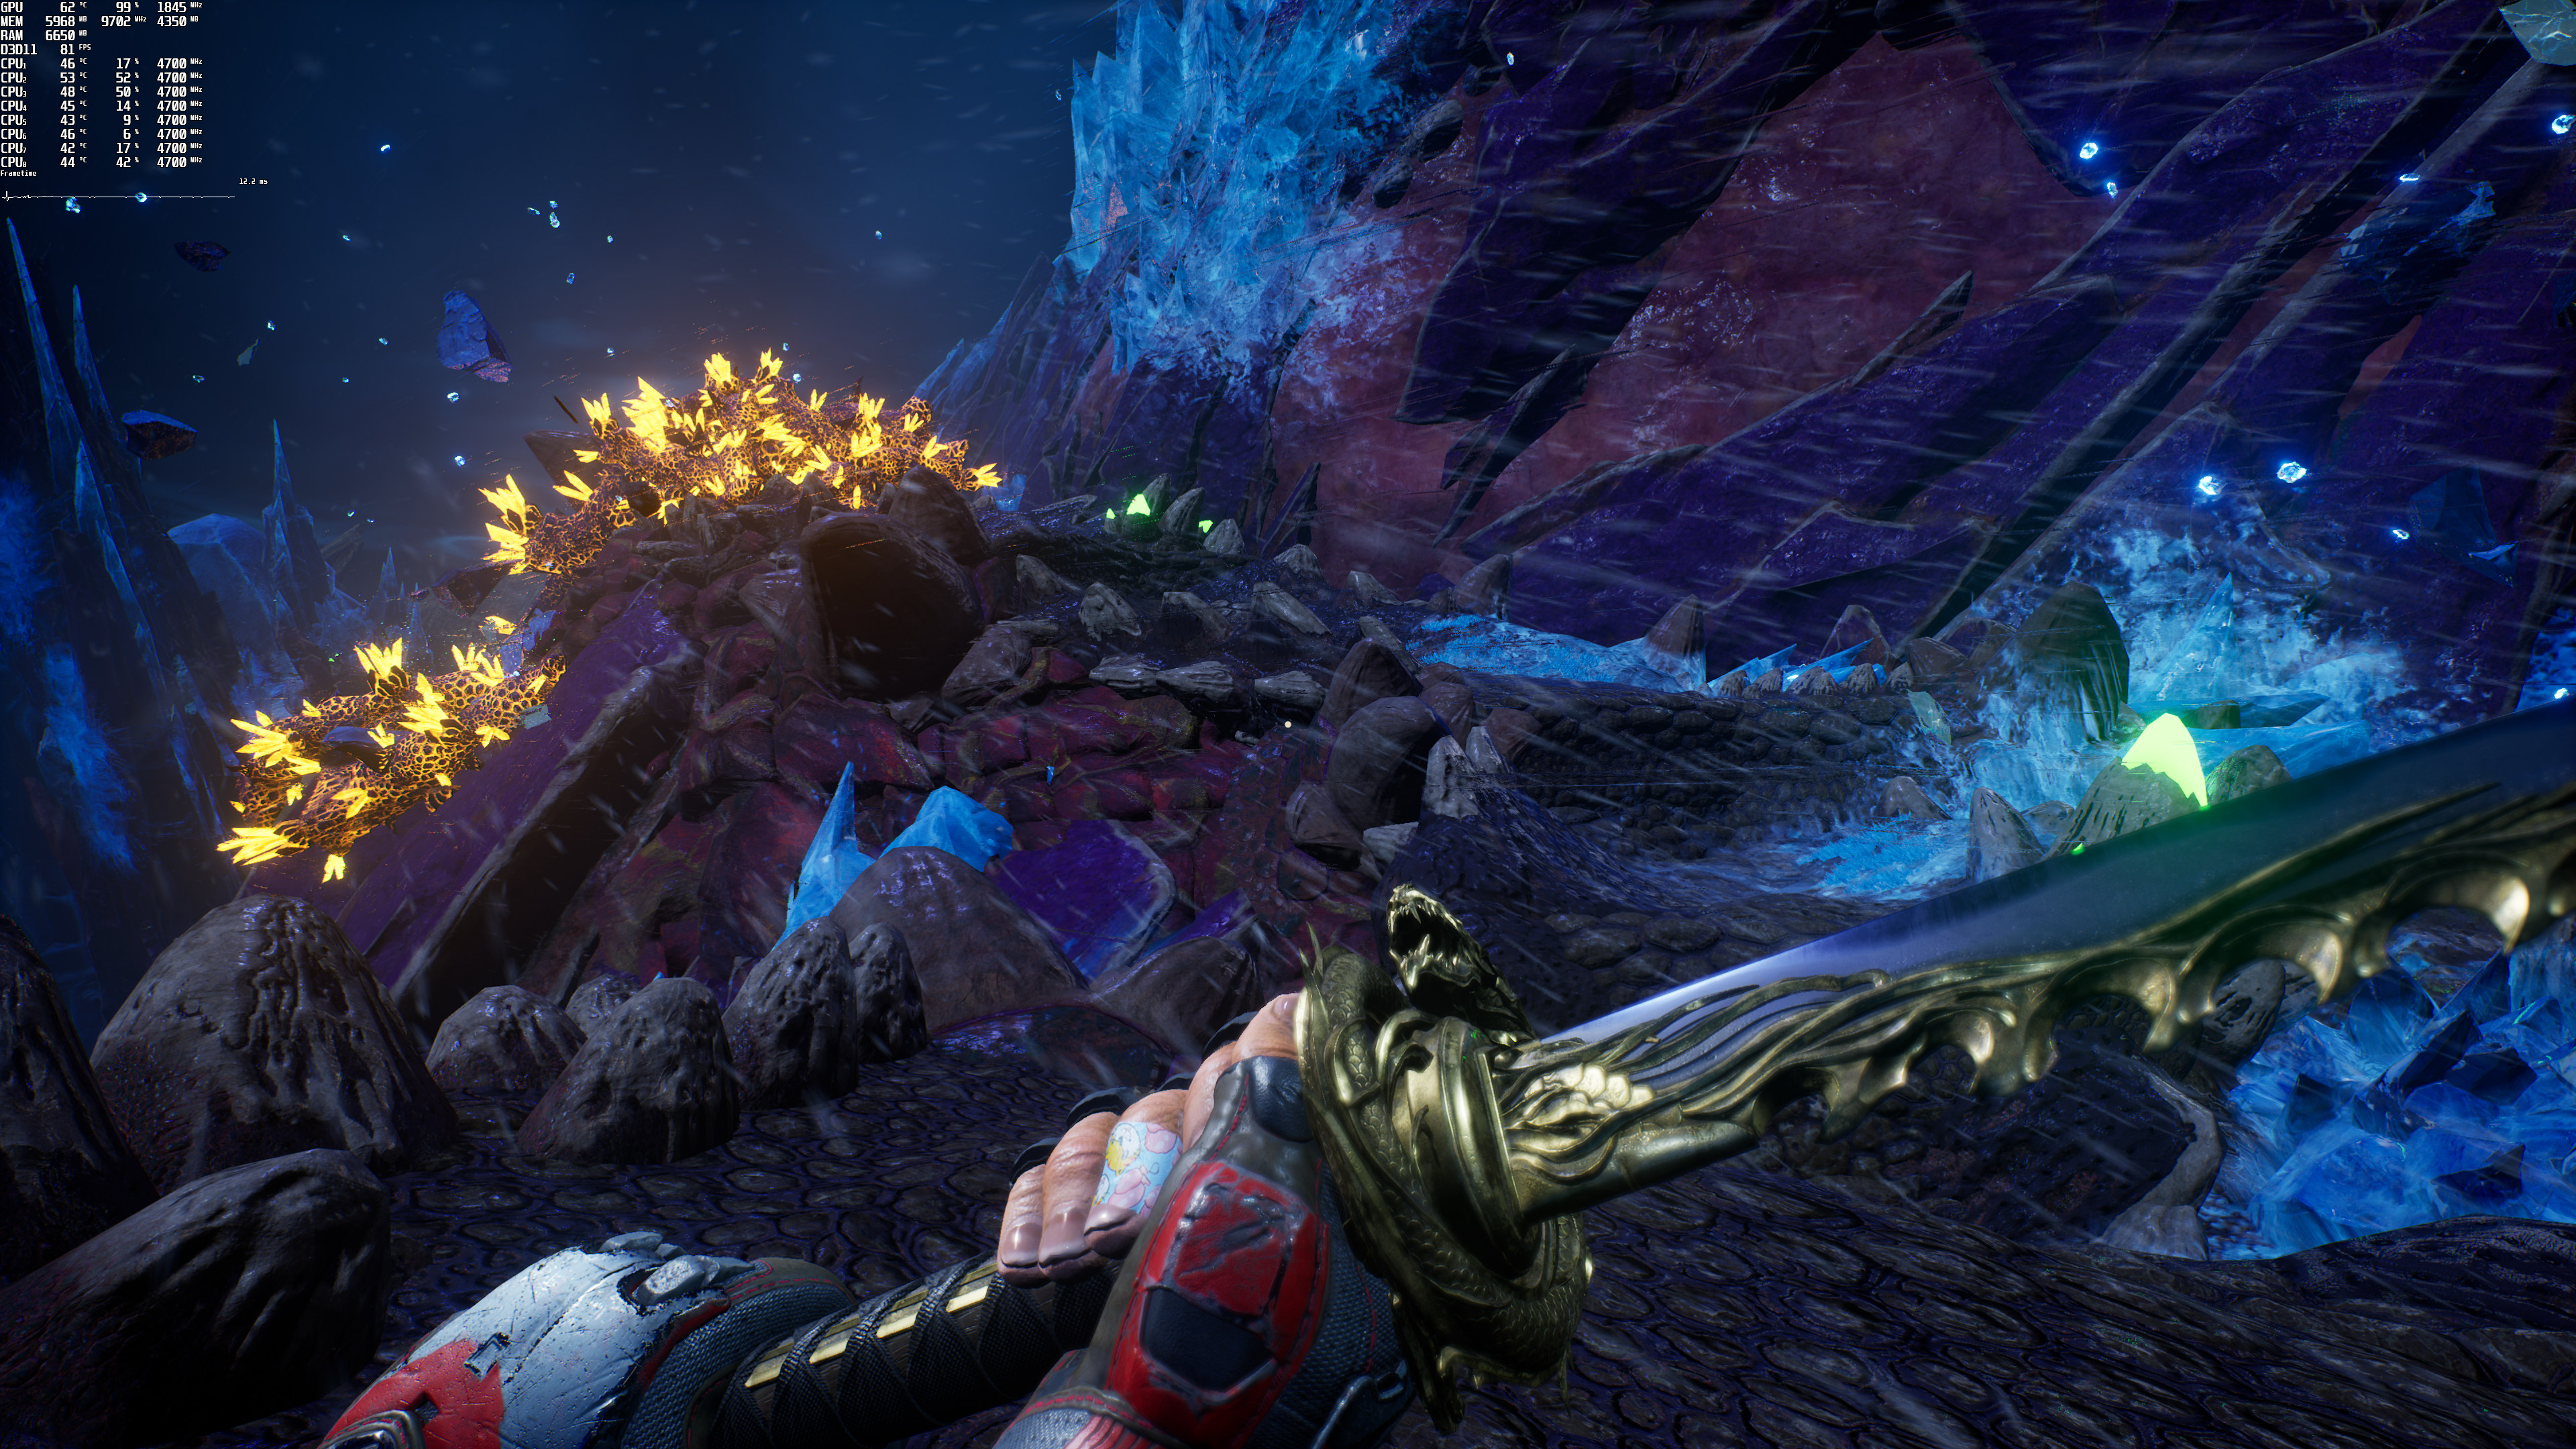
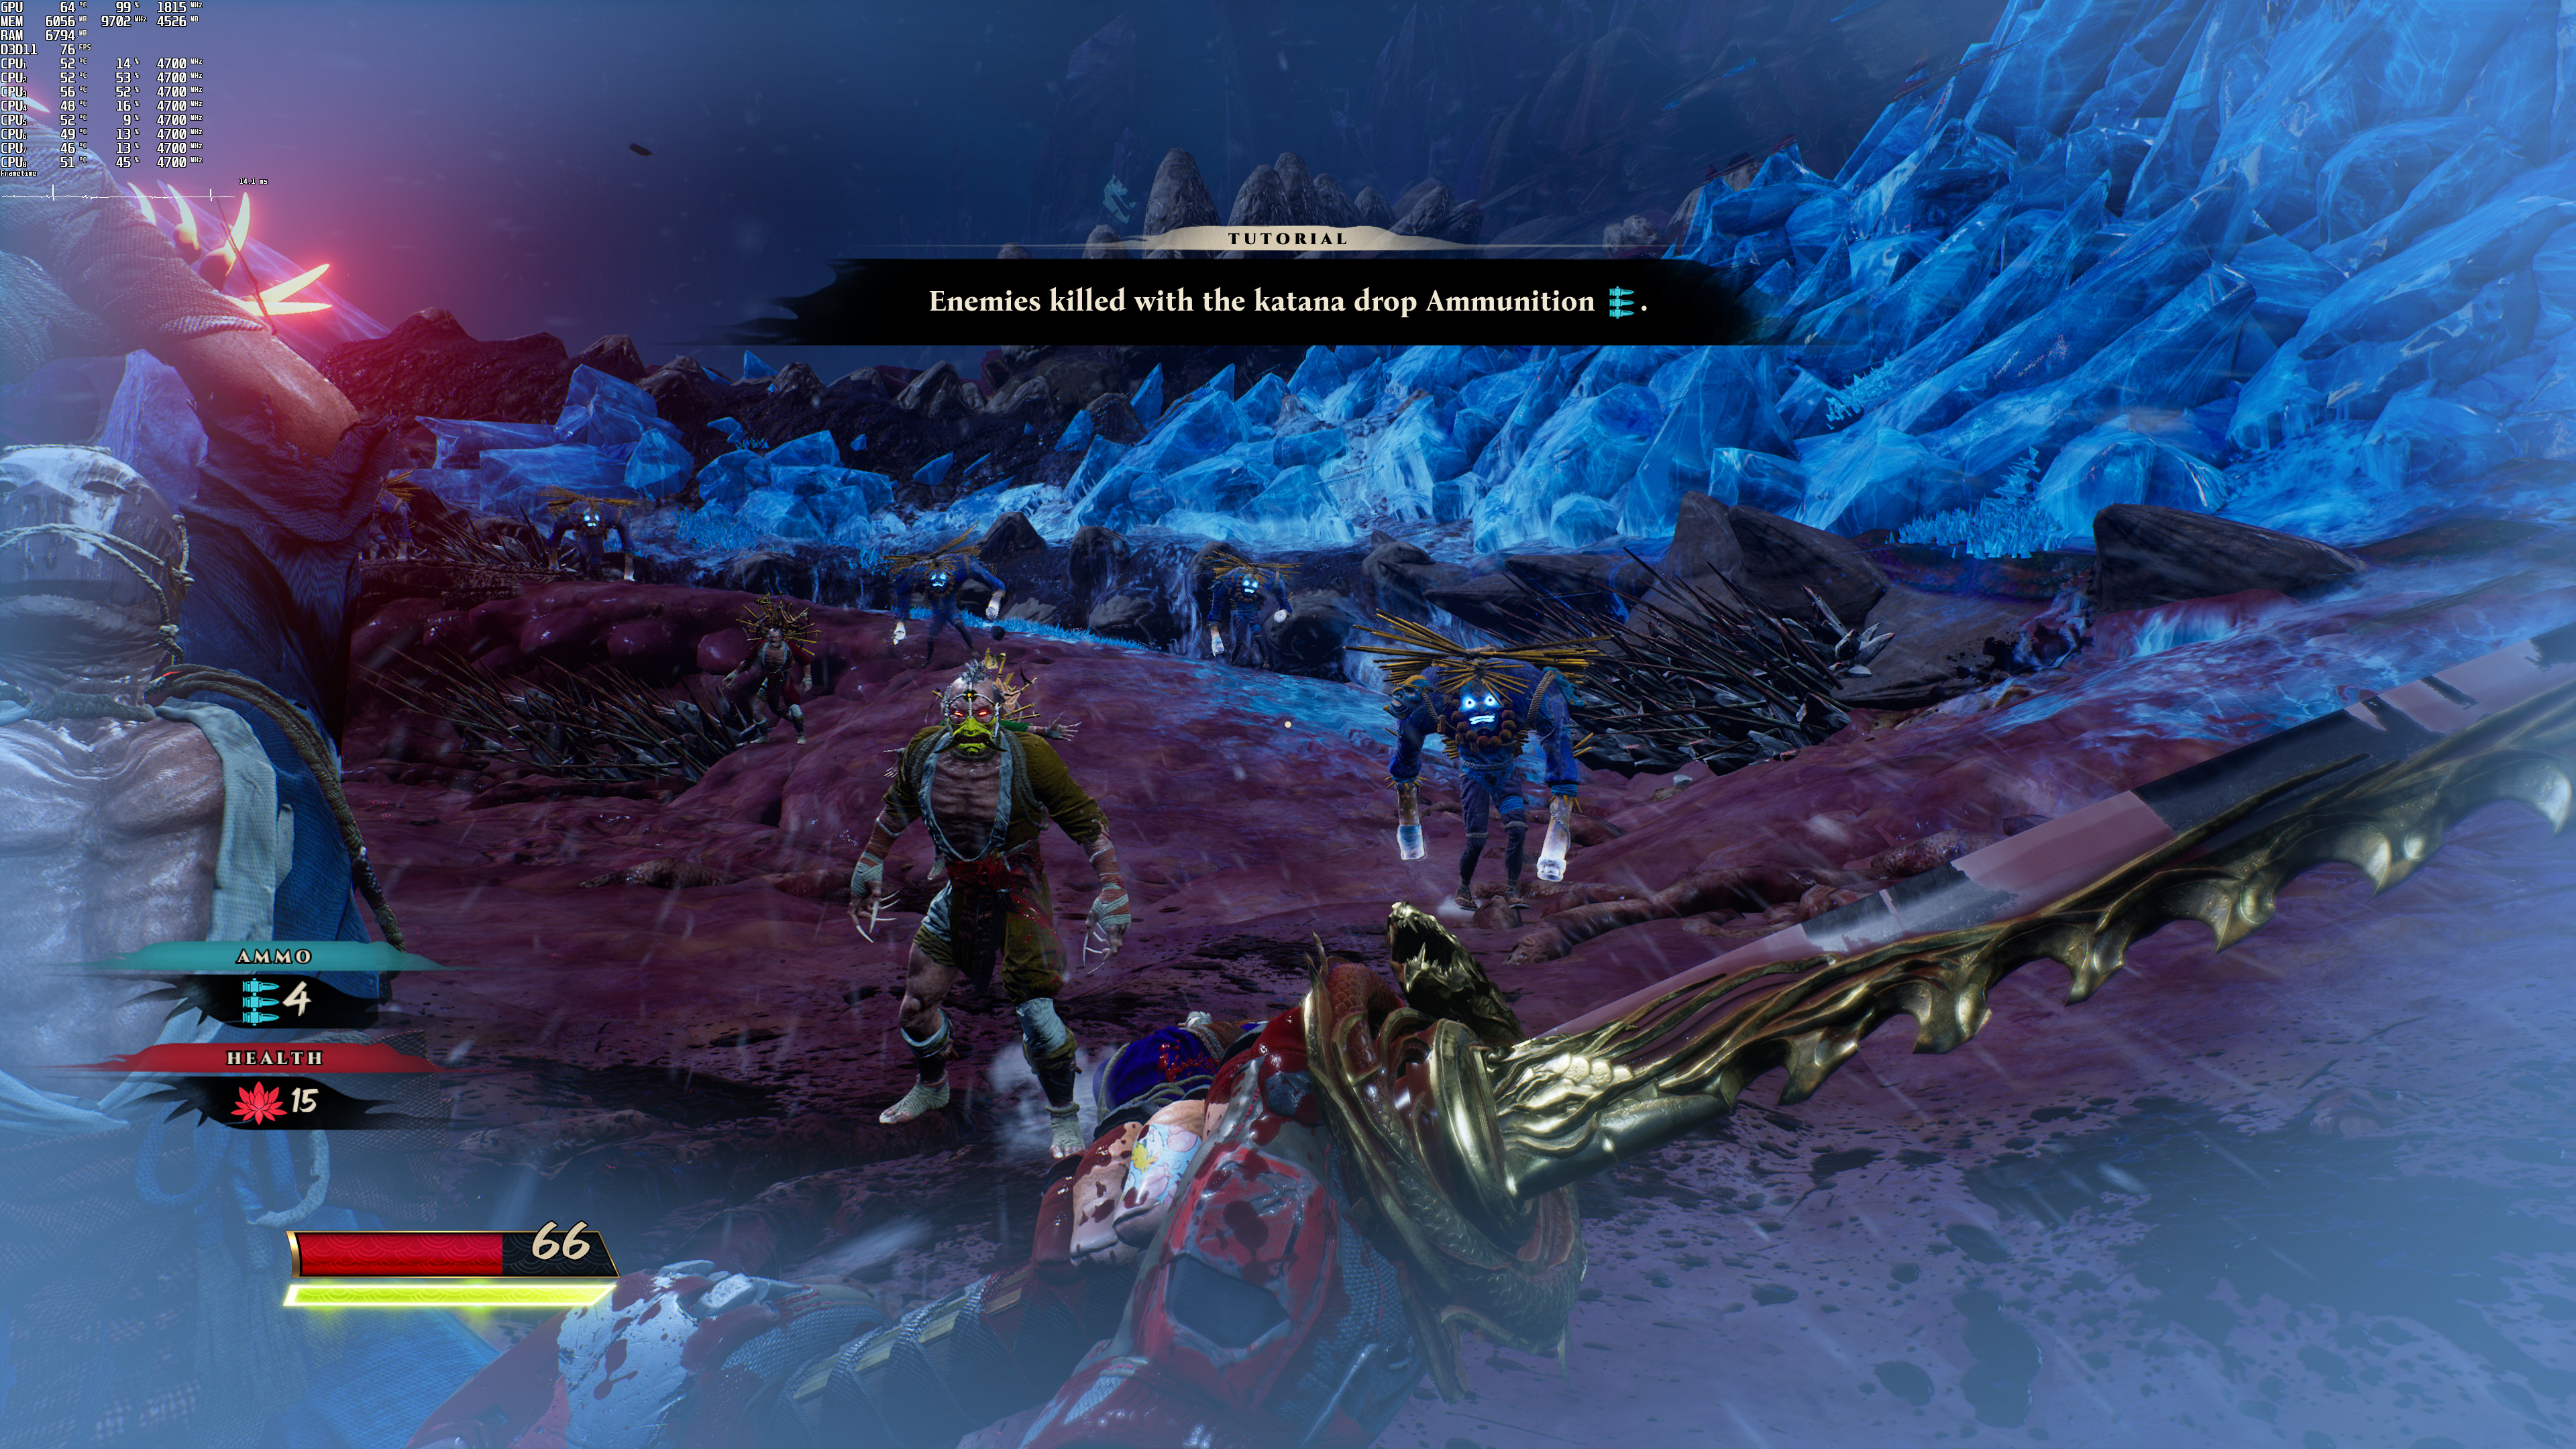
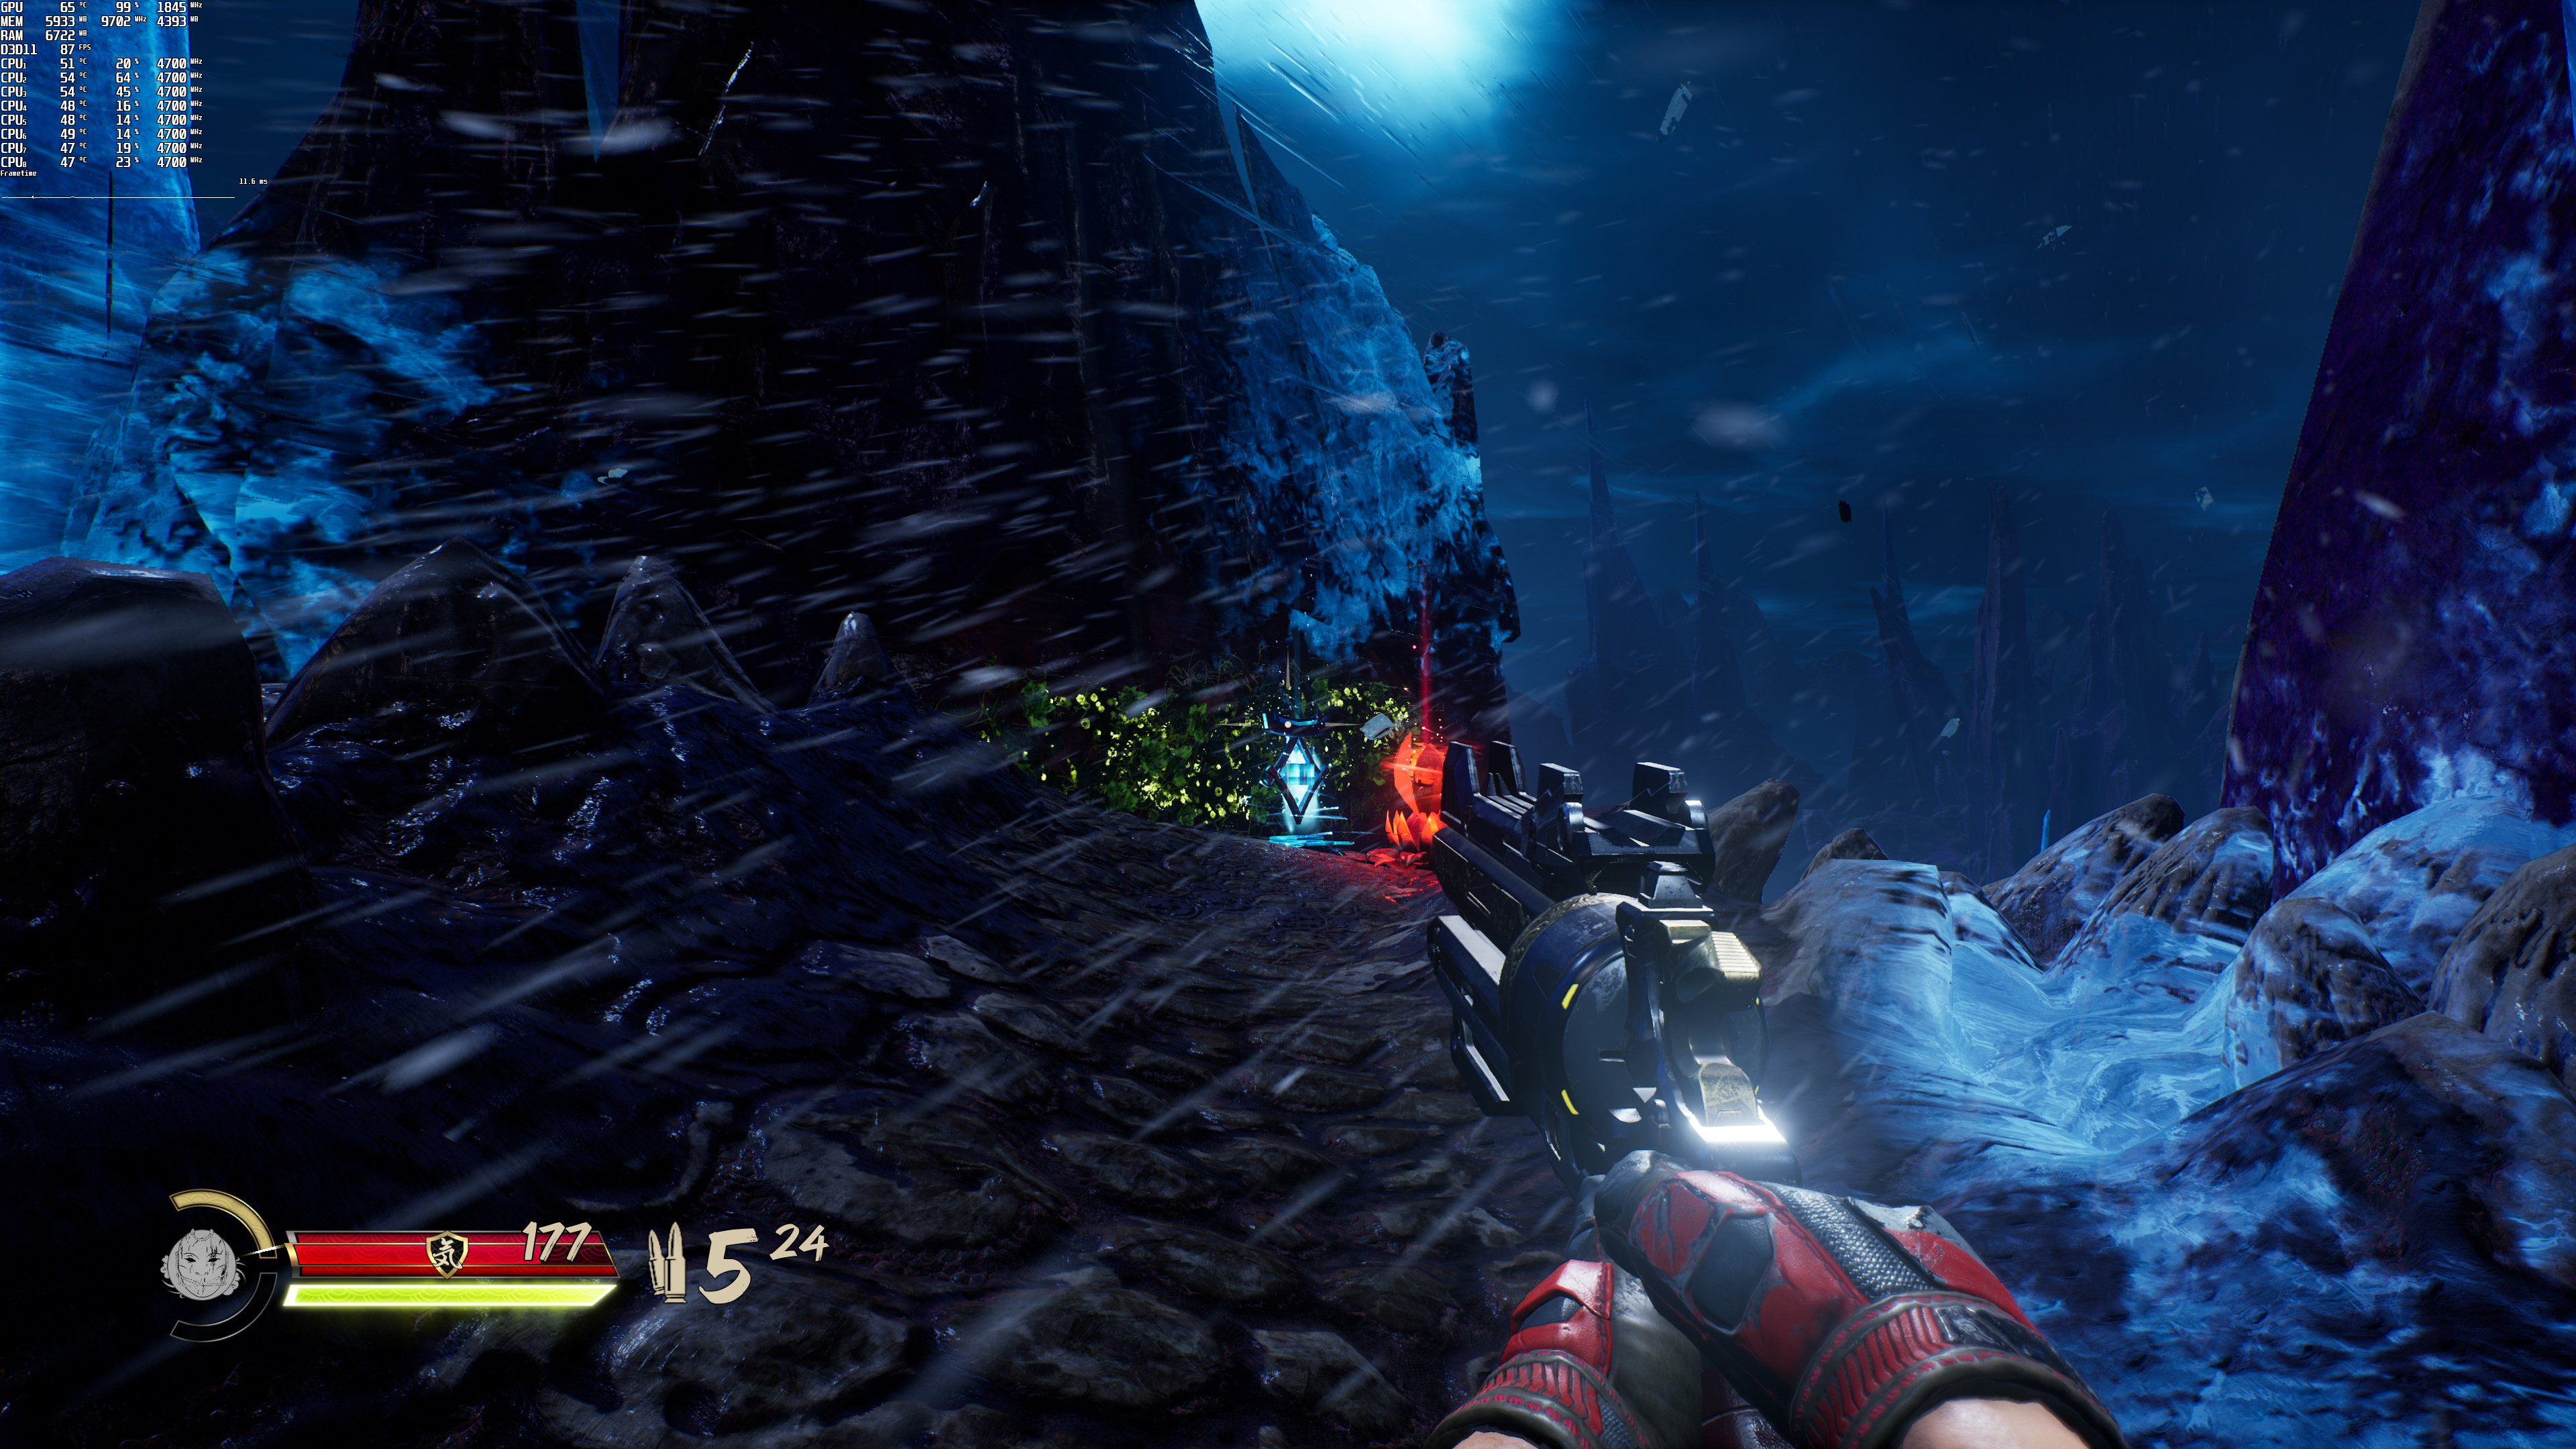
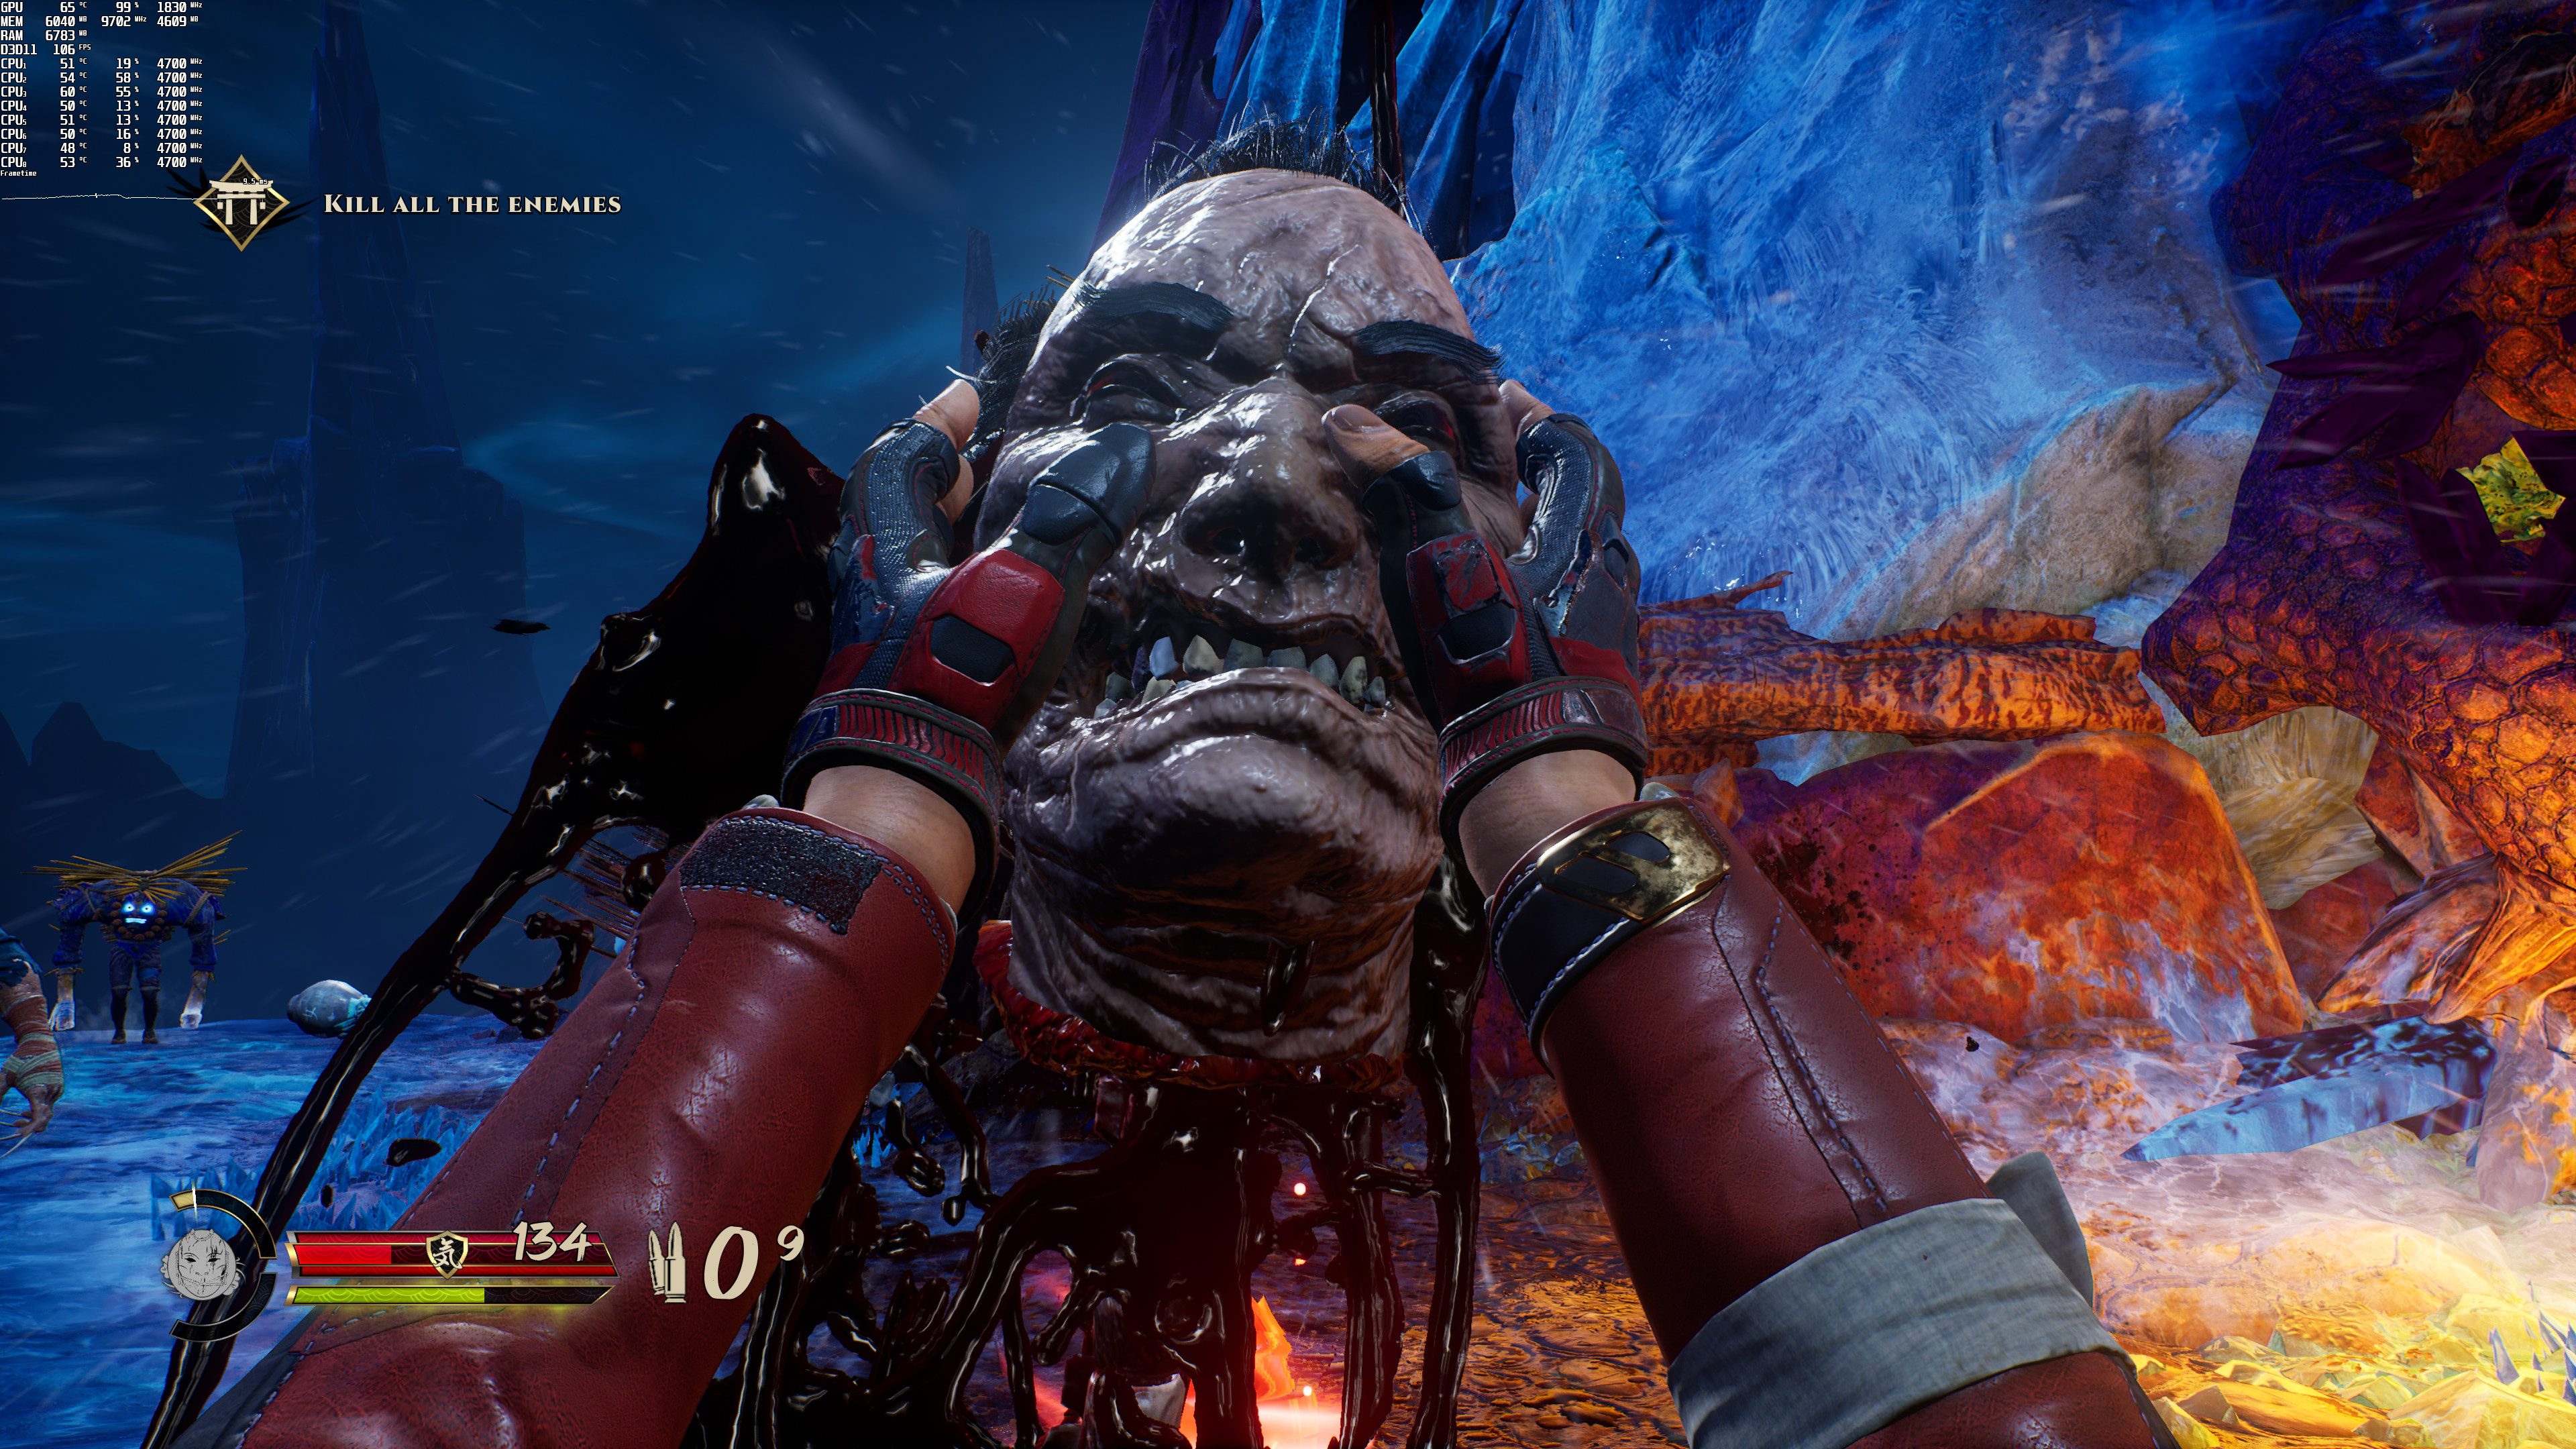
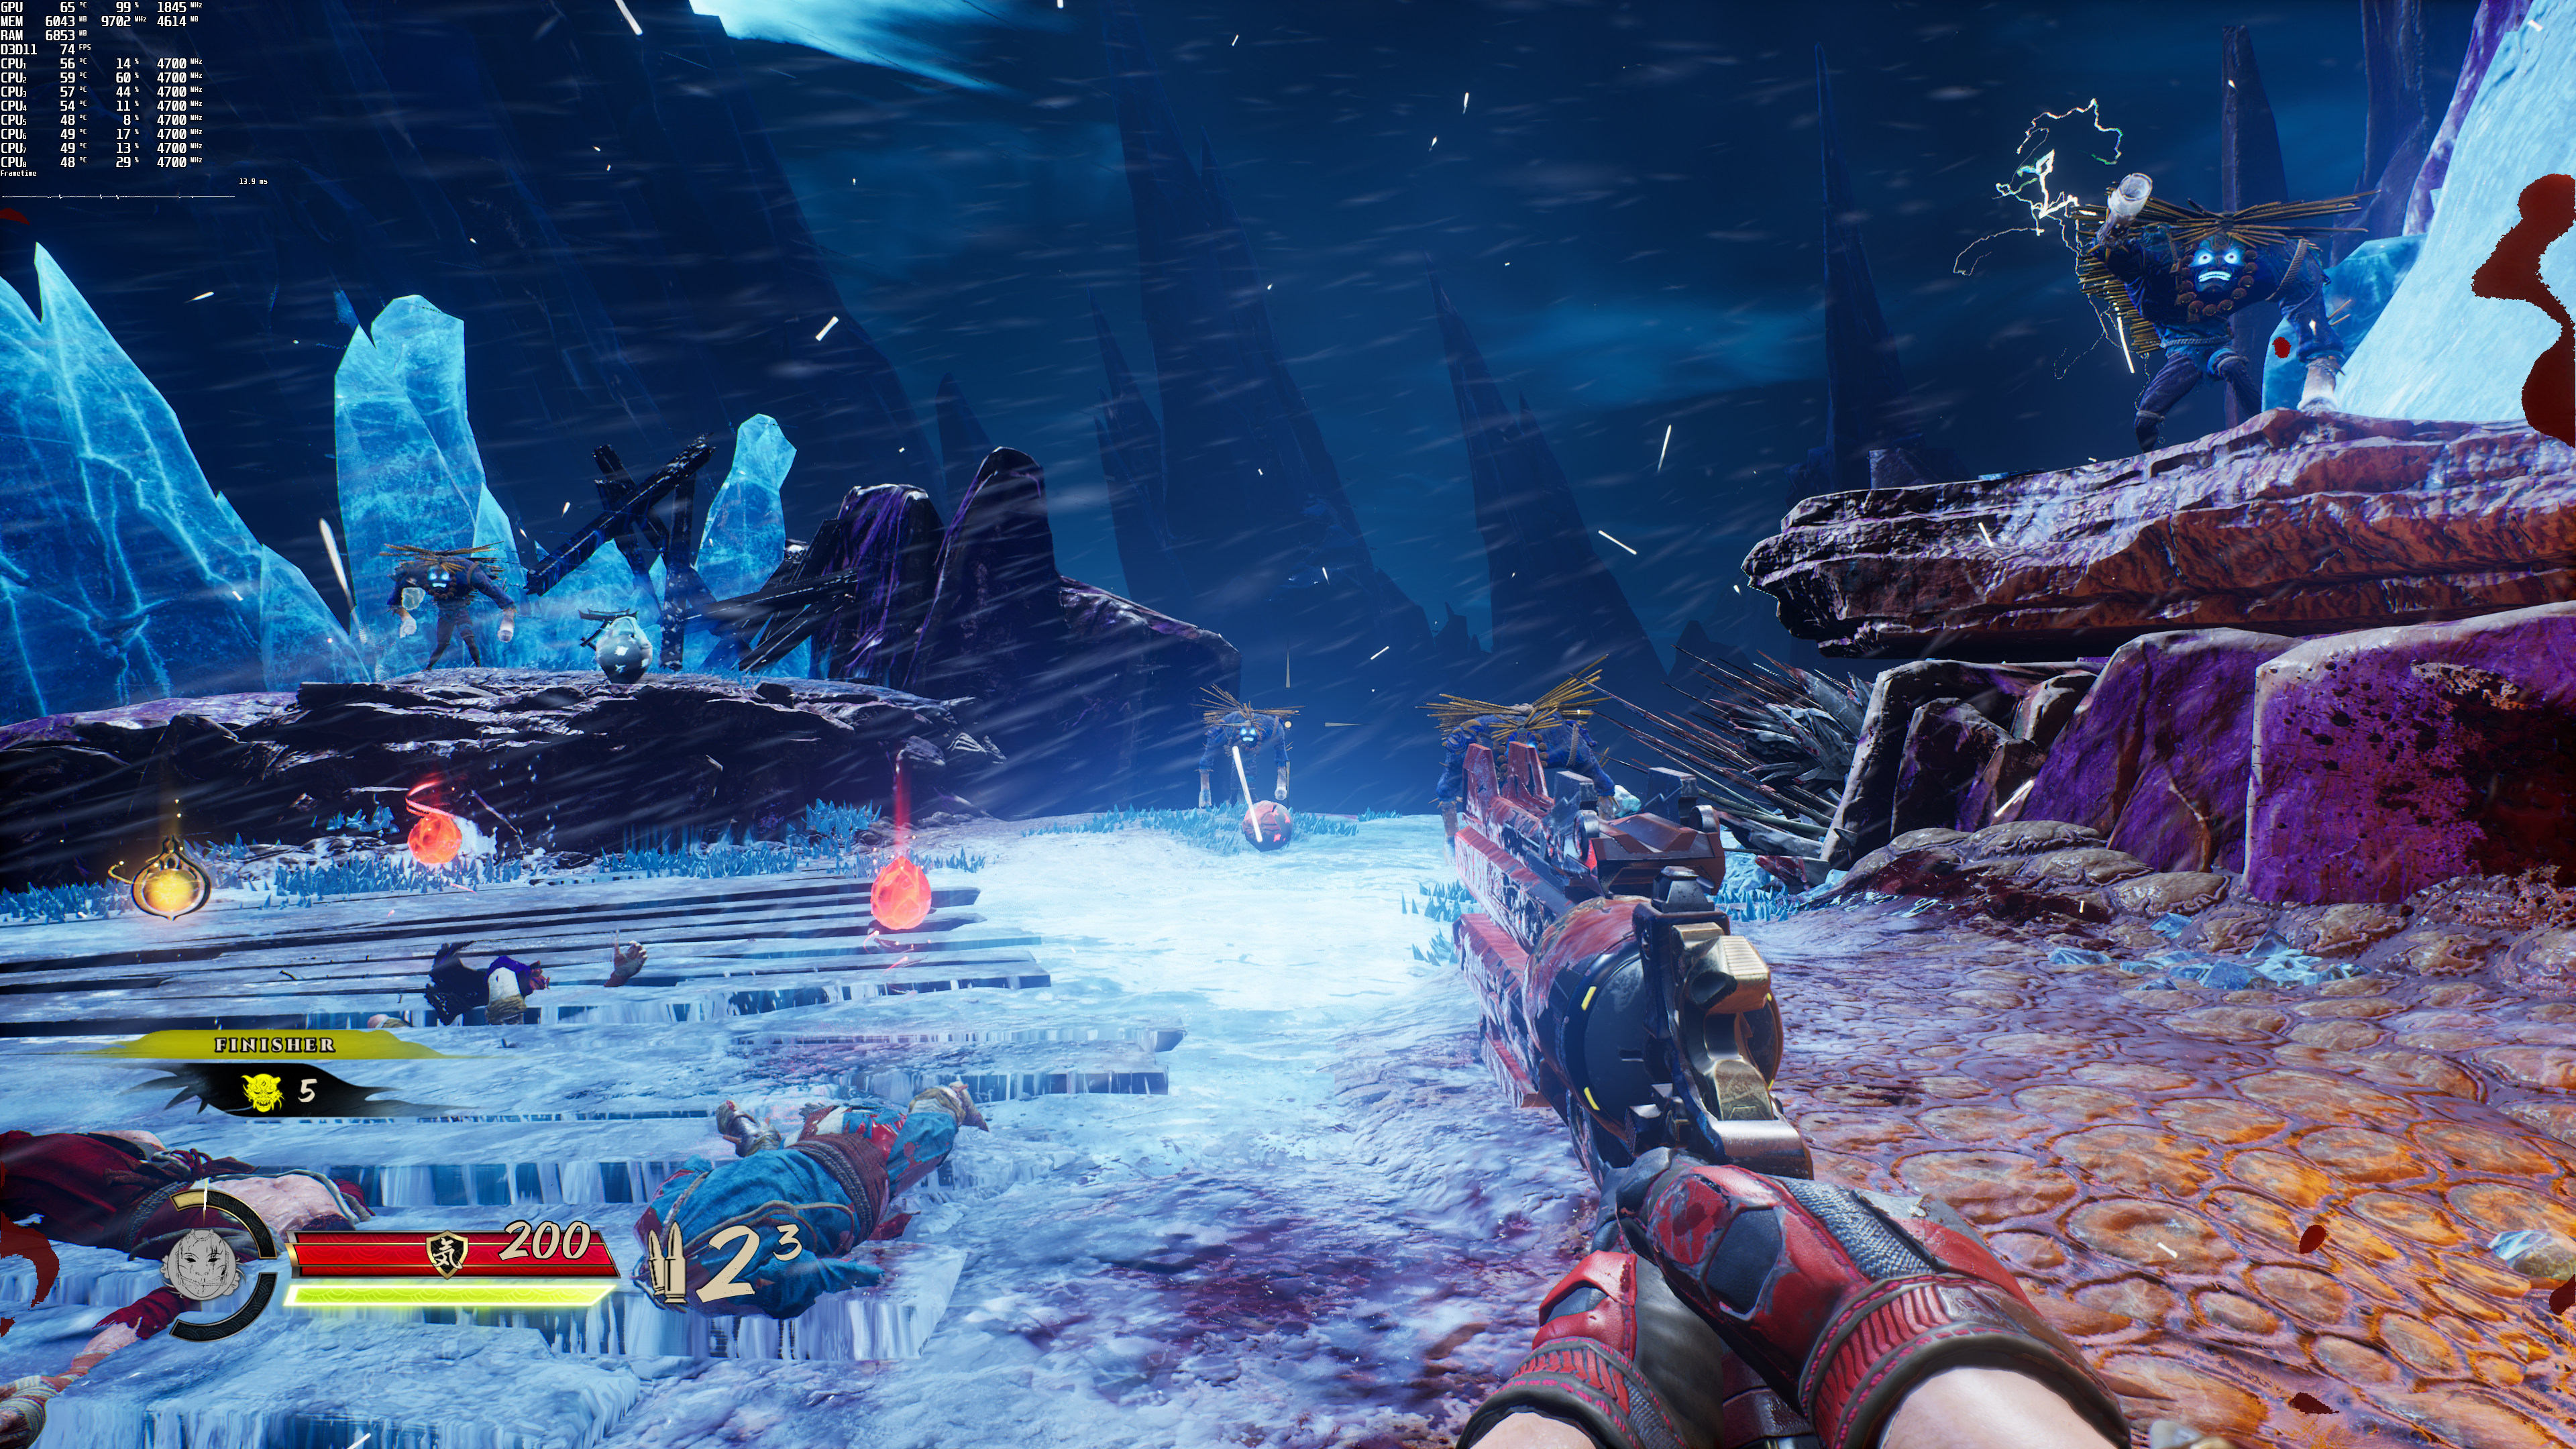
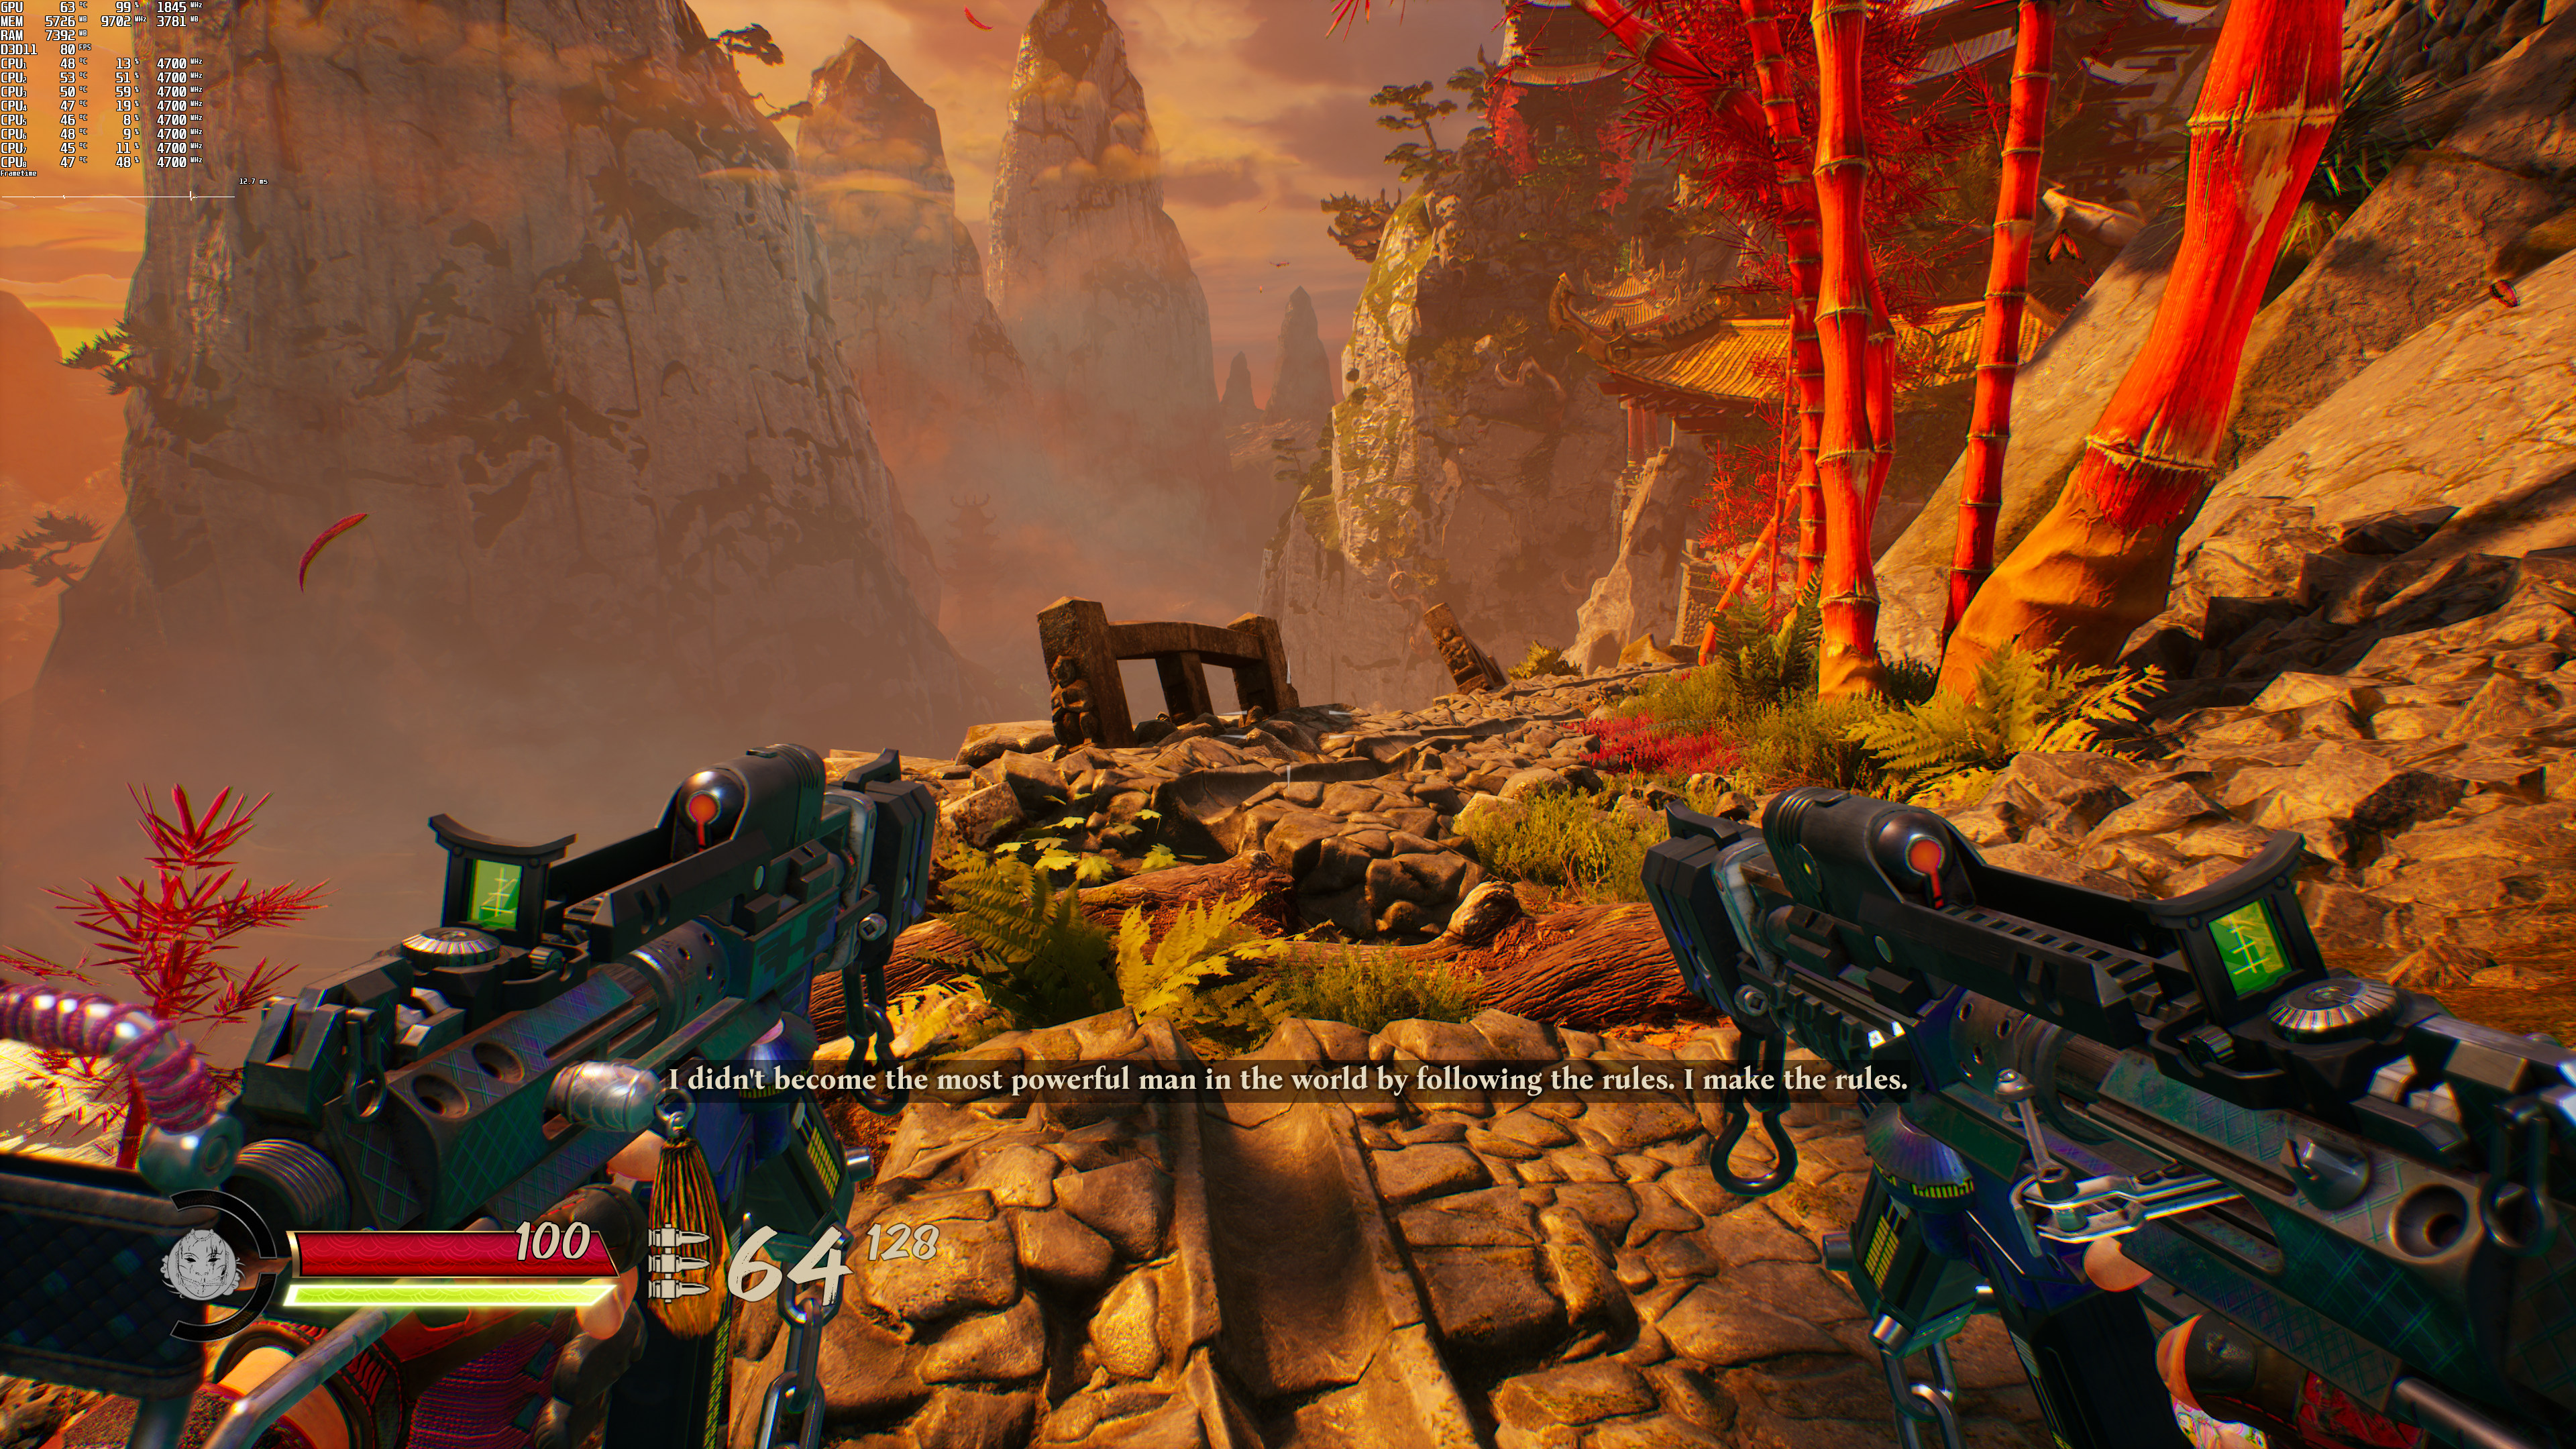
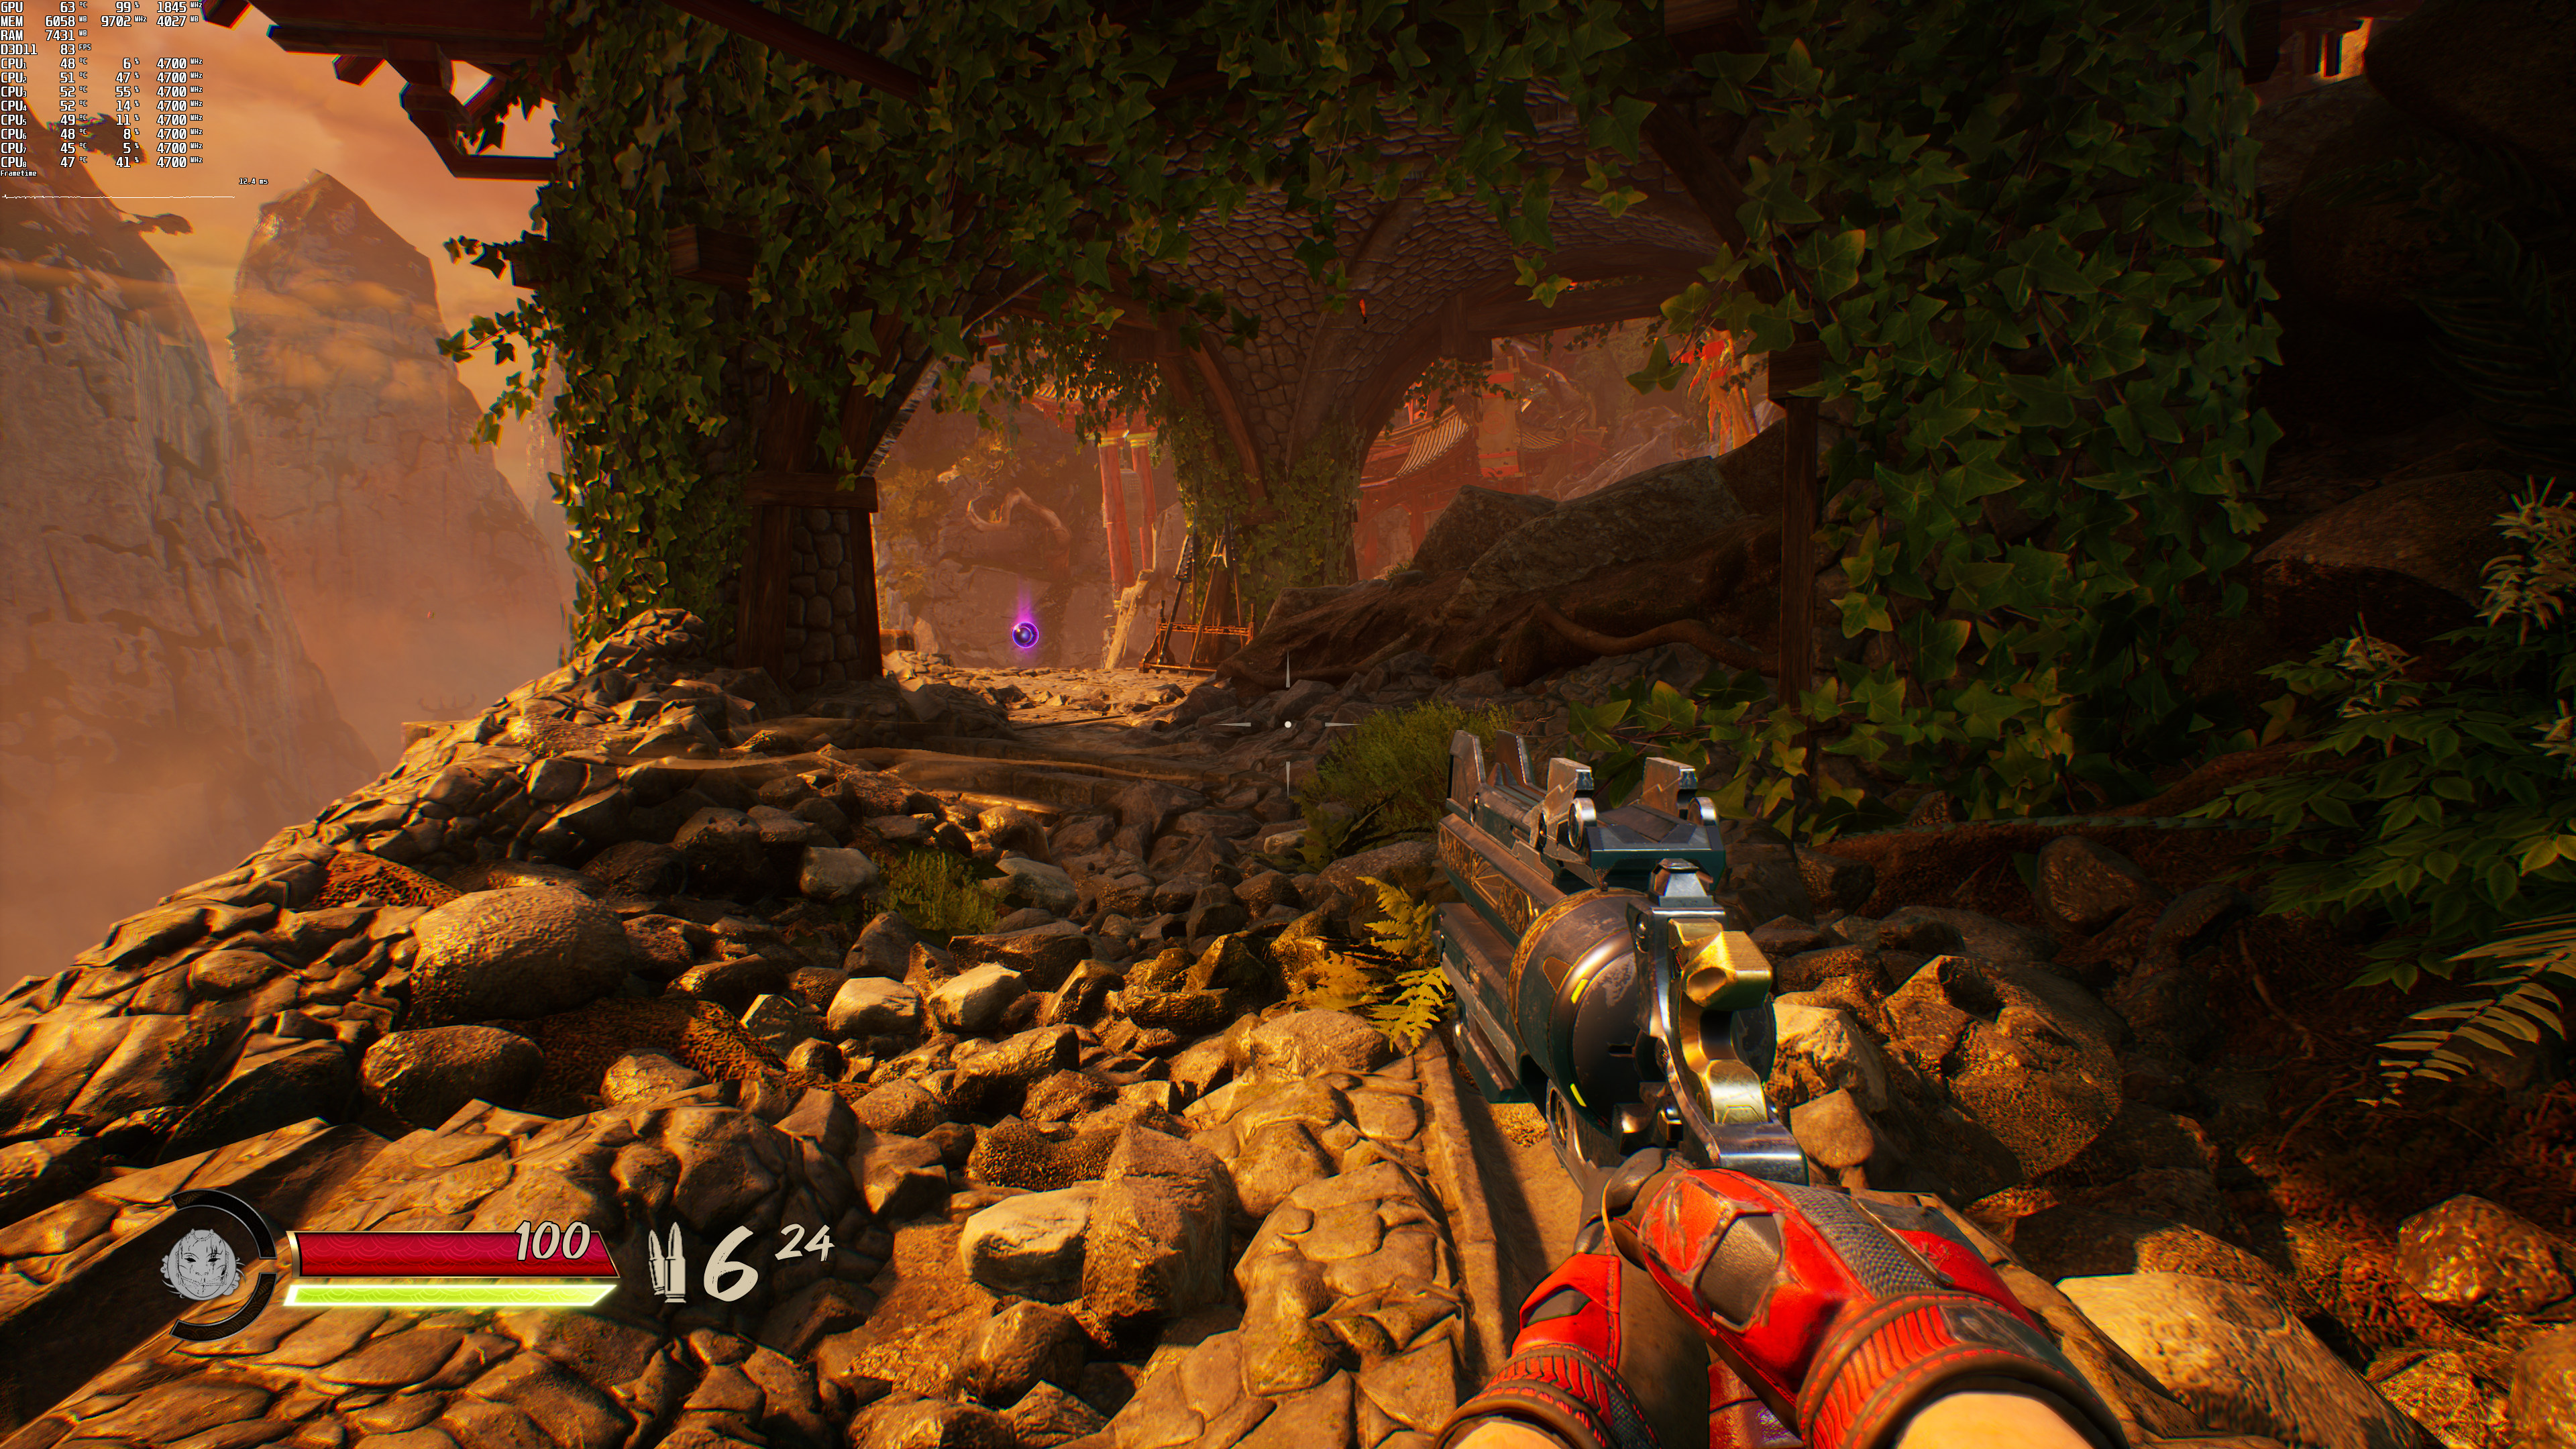
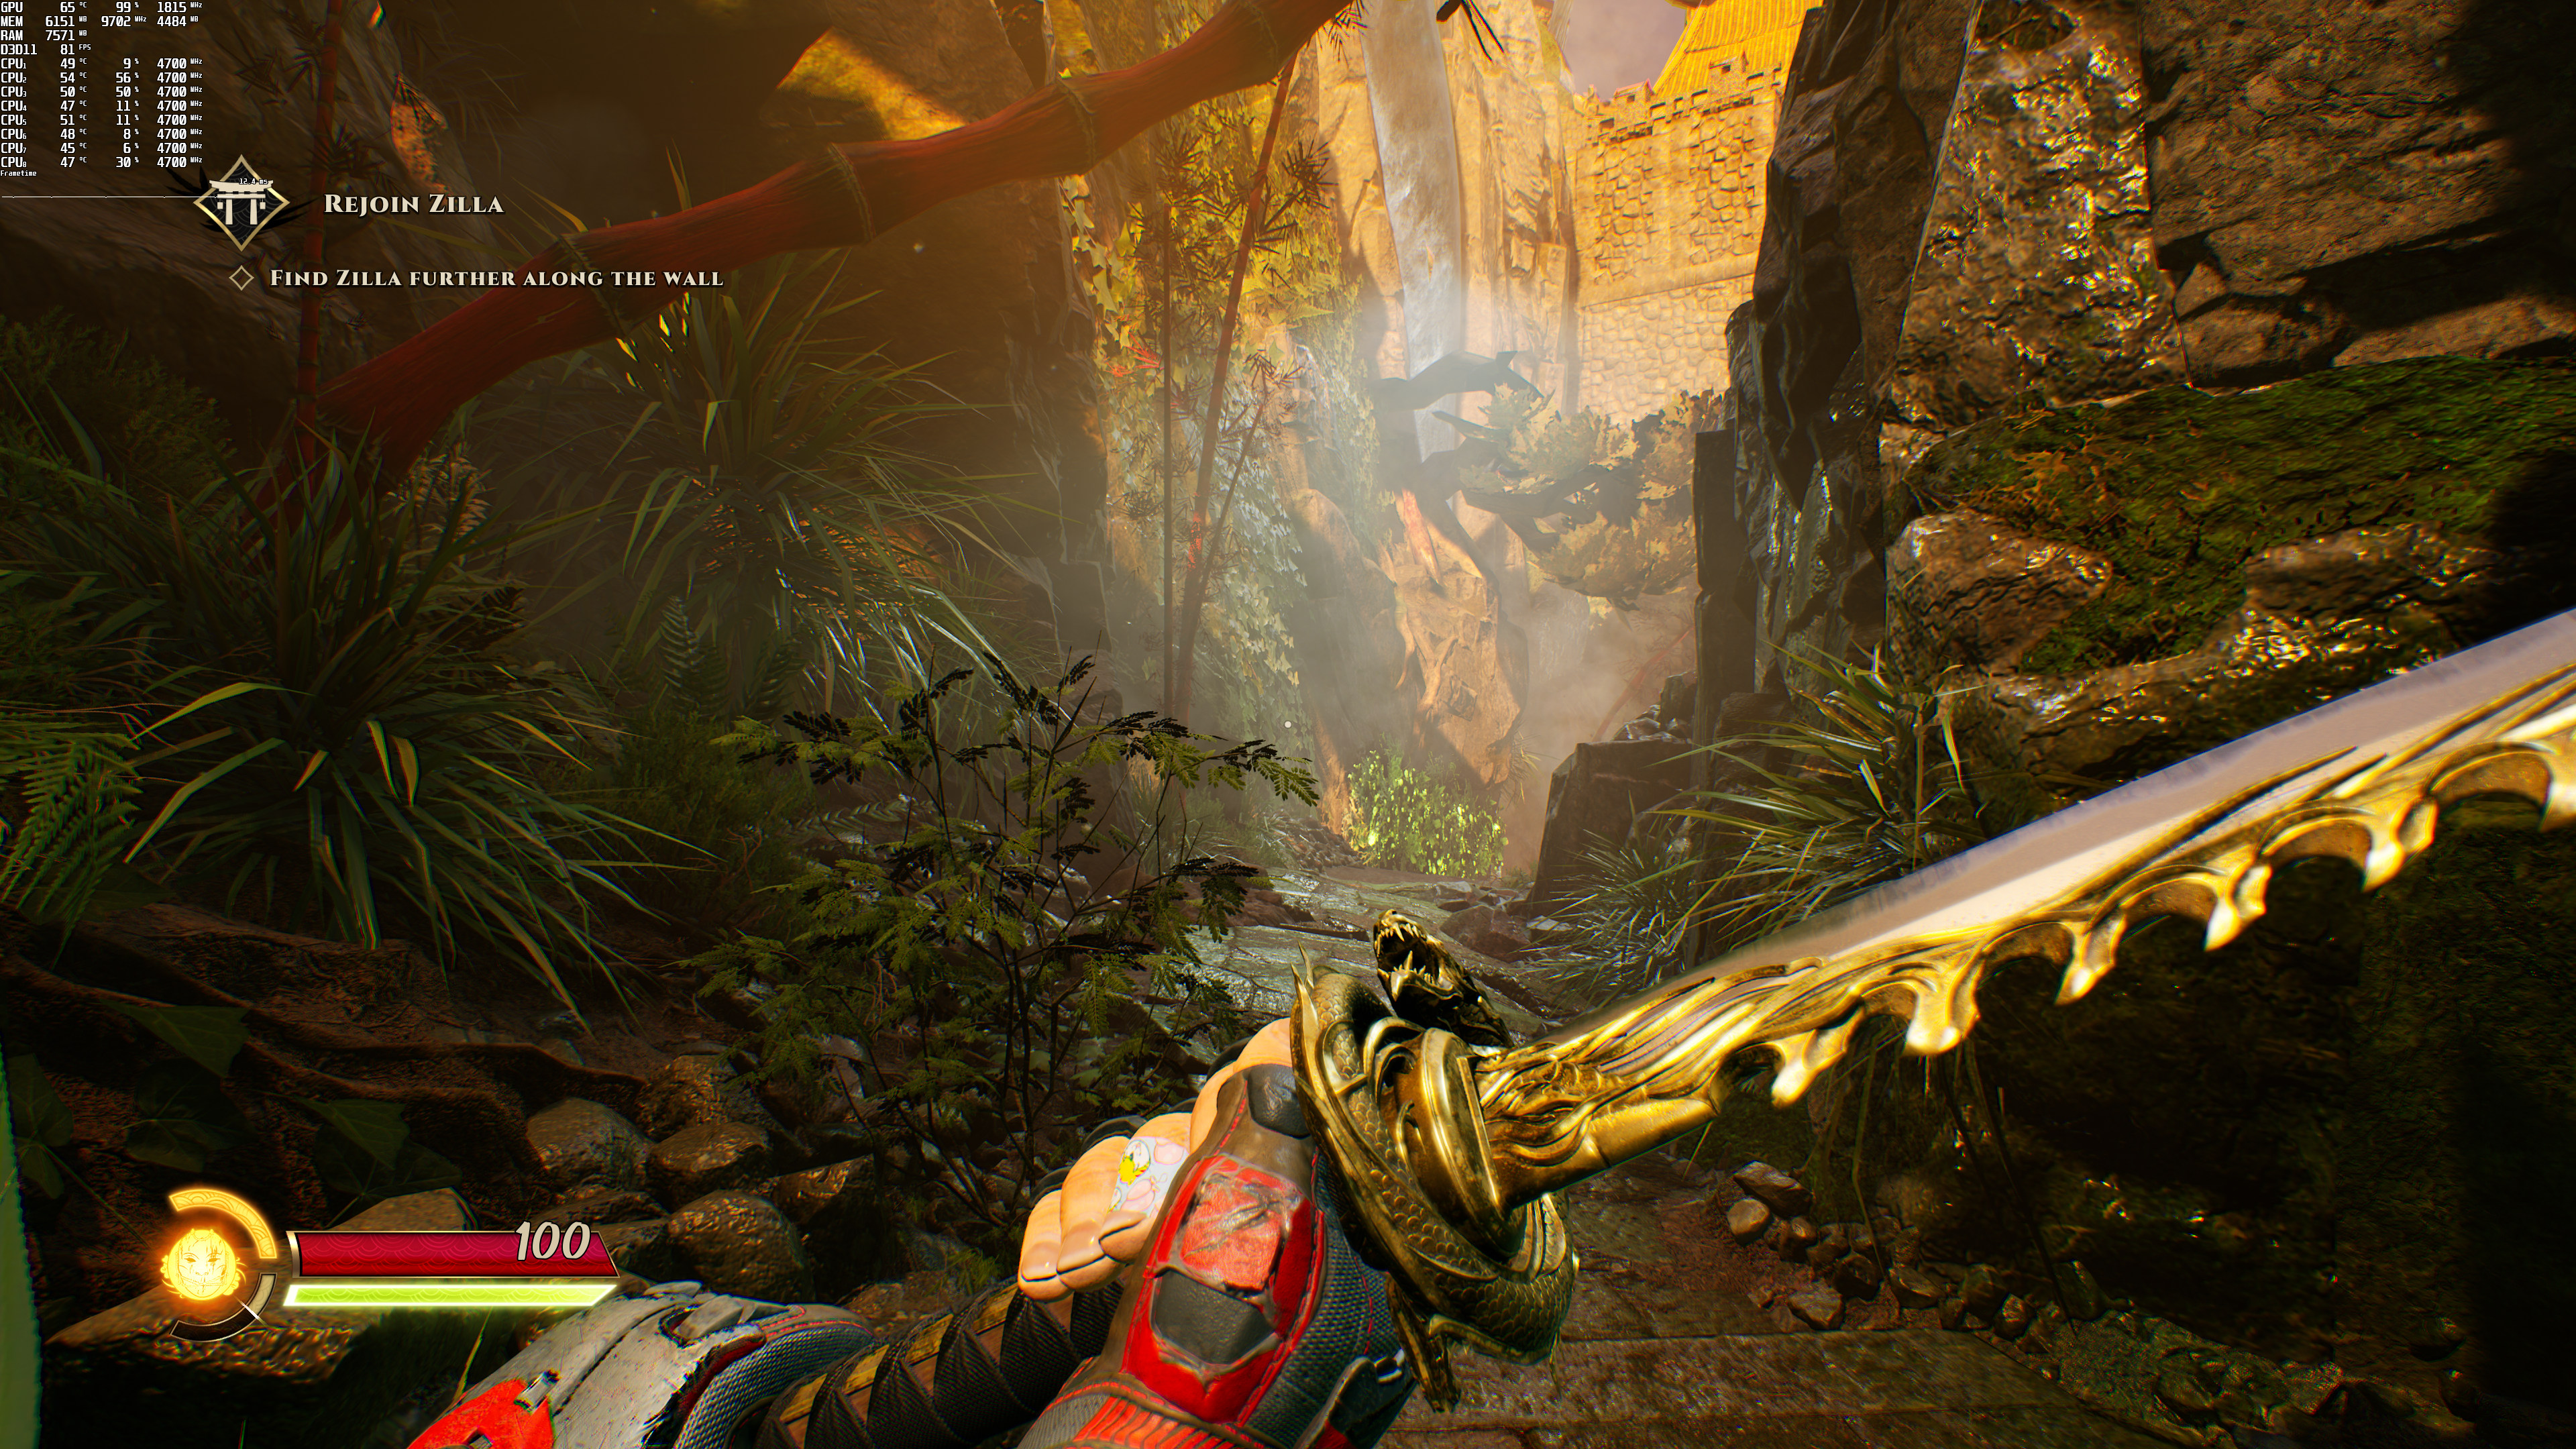
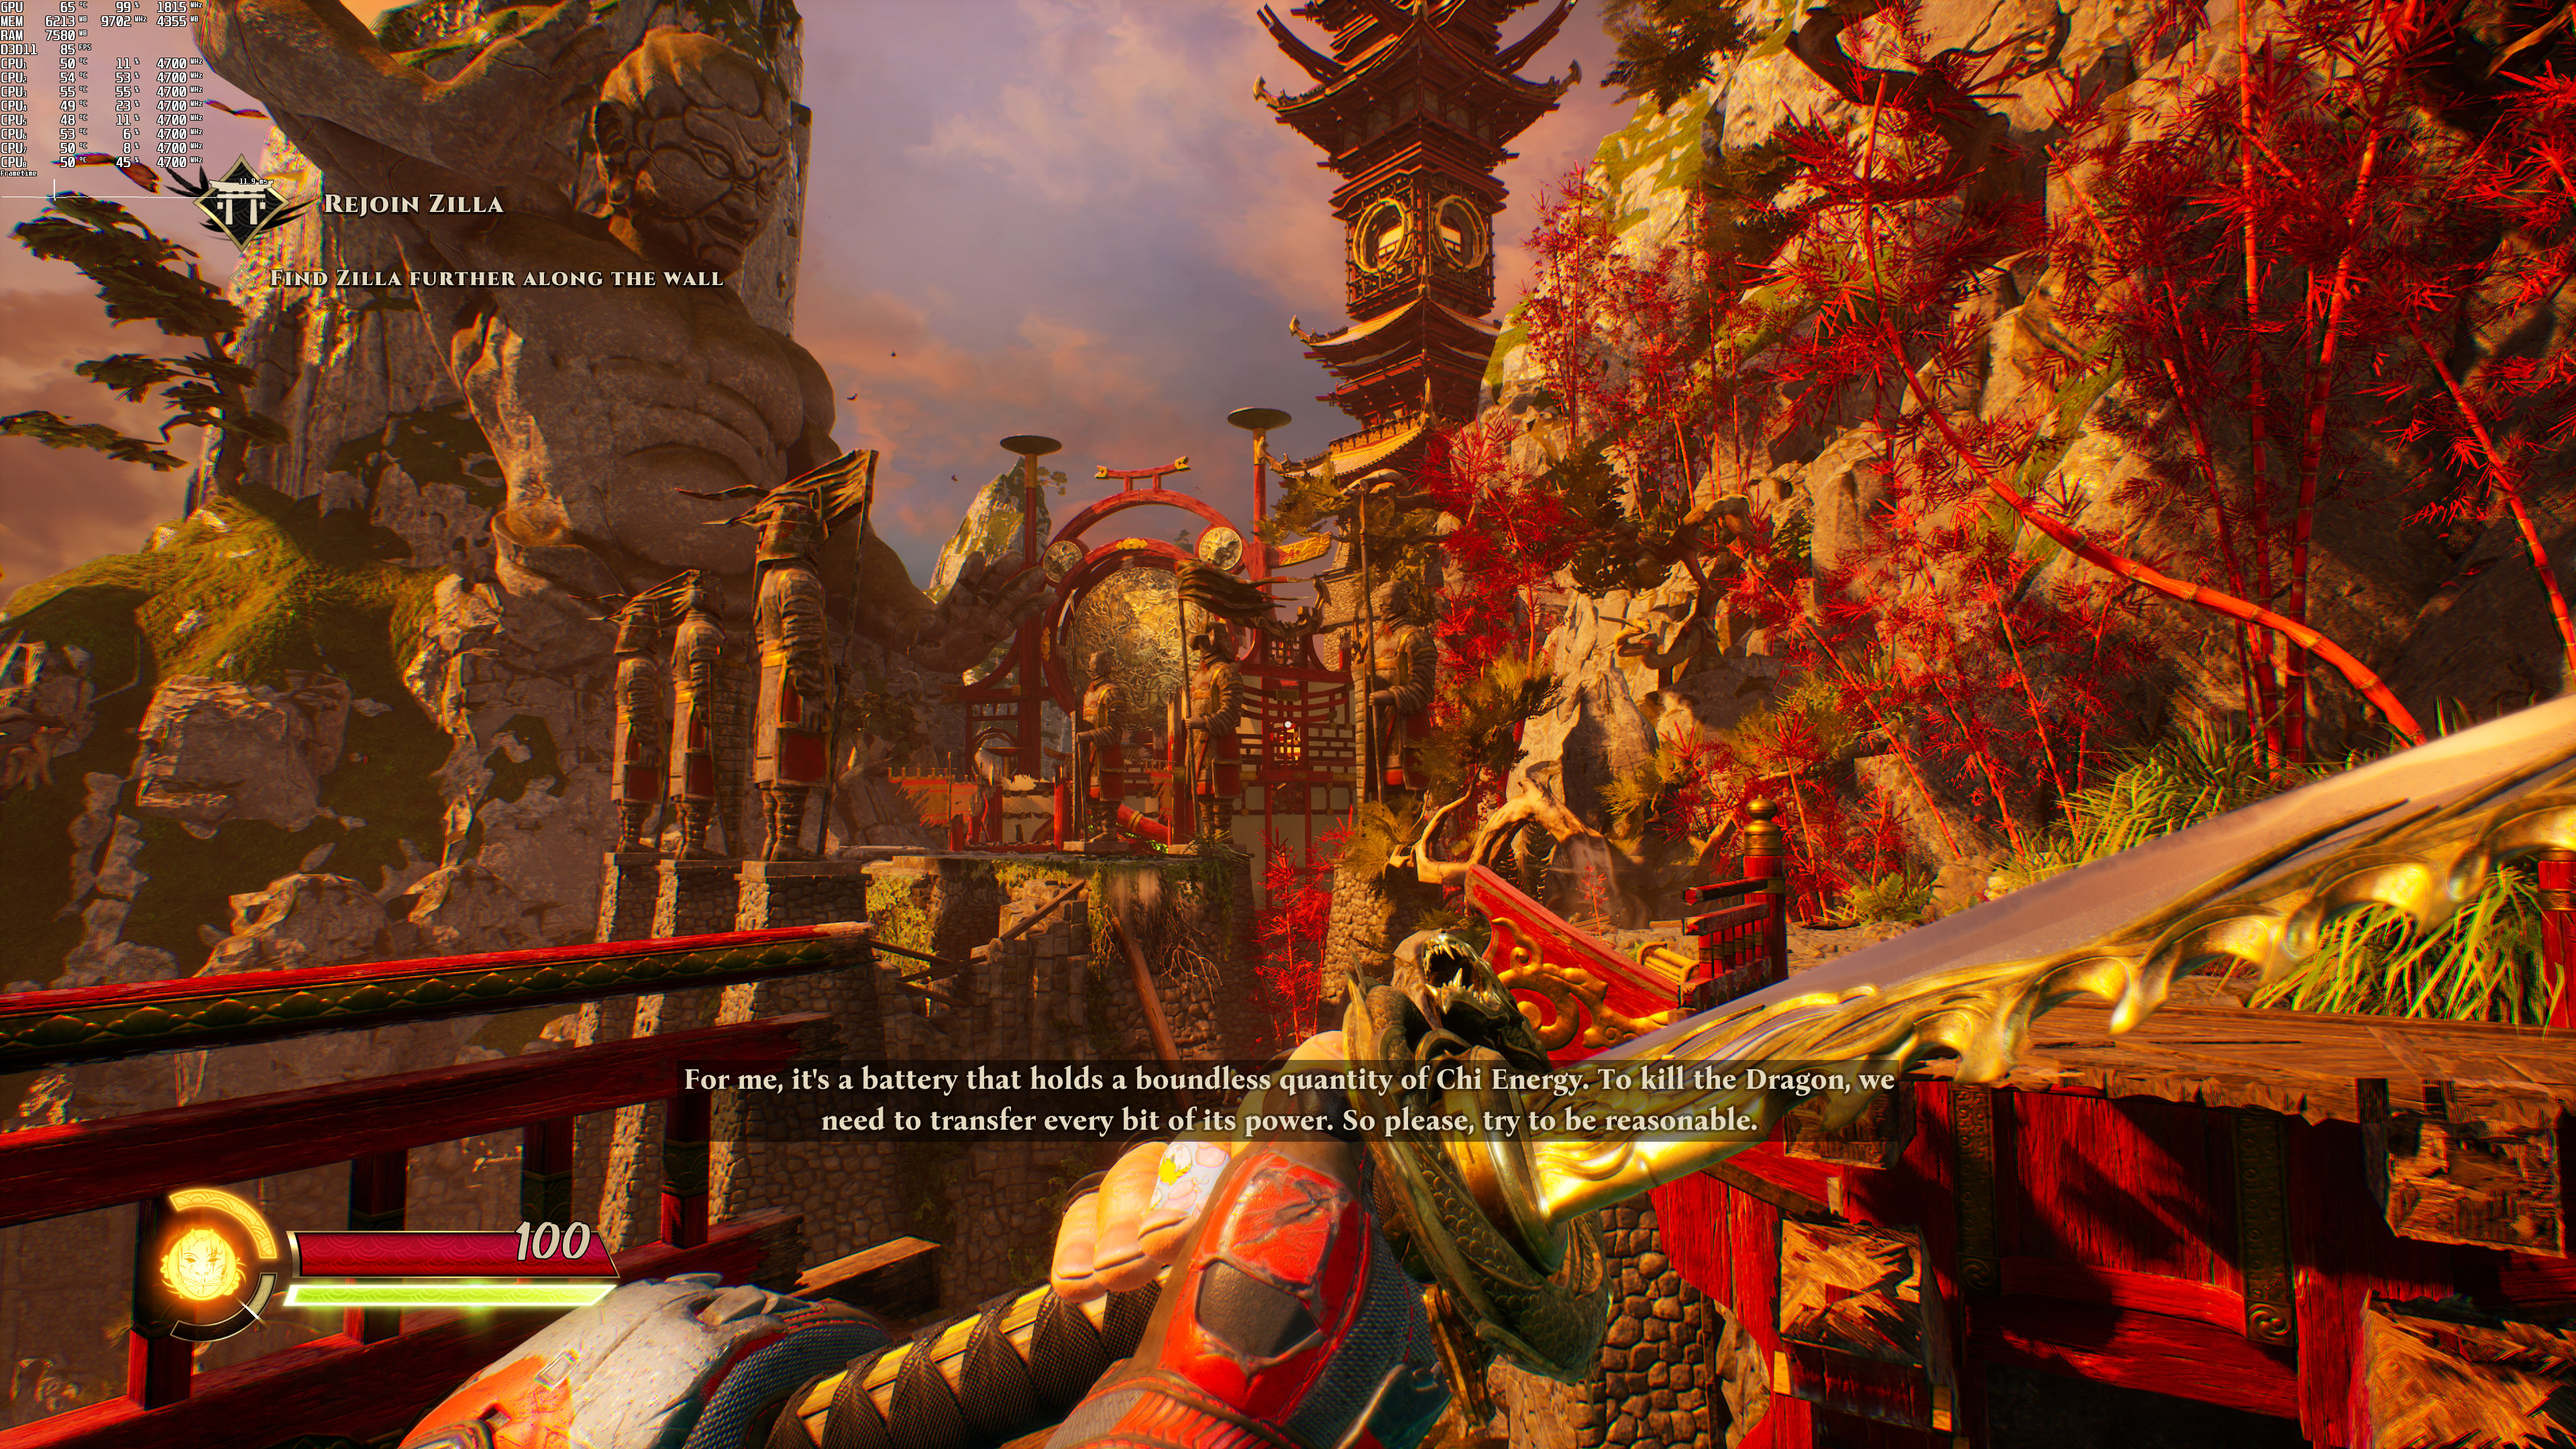
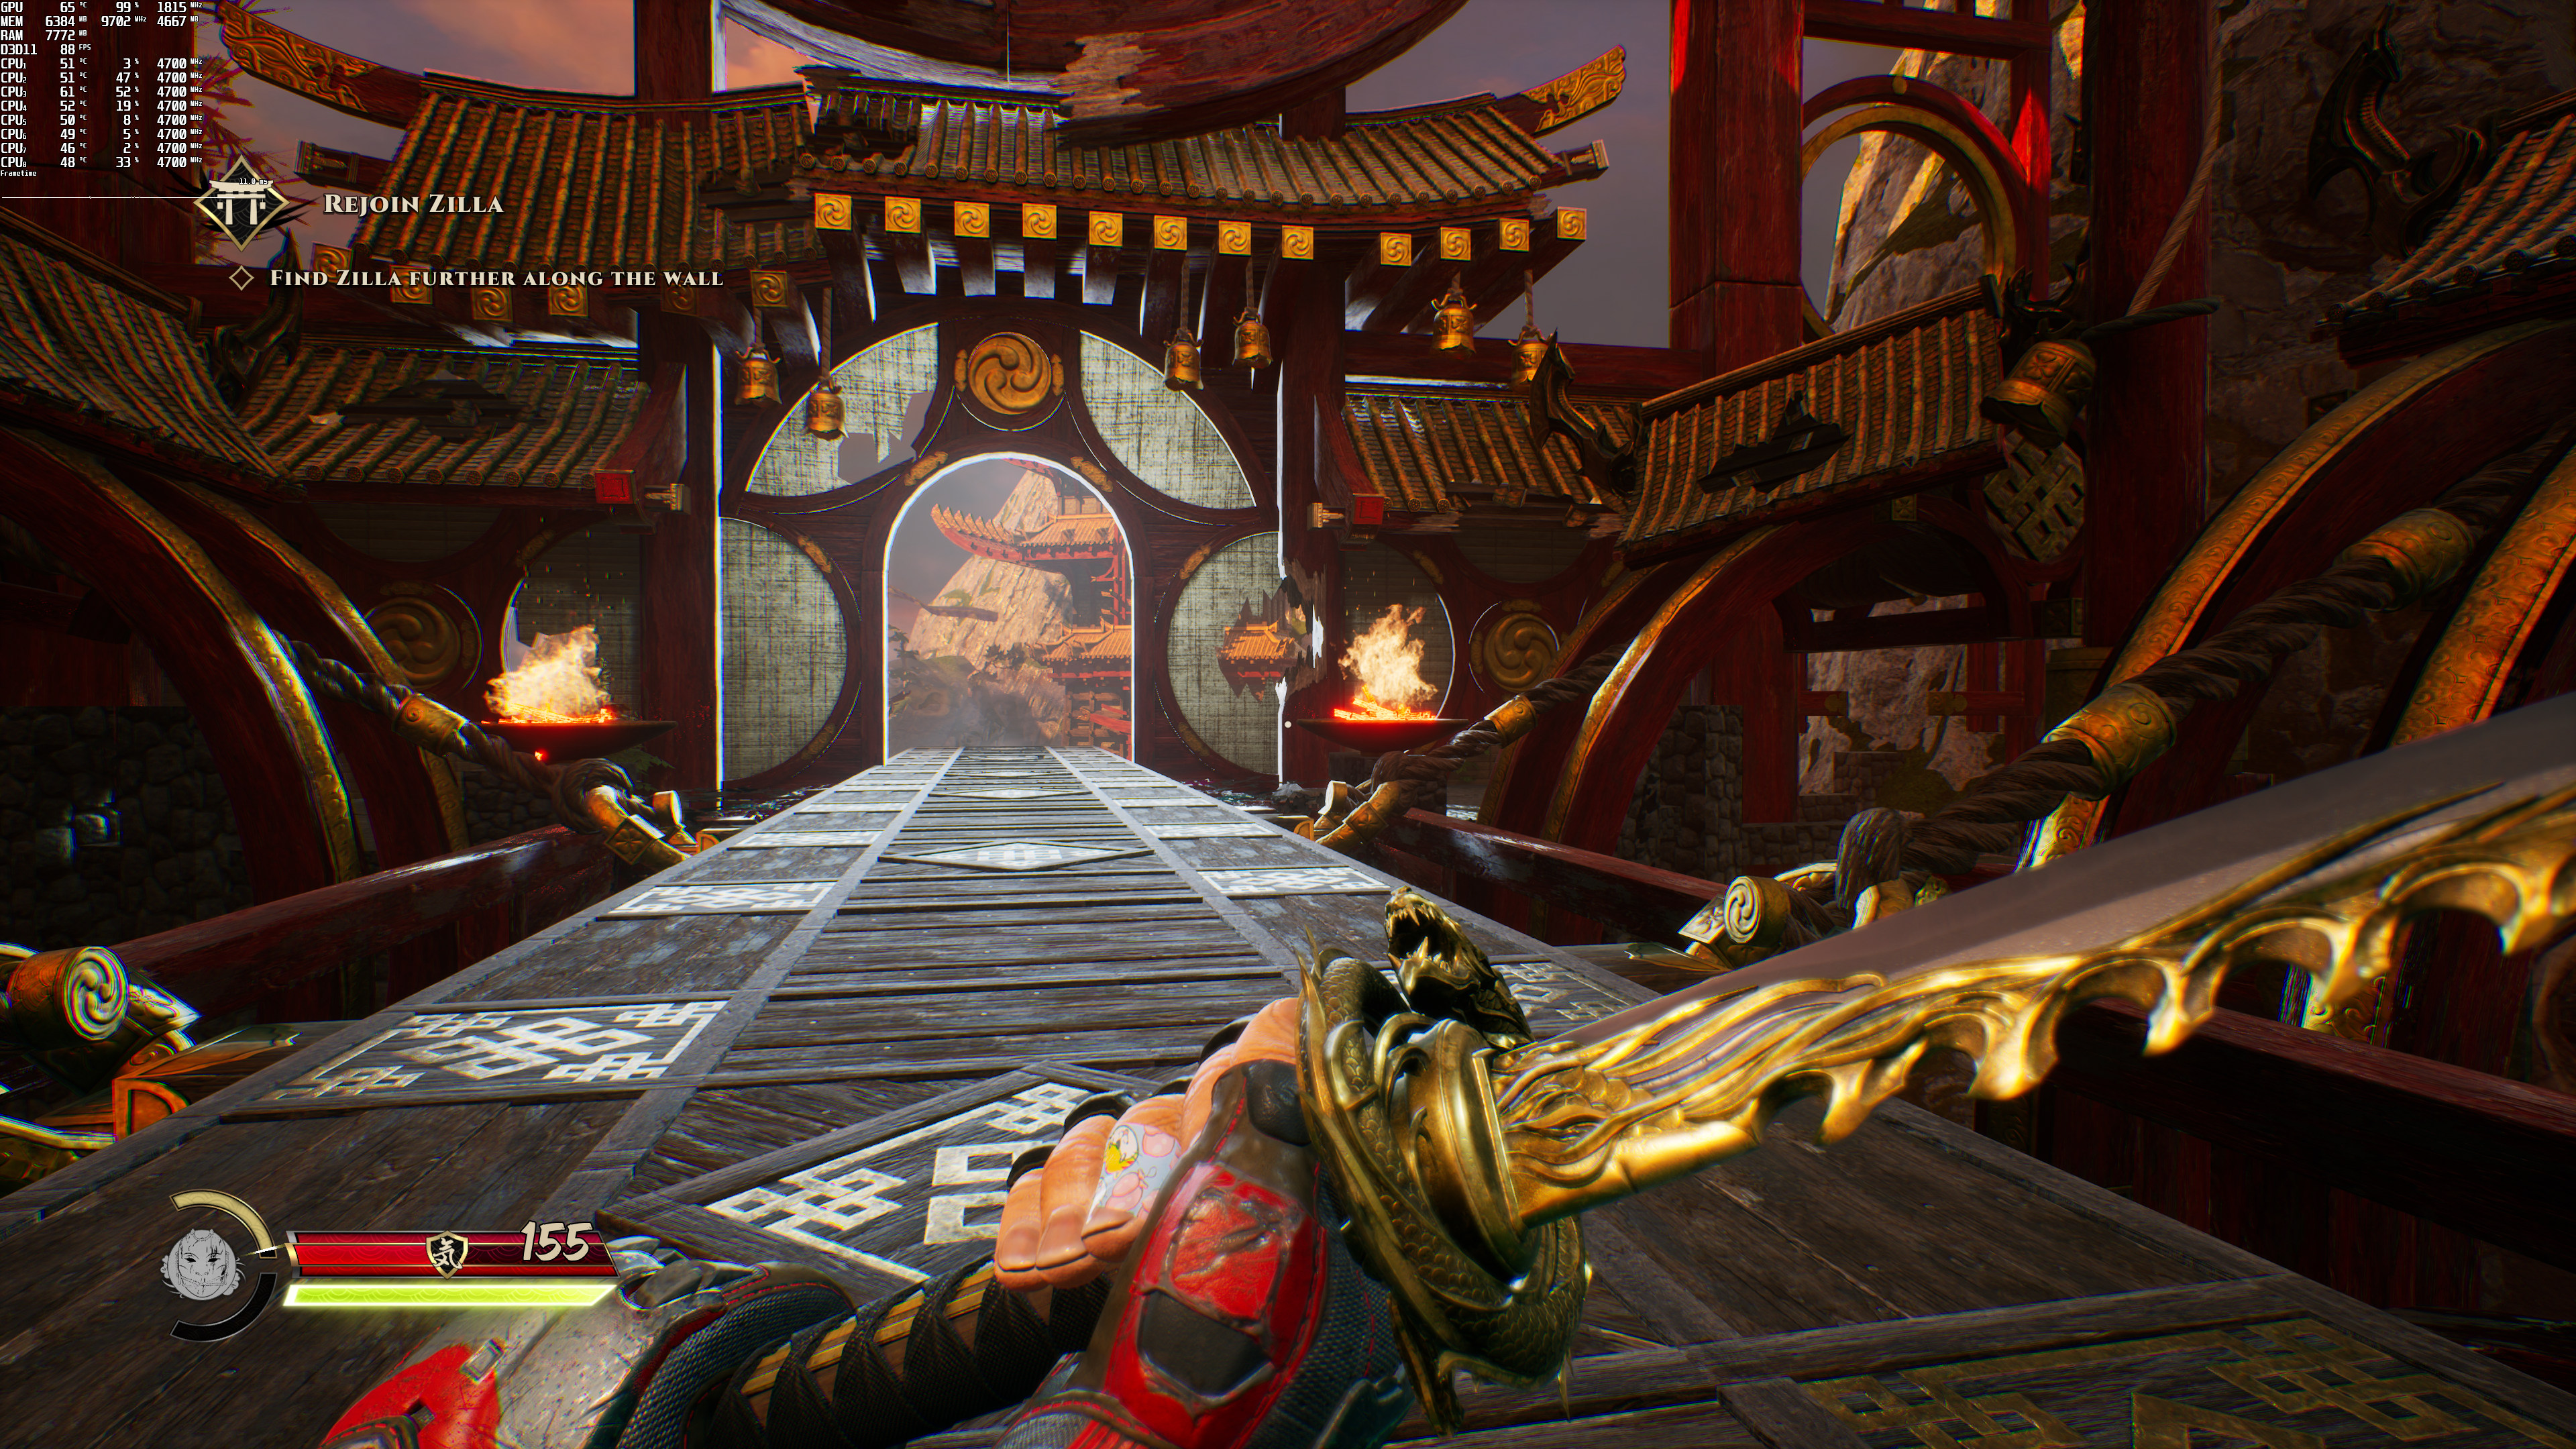
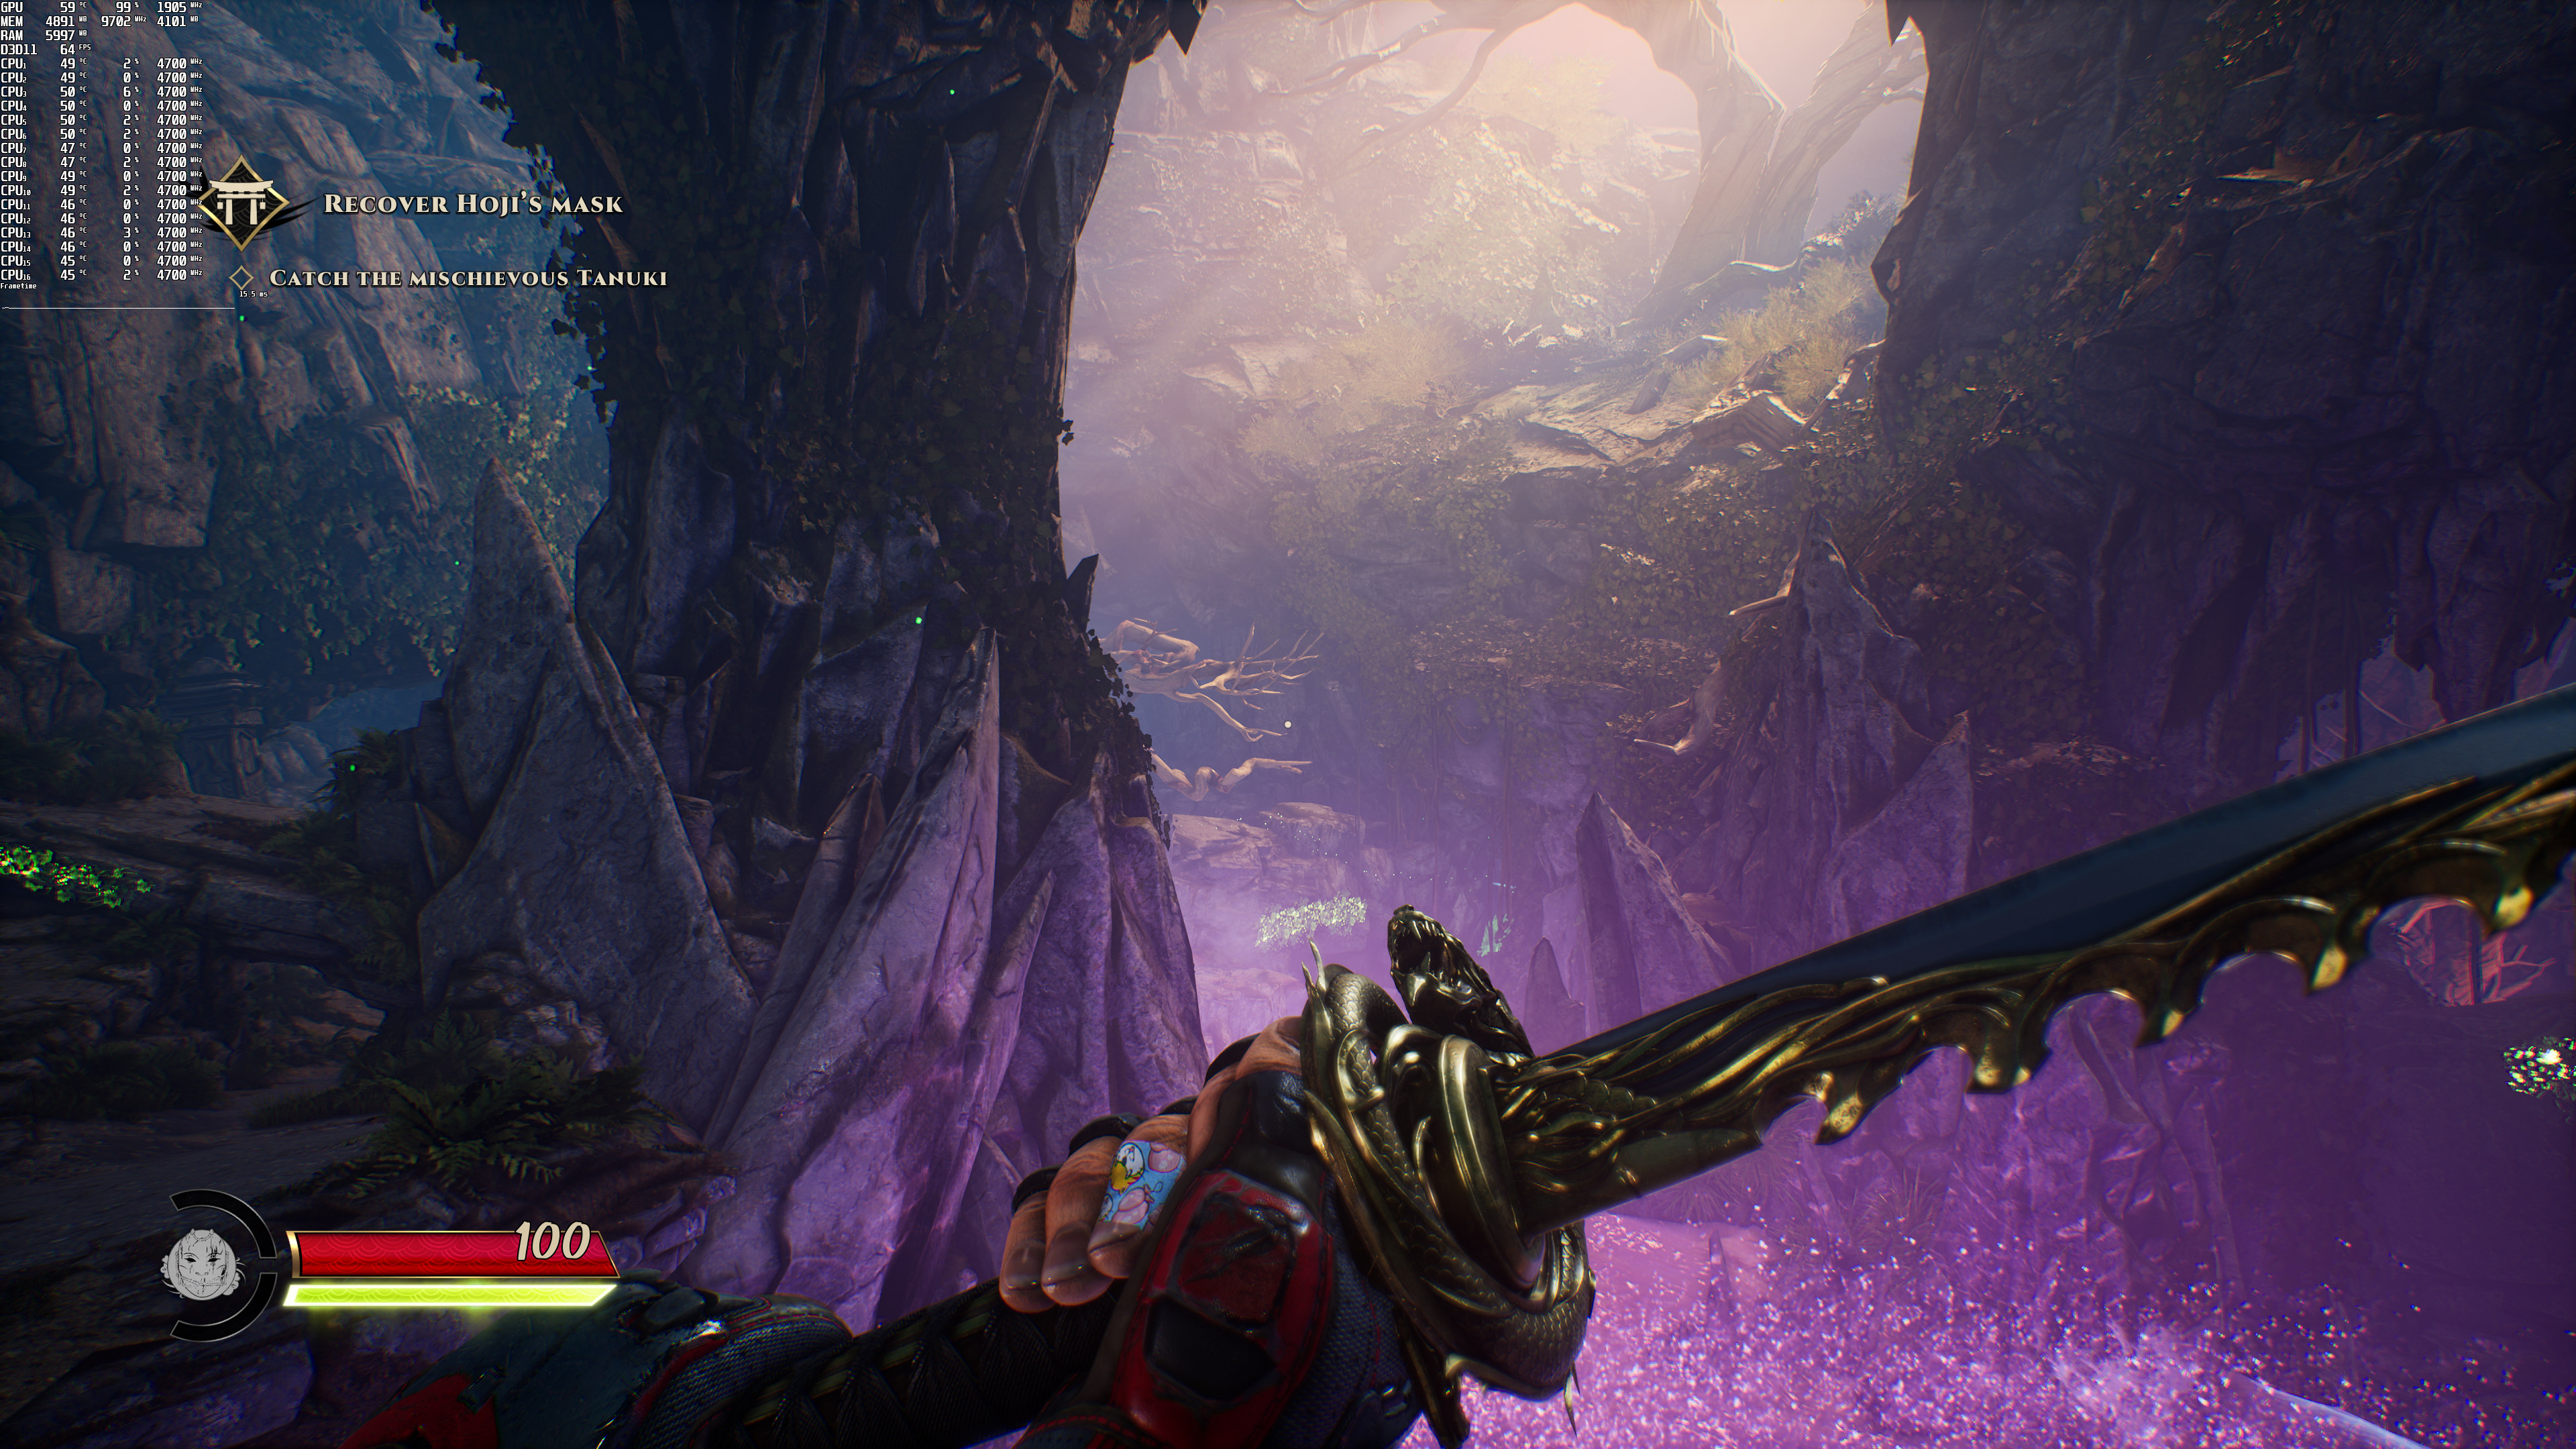
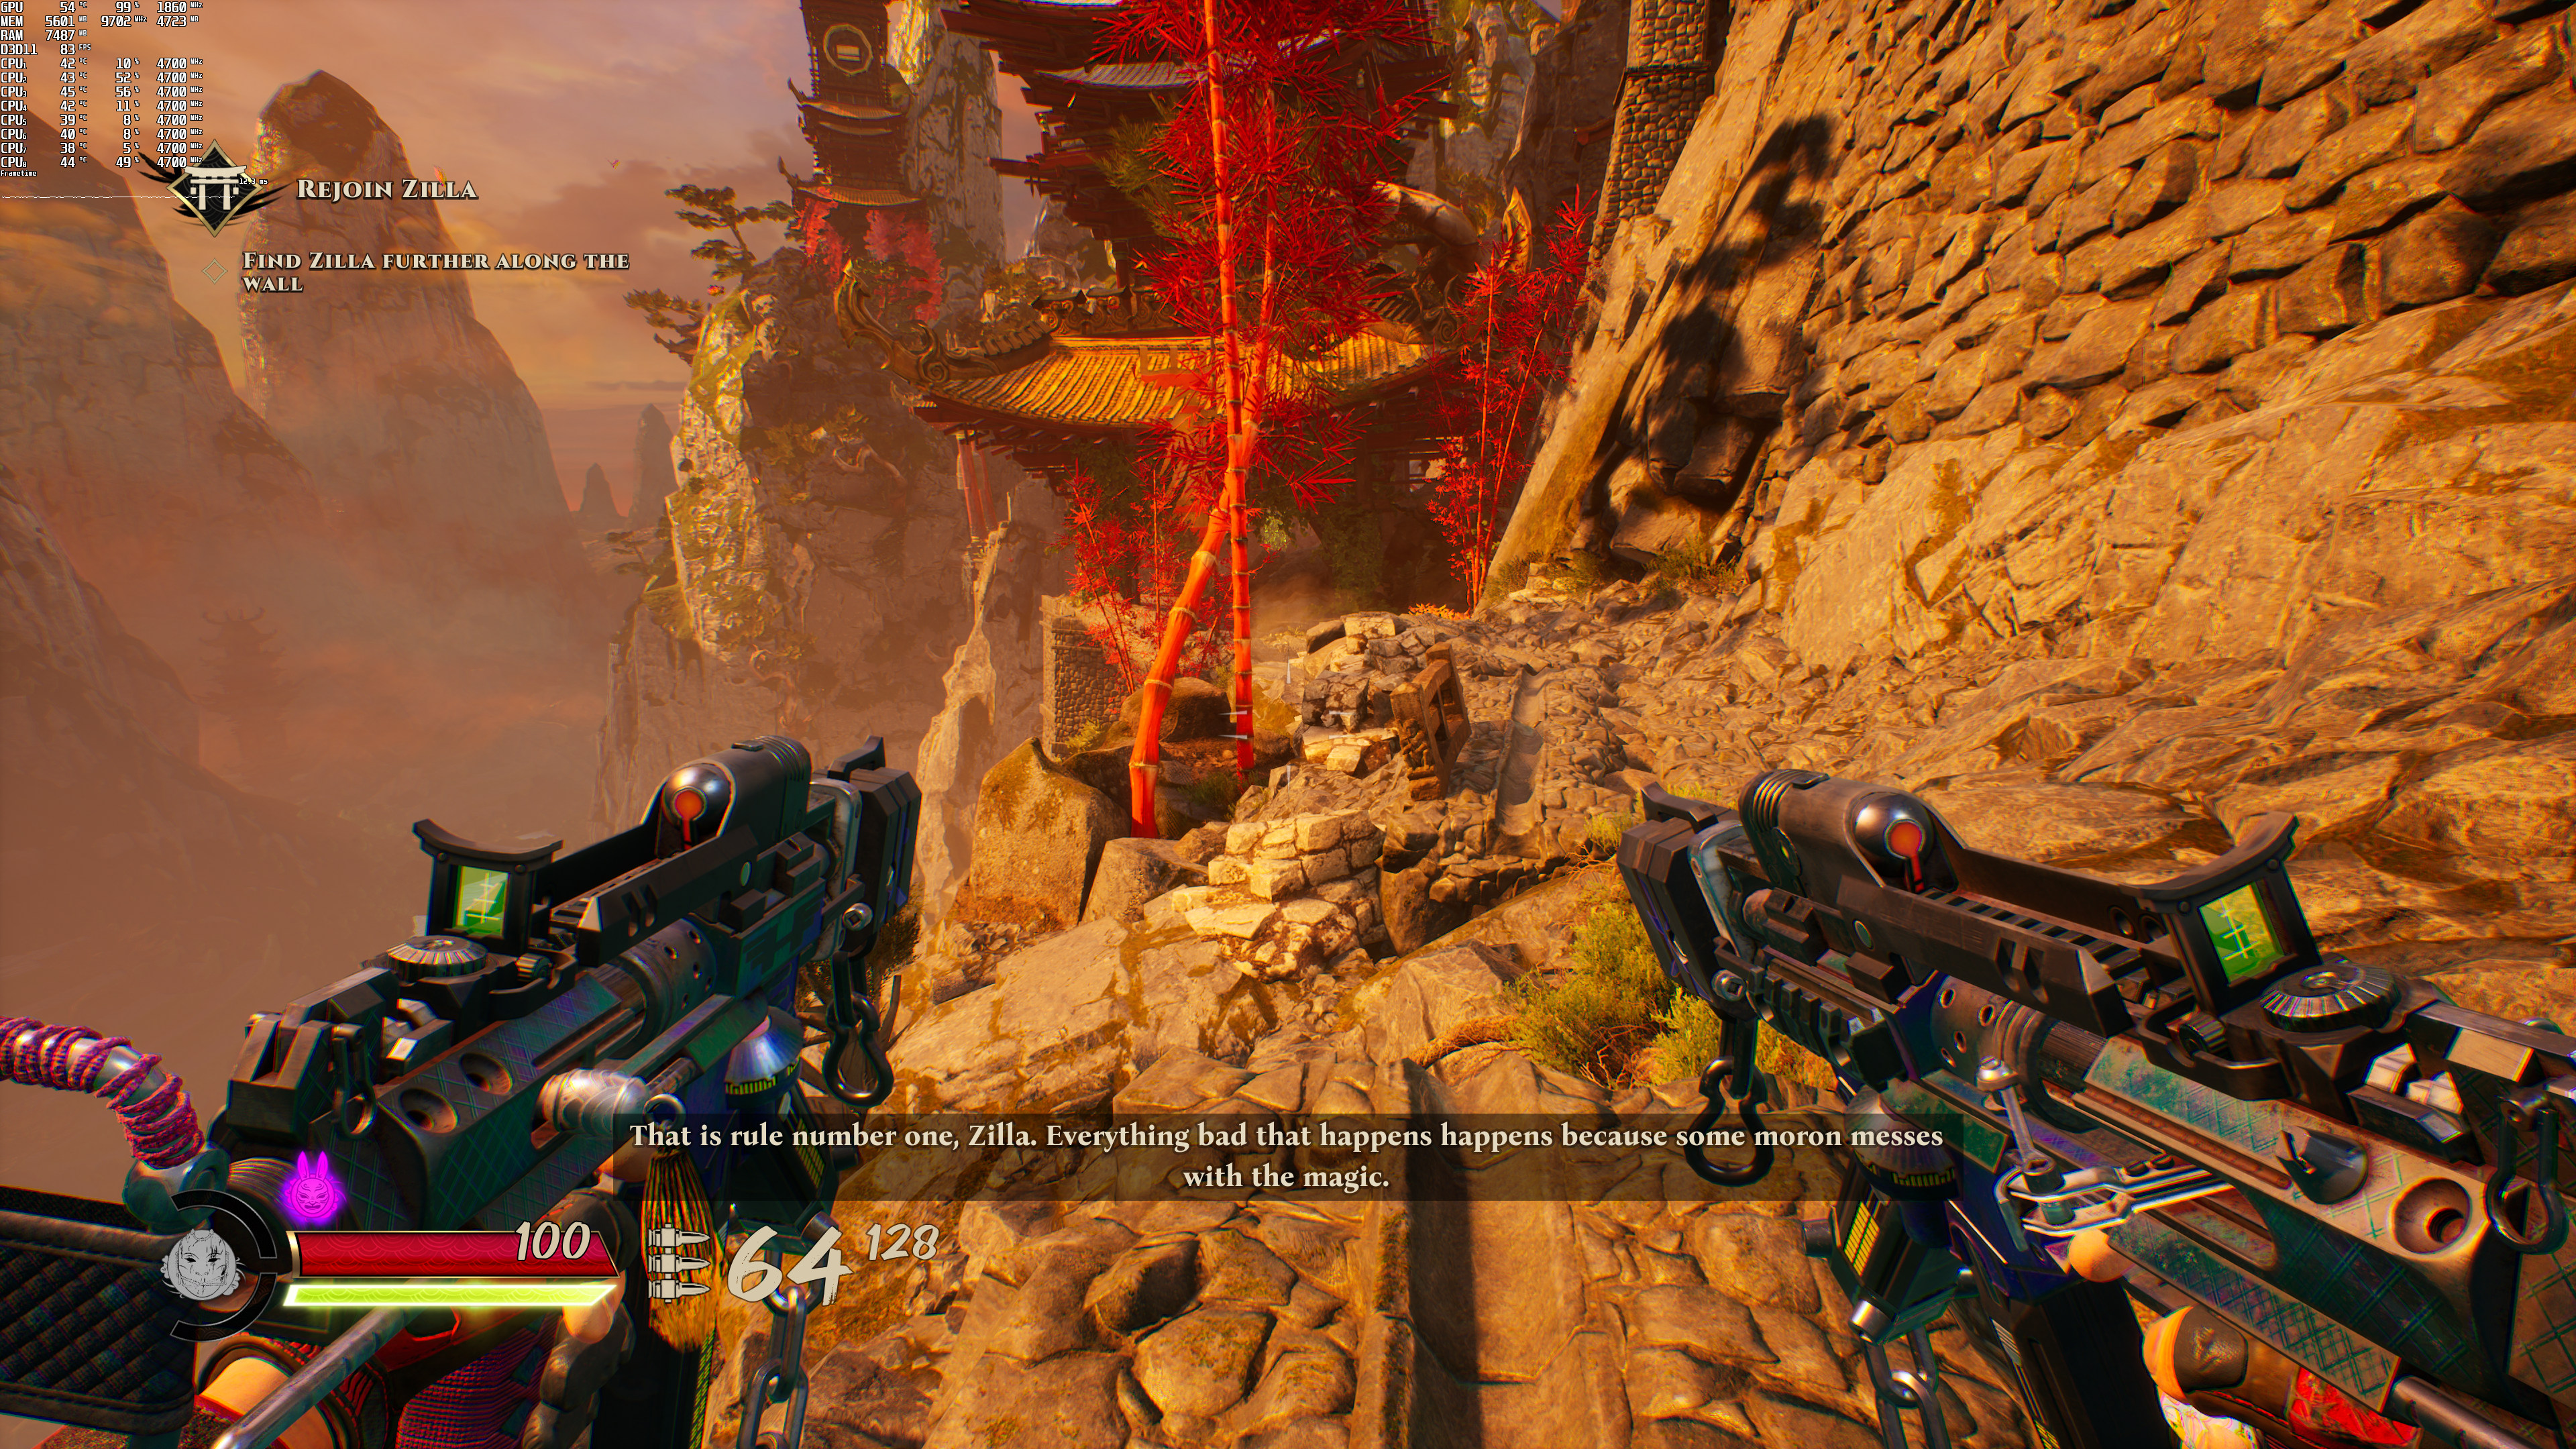
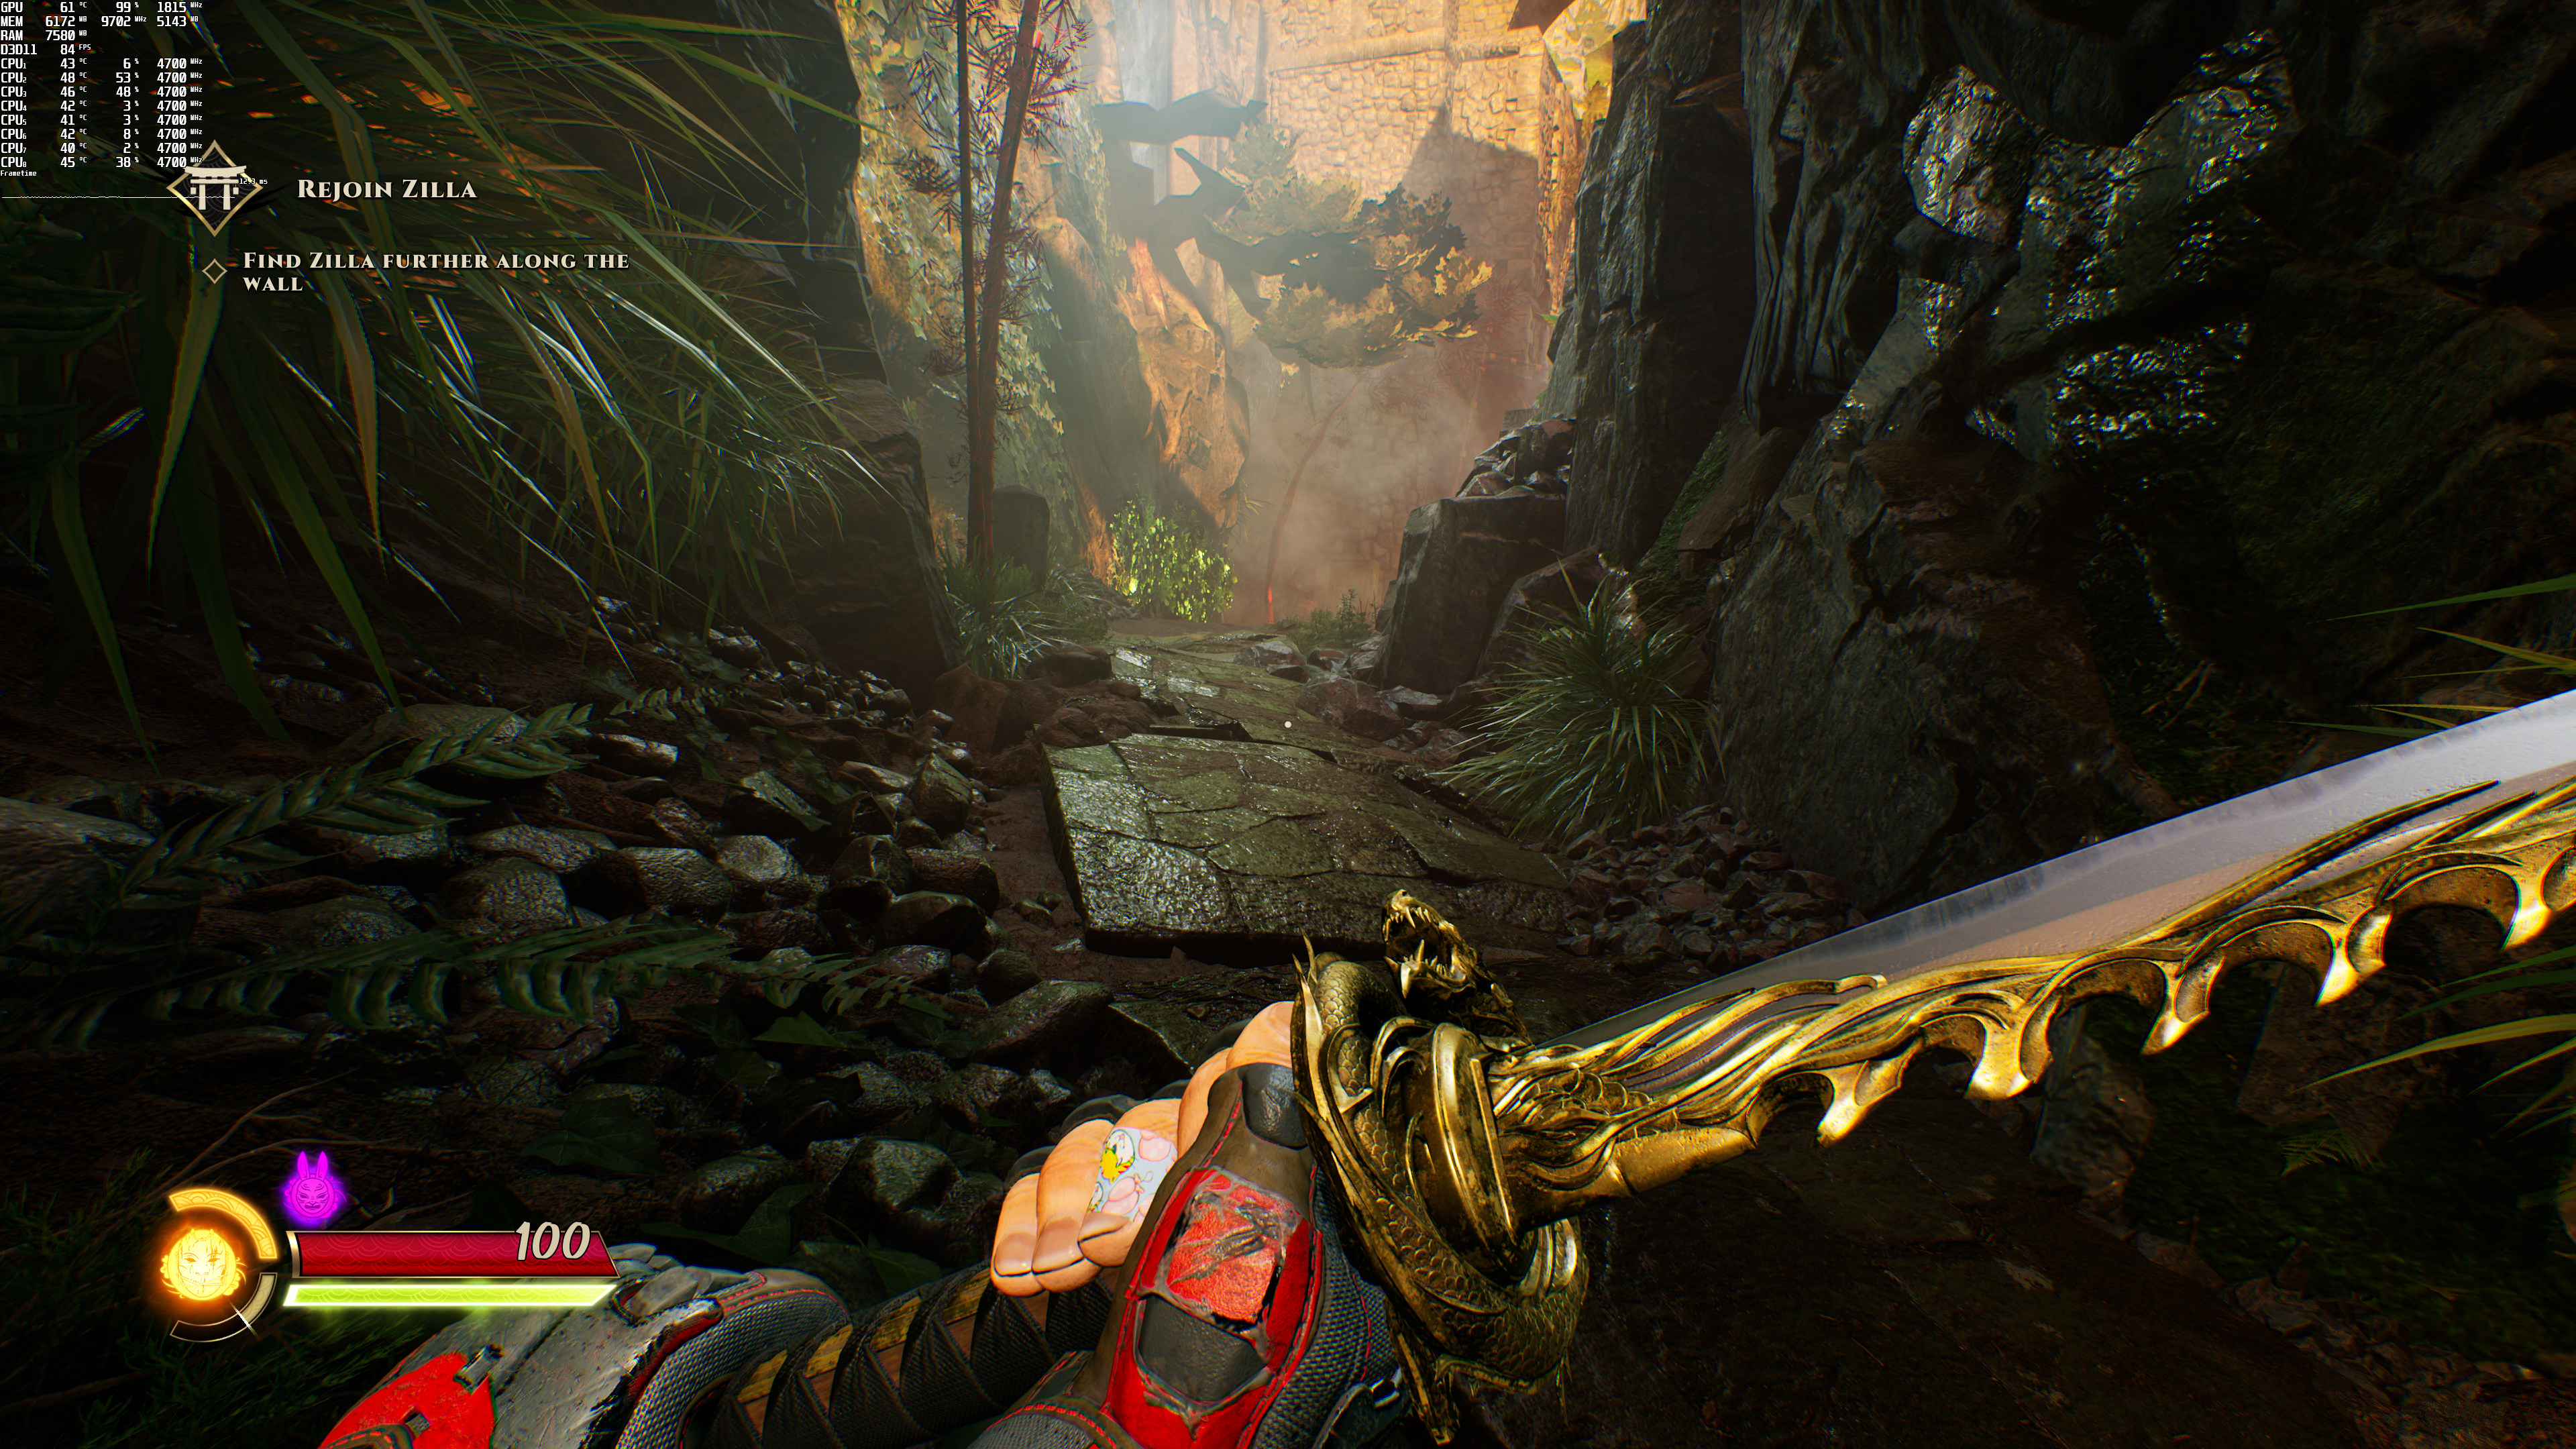
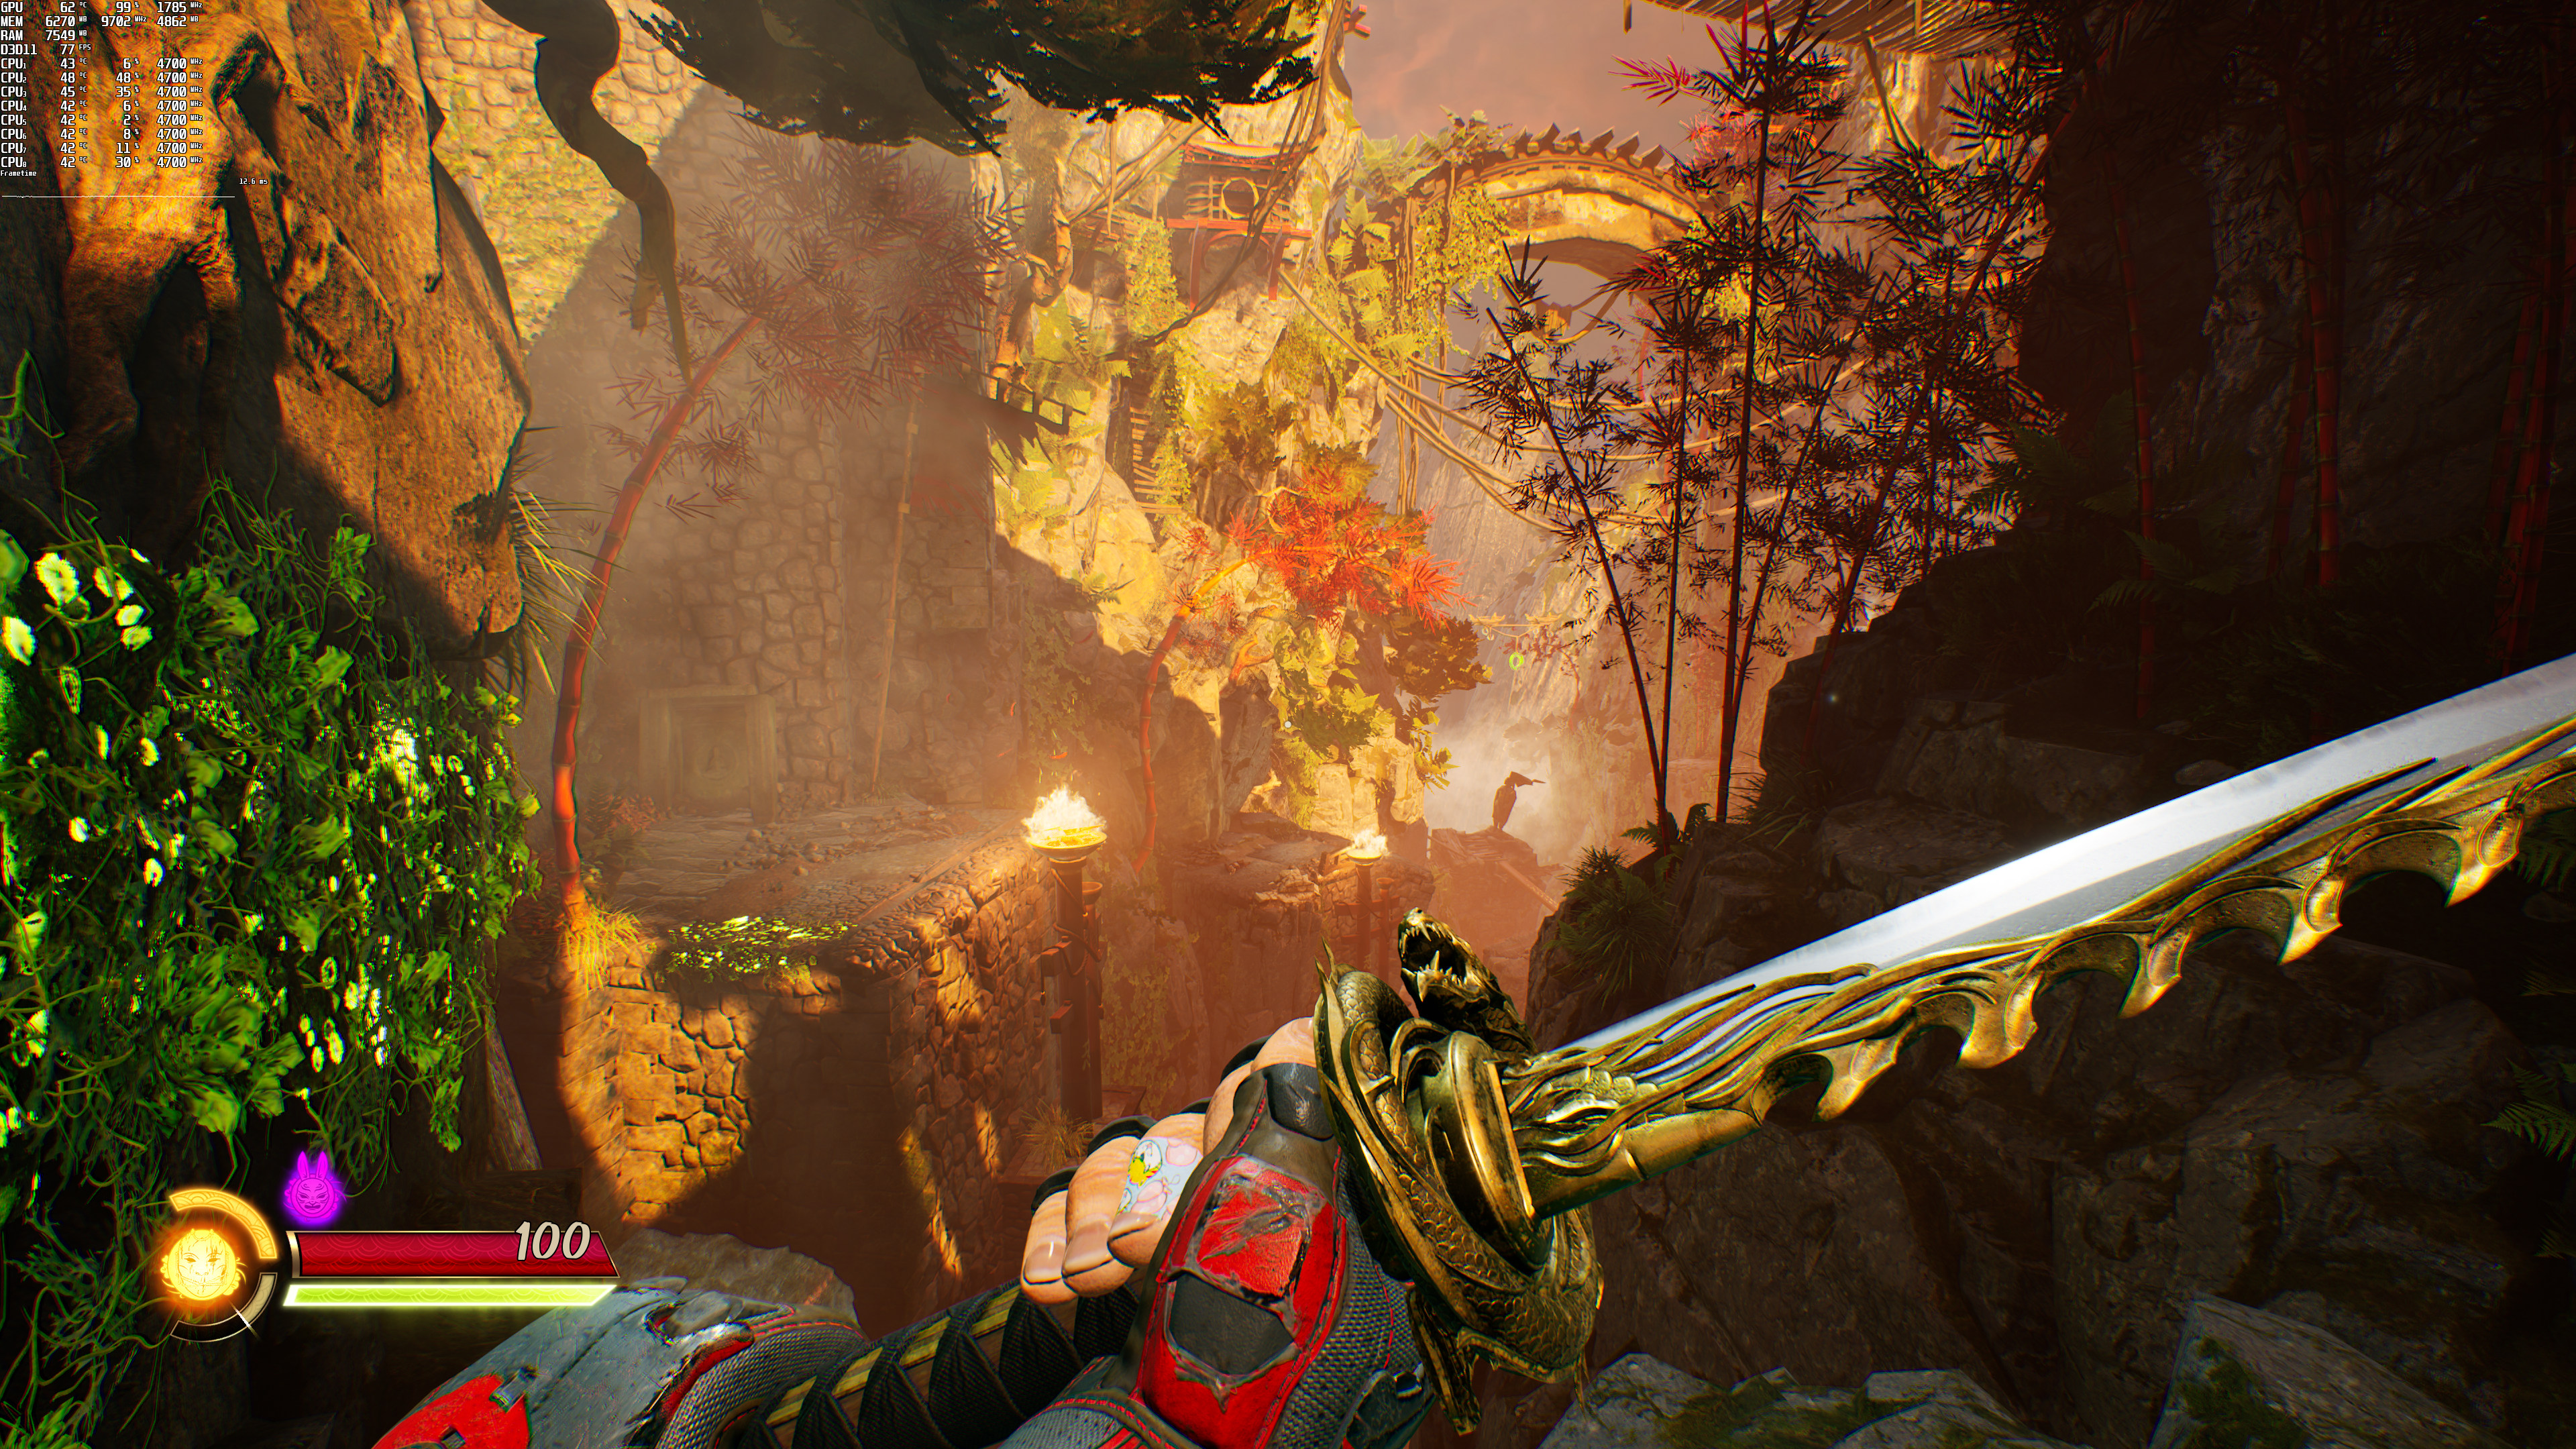
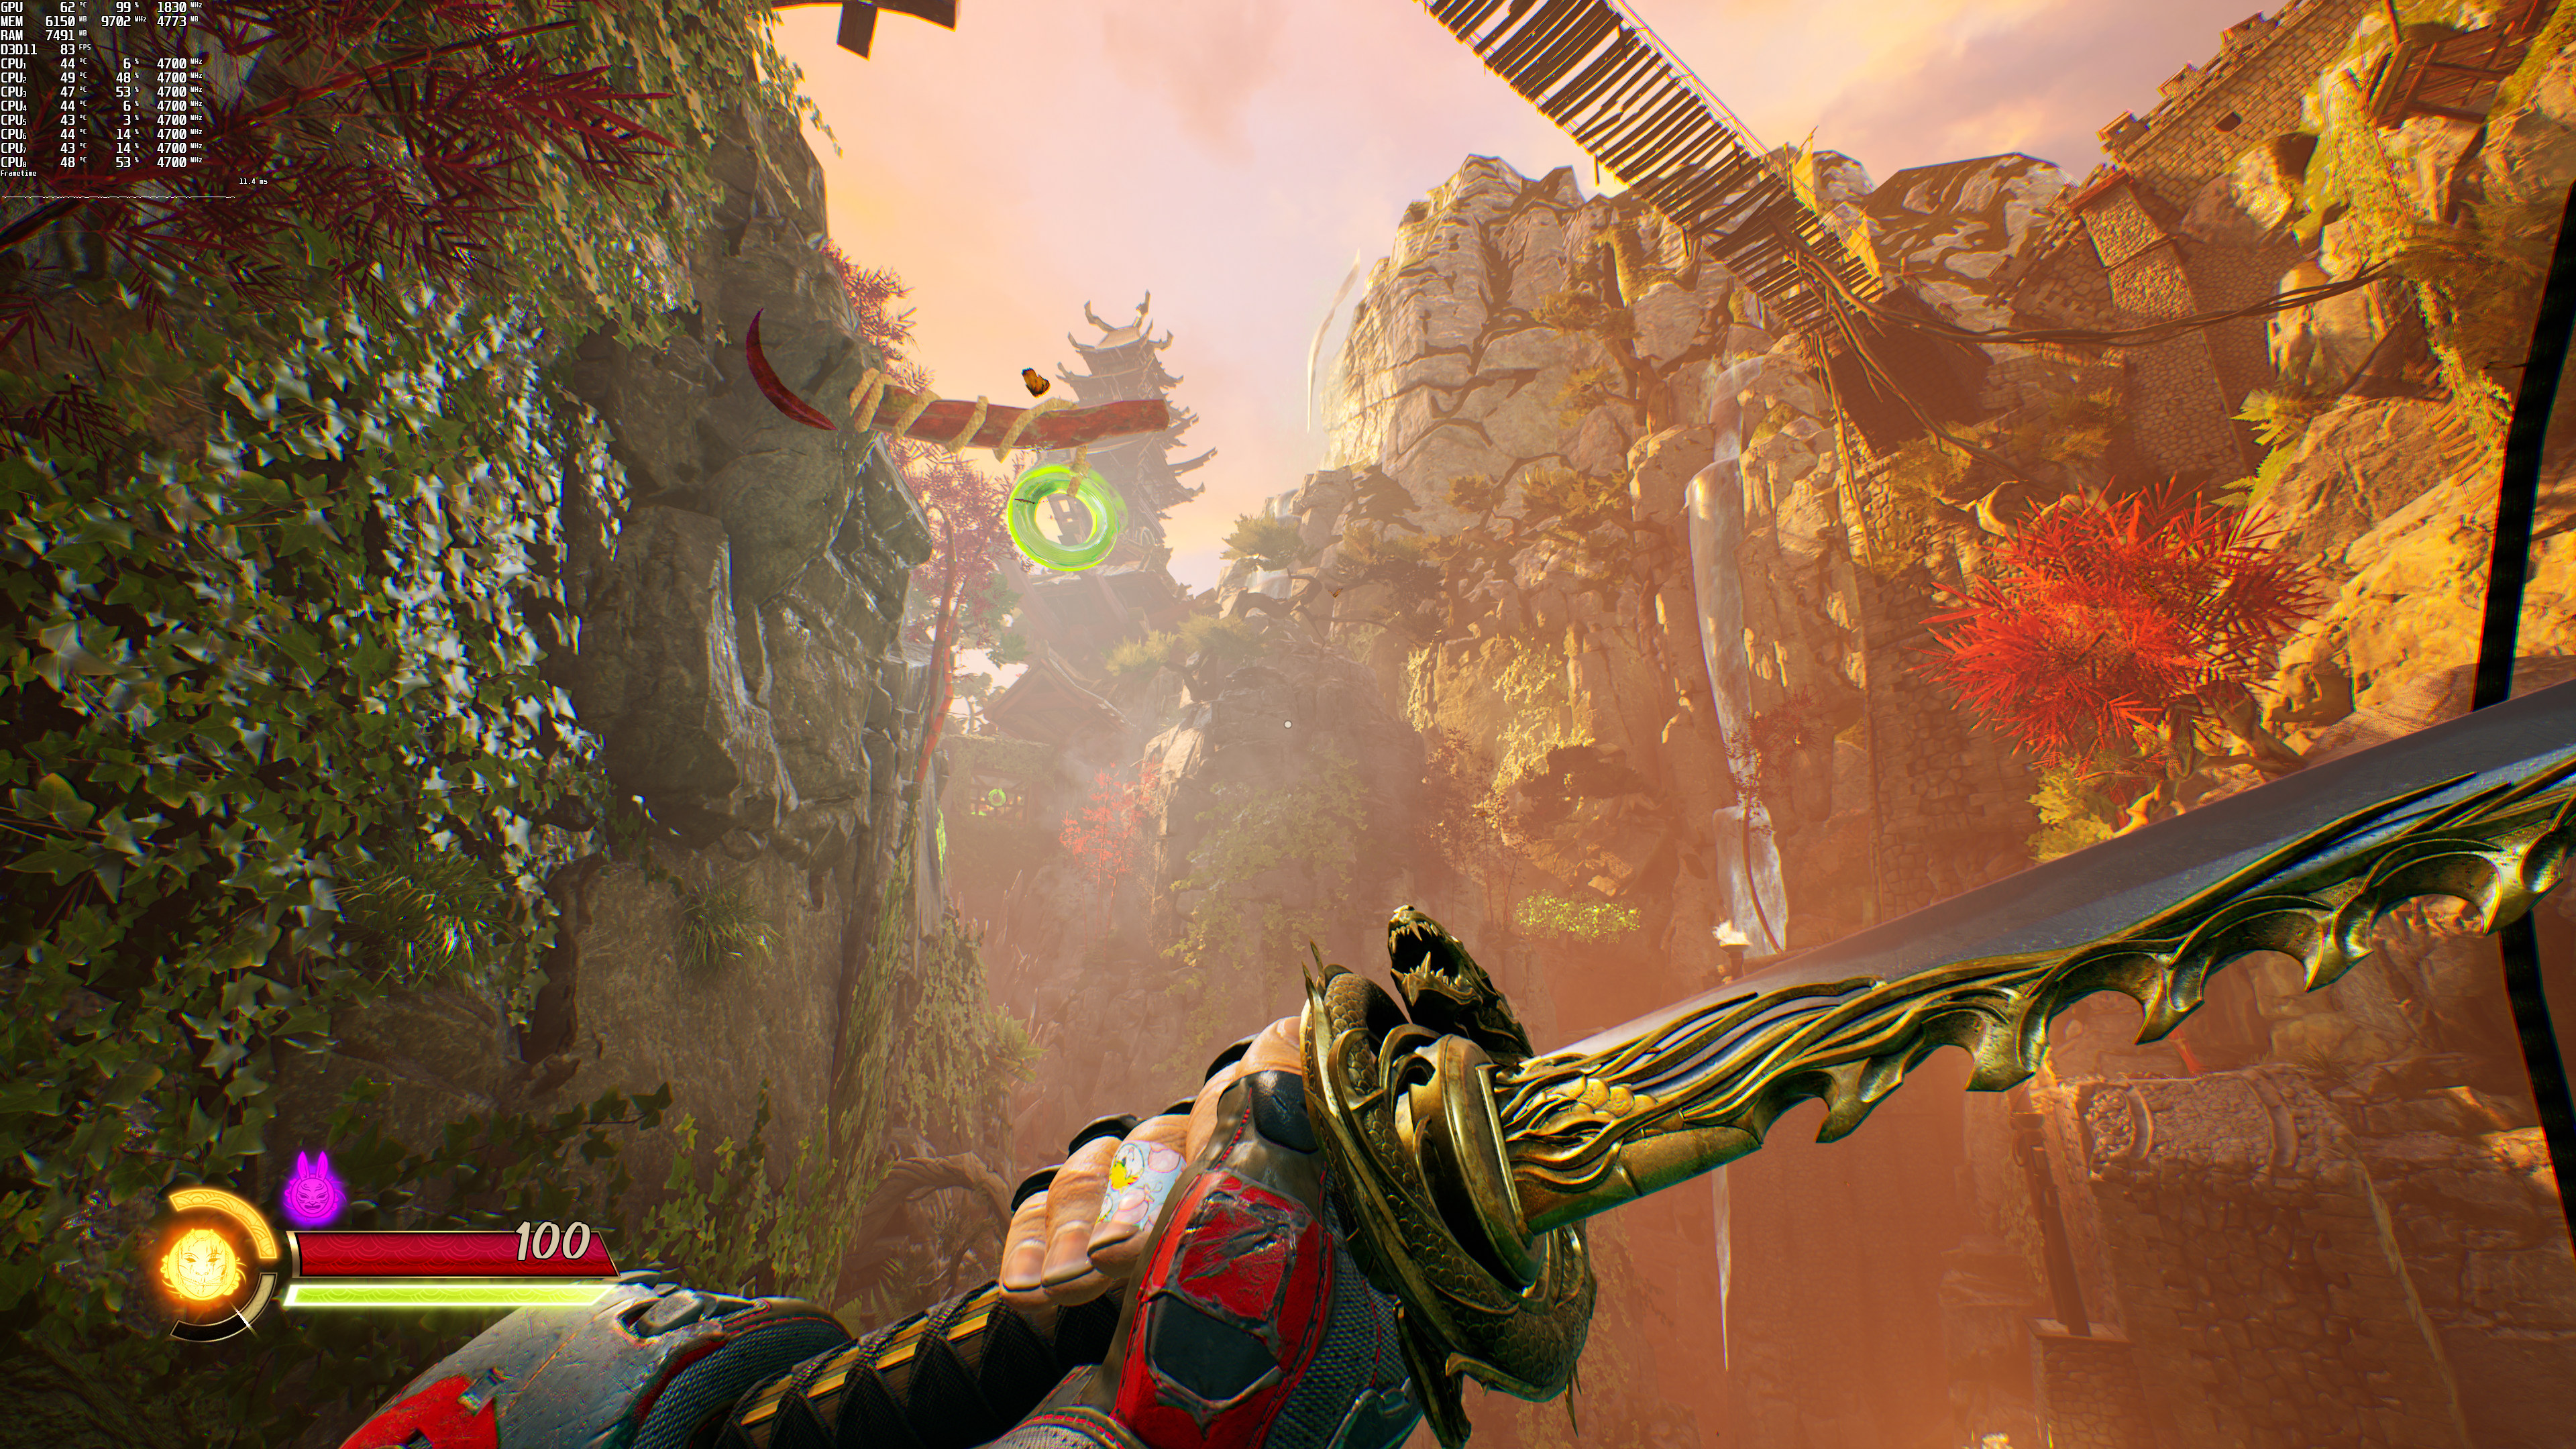
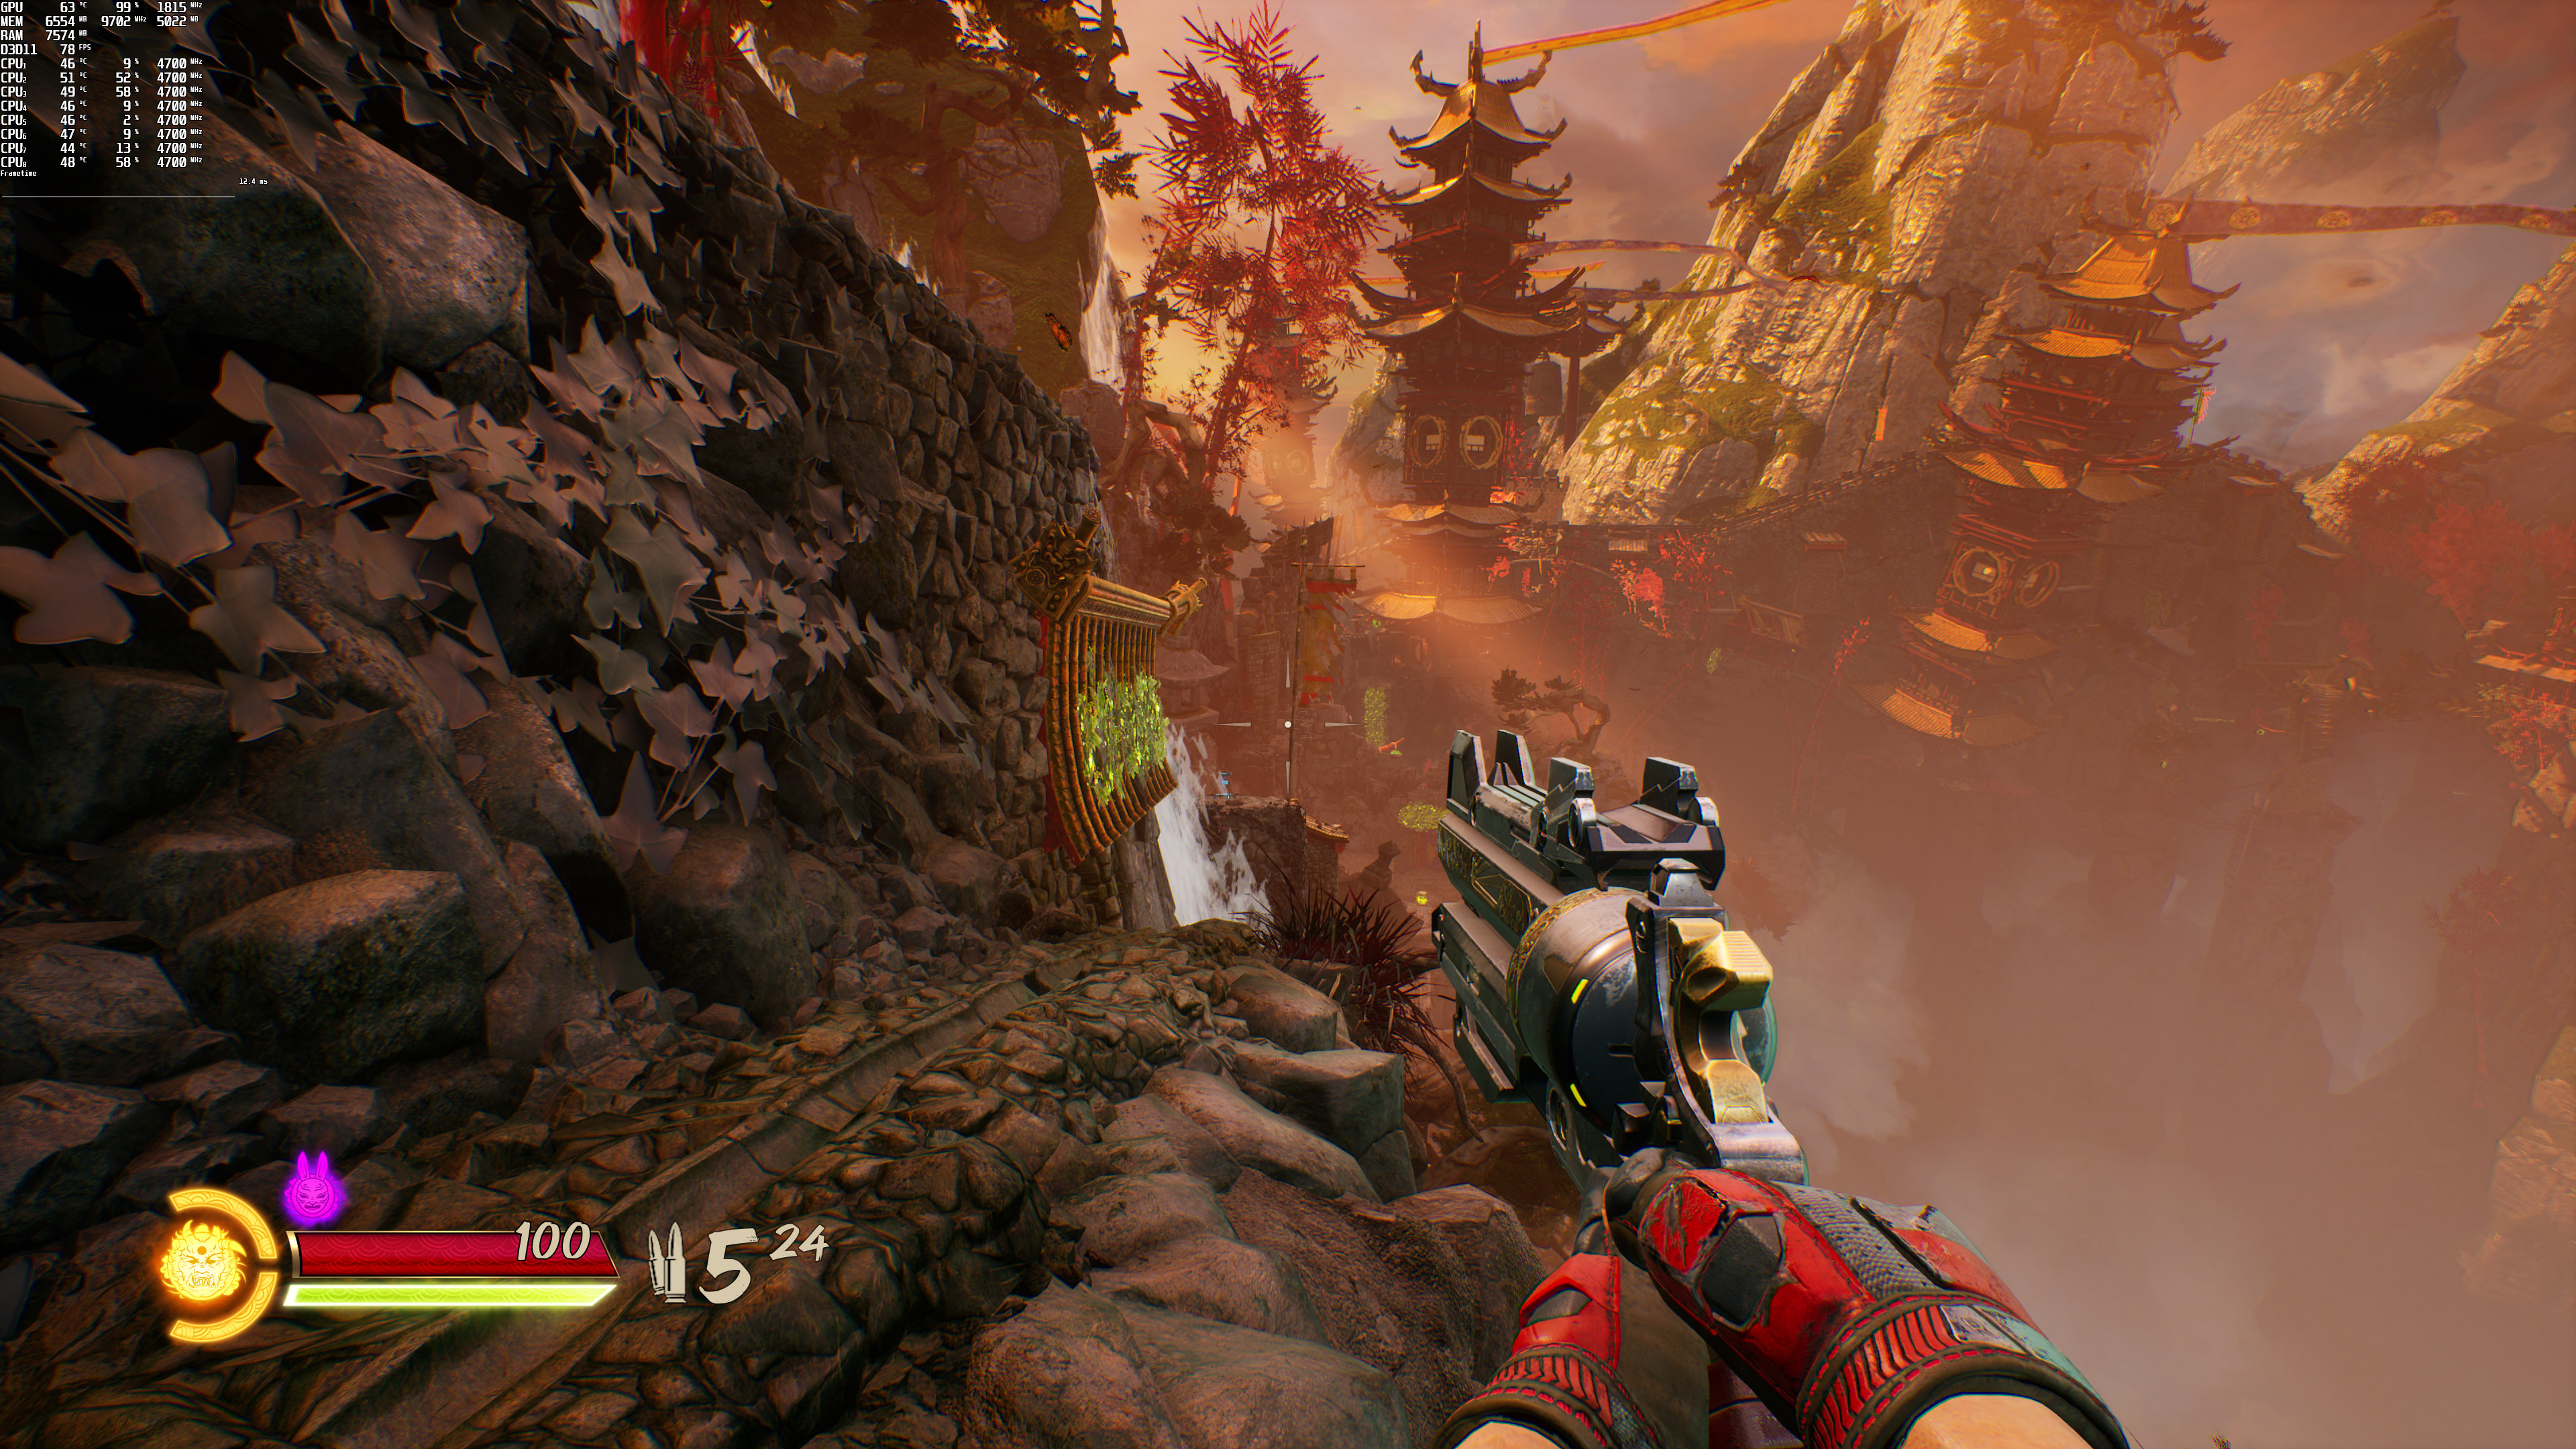
Graphics-wise, Shadow Warrior 3 looks great. Its art style is amazing, and its characters are highly detailed. All human characters look great, and its dismemberment system is incredible. The game also packs some cool particle effects. Still, there are some graphical shortcomings. For instance, there are noticeable terrain pop-ins, and some shadows can look a bit pixel-ish. The game could also benefit from some RTGI, so it’s a bit disappointing that Flying Wild Hog has not experimented with it.

Before closing, we should mention one of the biggest issues of Shadow Warrior 3, and that’s its stuttering issues. The game currently suffers from both shader cache and traversal stutters. While the overall experience is not as awful as in other games, like Far Cry 6 or Halo: Infinite, we are certain that these stutters will disappoint some PC gamers. Shadow Warrior 3 is a DX11-only game, meaning that shader cache issues can still happen with that API. We are mentioning this because some people believe that these shader cache stutters are only present in DX12 (and blame that particular API). No, DX12 is not at fault for these stutters.

Moreover, these shader cache stutters prove that DX11 cannot magically fix a game that suffers from them. So no, Final Fantasy 7 Remake and other UE4 games don’t run better with DXVK or DX11. Some may believe that a game runs better in DX11 than in DX12, but that may be because the “X” game has already cached some shaders. Speaking of which, we suggest NVIDIA owners raise the Shader Cache Limit to 10GB. By doing this, you will increase the number of shaders your PC system can cache (which will result in fewer stutters in numerous games you’re playing as your PC won’t be deleting older shaders).

All in all, Shadow Warrior 3 can run with more than 60fps on a wide range of PC systems. The game does not require a high-end CPU, and both the DLSS and FSR implementations are exceptionally great. Thanks to its art style, Shadow Warrior 3 is also pleasing to the eye. Let’s now hope that Flying Wild Hog will be able to fix (or at least minimize) the game’s stutters via some future patches!

Shadow Warrior 3 Native 4K-1Shadow Warrior 3 Native 4K-2Shadow Warrior 3 Native 4K-4 Shadow Warrior 3 Native 4K-5Shadow Warrior 3 Native 4K-6Shadow Warrior 3 Native 4K-7

13 thoughts on “Shadow Warrior 3 PC Performance Analysis”

    1. DXVK still needs to cache shaders while playing (and since I’ve tested it, the stutters in DXVK on our system were worse than those in DX11). And the game does not support DX12 so there is no point using that command (even if there was support, there wouldn’t be any benefit. The game will still have to cache those shaders).

      1. I was hoping they had a separate setting for viewmodel Fov a.k.a Weapon Fov or offer it in command line, like they did with their last engine. But this is unreal and I don’t know if that command is available. The weapons are just too damn large in this game. I play only melee in this franchise.

      2. John, I think You misunderstood Cryio in regards to DXVK-Async:

        As the name implies, contrary to plain DXVK, the unofficial Async variant will compile & cache all requested shaders by the game’s Direct3D-11 API to Vulkan on multiple seperate threads, all while not blocking on the main presentation queue.
        This results in flawlessly smooth frametimes, with the possible drawback of increased pop-in, depending on the particular games’ renderer implementation techniques.
        (BTW, even with standard DXVK, I’m only noticing occasional, very slight stutter with Shadow Warrior 3, but that’s on my latency-optimized Ubuntu Linux 20.04 LTS system.)

        Hopefully You can give this a try on Your Windows PC, would be interested to know about the outcome:
        https://github.com/Sporif/dxvk-async
        [Please make sure to follow the README carefully in order to successfully activate the Async mode.]

        1. Interesting. I’ll give this a go once I find some free time (I believe I’ve tested the default DXVK and not this Async repository)

          1. I suddenly realized that I should write a little tutorial, just in case, because the instructions in the README might be a little confusing & Linux-specific at first glance, so here it goes:

            1.
            No, you don’t need to apply any patches yourself; instead just go to the releases page and grab the latest version (dxvk-async-1.10.tar.gz at the time of writing).

            2.
            On Windows, 7-Zip should be able to extract the archive.

            3.
            You can safely ignore the ‘setup_dxvk.sh’ file inside the folder, because that’s a Linux-only thing.

            Instead, go to the x64 folder and just copy both d3d11.dll & dxgi.dll over to wherever the game’s main executable file [SW3.exe] is located on your storage drive.

            4.
            Now, inside that very same game folder, create an empty text file named dxvk.conf (Windows-stupidity alert: by default, Windows likes to hide filename endings; make really sure that the file is simply spelled dxvk.conf and NOT dxvk.conf.txt, otherwise the next step won’t work).

            5.
            Open dxvk.conf with Notepad and paste the following line into it:

            dxvk.enableAsync = true

            After saving & closing, double check that the text file is still called dxvk.conf & NOT dxvk.conf.txt, just to make sure yet again!

            Final step:
            Enjoy your newfound stutter-free smoothness!!

            Now, a couple closing notes:

            – Unfortunately, AMD’s official Vulkan driver is pretty bad. (Who’d have thought?!)

            That’s why the Steam Deck is actually shipping a Linux-exclusive Vulkan driver called “RADV” jointly developed by RedHat+Valve+Google developers.
            (Yes, you read that right, SteamOS is shipping a driver for an AMD GPU that is not developed by AMD developers themselves – just let that one sink in…)

            – nVidia GPUs will actually fake/report themselves as AMD ones by default. This is done for historically better compatibility reasons.
            Which also means that DLSS will be unavailable (while FSR should work just fine).
            HOWEVER, there actually does exist a way to enable DLSS in combination with DXVK[-Async], but I feel like this should be left for another time later, just to make debugging any potential problems that might come up easier this way…

            Anyhow, hopefully it works out just as well on Windows as it does on Linux!

      3. John, could You approve my comments please?

        Even if You don’t find them useful, maybe another Windows user around here could try my suggestion to see whether it makes a difference on their machines.

        Thanks!

  1. I feel this game like many other unreal engine games before it will forever remain a stuttering mess, and the pre rendered cutscenes ruin the game too for me, there not the best quality, from lower audio than the game itself to bad motion blur, dof and bad aa in them, they will defo try and patch some things but doubt it will make much difference.

  2. Just realized that I can already post here without having to wait for John’s blessing, therefore I’m pasting my previous post here without directly linking to the DXVK-Async repo:

    John, I think You misunderstood Cryio in regards to DXVK-Async:

    As the name implies, contrary to plain DXVK, the unofficial Async variant will compile & cache all requested shaders by the game’s Direct3D-11 API to Vulkan on multiple seperate threads, all while not blocking on the main presentation queue.
    This results in flawlessly smooth frametimes, with the possible drawback of increased pop-in, depending on the particular games’ renderer implementation techniques.
    (BTW, even with standard DXVK, I’m only noticing occasional, very slight stutter with Shadow Warrior 3, but that’s on my latency-optimized Ubuntu Linux 20.04 LTS system.)

    Hopefully You can give this a try on Your Windows PC, would be interested to know about the outcome.
    [Please make sure to follow the README carefully in order to successfully activate the Async mode.]

    1. If you post a link then wait for approval. The site owner isn’t on some kind of power-trip. He does this because he’s the only mod here and it takes time to check these links.

      I have witnessed a site get completely ruined by spam links (GPU Review). The links got so prominent that the moderator had to shut down the forum.

  3. I’m really sorry for double-posting yet again, but was bitten by the spam-bot yet again for a filename which was wrongly classified as a weblink!

    Anyway, hopefully this way more people will be able to see this & maybe even find it useful:

    I suddenly realized that I should write a little tutorial, just in case, because the instructions in the README might be a little confusing & Linux-specific at first glance, so here it goes:

    1.
    No, you don’t need to apply any patches yourself; instead just go to the releases page and grab the latest version (dxvk-async-1.10.tar.gz at the time of writing).

    2.
    On Windows, 7-Zip should be able to extract the archive.

    3.
    You can safely ignore the ‘setup_dxvk’ file inside the folder, because that’s a Linux-only thing.

    Instead, go to the x64 folder and just copy both d3d11.dll & dxgi.dll over to wherever the game’s main executable file [SW3.exe] is located on your storage drive.

    4.
    Now, inside that very same game folder, create an empty text file named dxvk.conf (Windows-stupidity alert: by default, Windows likes to hide filename endings; make really sure that the file is simply spelled dxvk.conf and NOT dxvk.conf.txt, otherwise the next step won’t work).

    5.
    Open dxvk.conf with Notepad and paste the following line into it:

    dxvk.enableAsync = true

    After saving & closing, double check that the text file is still called dxvk.conf & NOT dxvk.conf.txt, just to make sure once more!

    Final step:
    Enjoy your newfound stutter-free smoothness!!
    ________________________________________

    Now, a couple closing notes:

    – Unfortunately, AMD’s official Vulkan driver is pretty bad. (Who’d have thought?!)

    That’s why the Steam Deck is actually shipping a Linux-exclusive Vulkan driver called “RADV” jointly developed by RedHat+Valve+Google developers.
    (Yes, you read that right, SteamOS is shipping a driver for an AMD GPU that is not developed by AMD developers themselves – just let that one sink in…)

    – nVidia GPUs will actually fake/report themselves as AMD ones by default.
    This is done for historically better compatibility reasons.
    Which also means that DLSS will be unavailable (while FSR should work just fine).

    HOWEVER, there actually does exist a way to enable DLSS in combination with DXVK[-Async], but I feel like this should be left for another time later, just to make debugging any potential problems that might come up easier this way…

    Anyhow, hopefully it works out just as well on Windows as it does on Linux!

Leave a Reply

Your email address will not be published. Required fields are marked *