
Last week, CD Projekt RED released the Remastered Update for The Witcher 3: Wild Hunt. This free update adds Path Tracing support on PC. With that in mind, I decided to compare Path Tracing with Ray Tracing using DLSS 5. Can DLSS 5 close the gap between Ray Tracing and Path Tracing? Let’s find out.
Since The Witcher 3 Remastered does not have native support for DLSS 5, I used the latest version of the RHI Mod to enable it. To test and capture the following screenshots, I also used an AMD Ryzen 9 7950X3D, 32GB of DDR5 at 6000Mhz, NVIDIA’s RTX 5080, and RTX 5090. I also used Windows 10 64-bit and the NVIDIA Game Ready 617.14 driver.
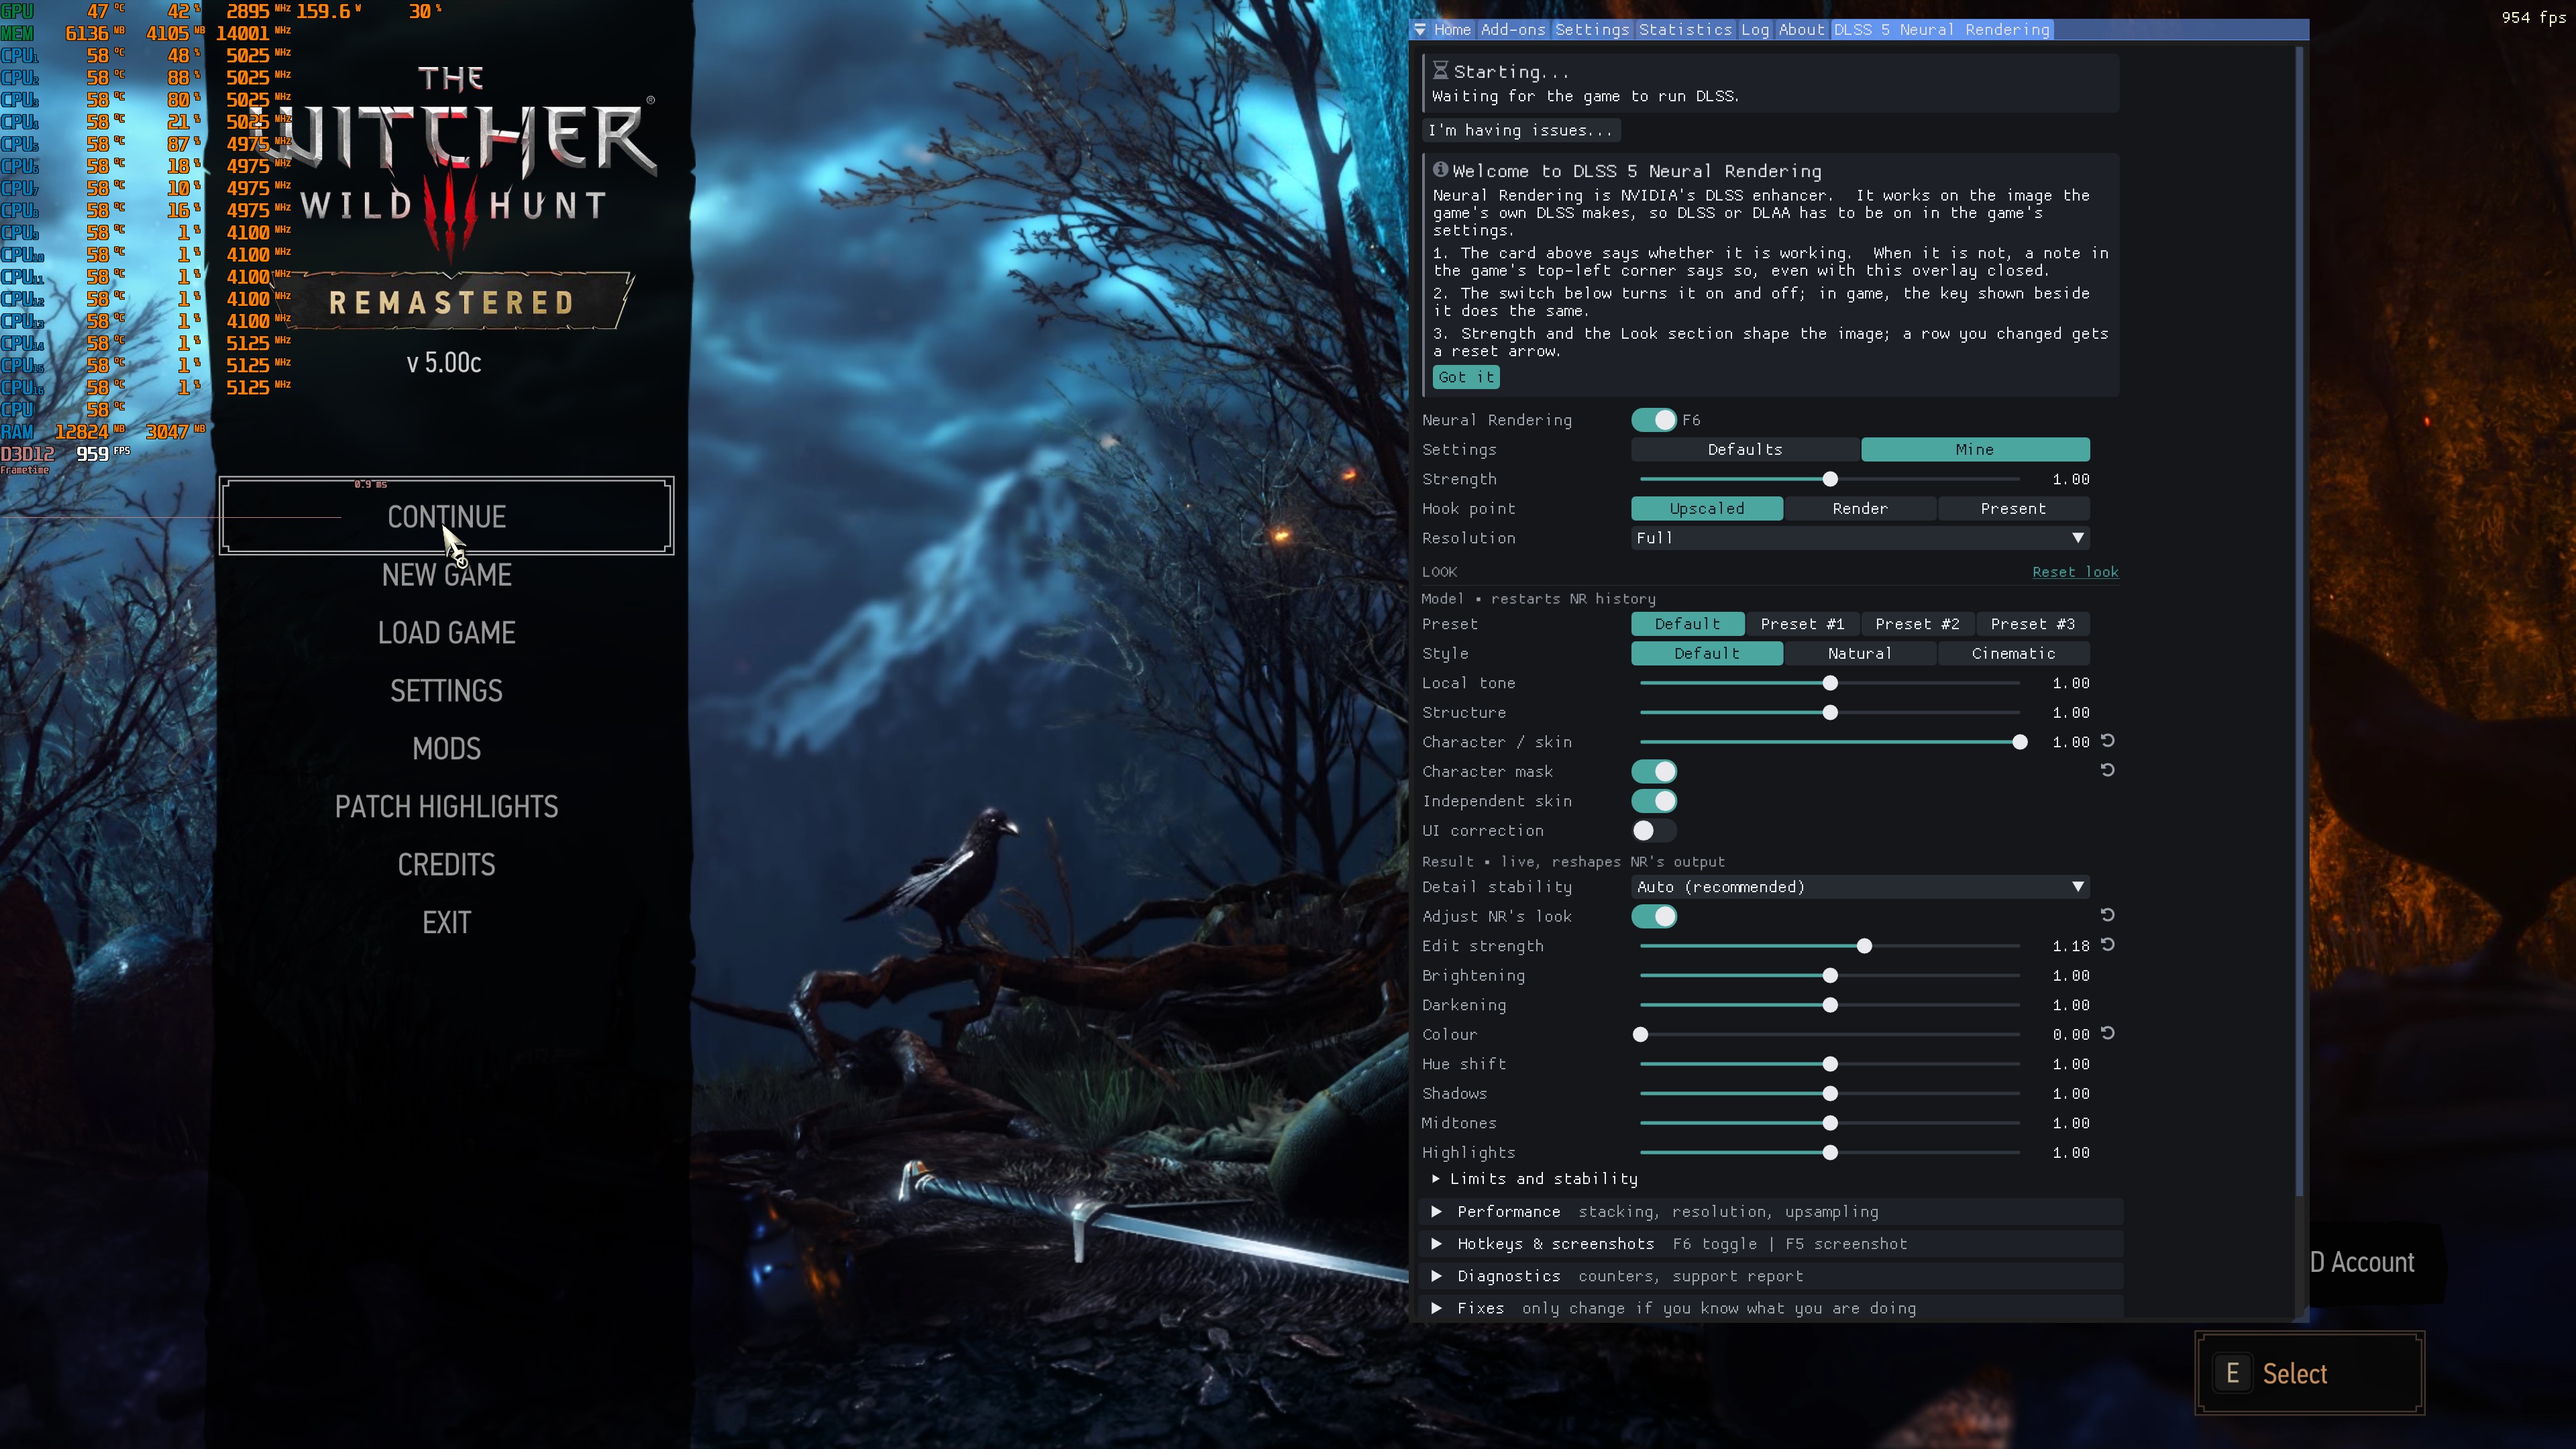
Here are the DLSS 5 settings I used. My goal was to improve the characters and slightly improve the environments, while keeping the look and tone of the original game. As such, I left most settings at their default values. I also lowered the Color setting. This helped keep the original color tone of the game.
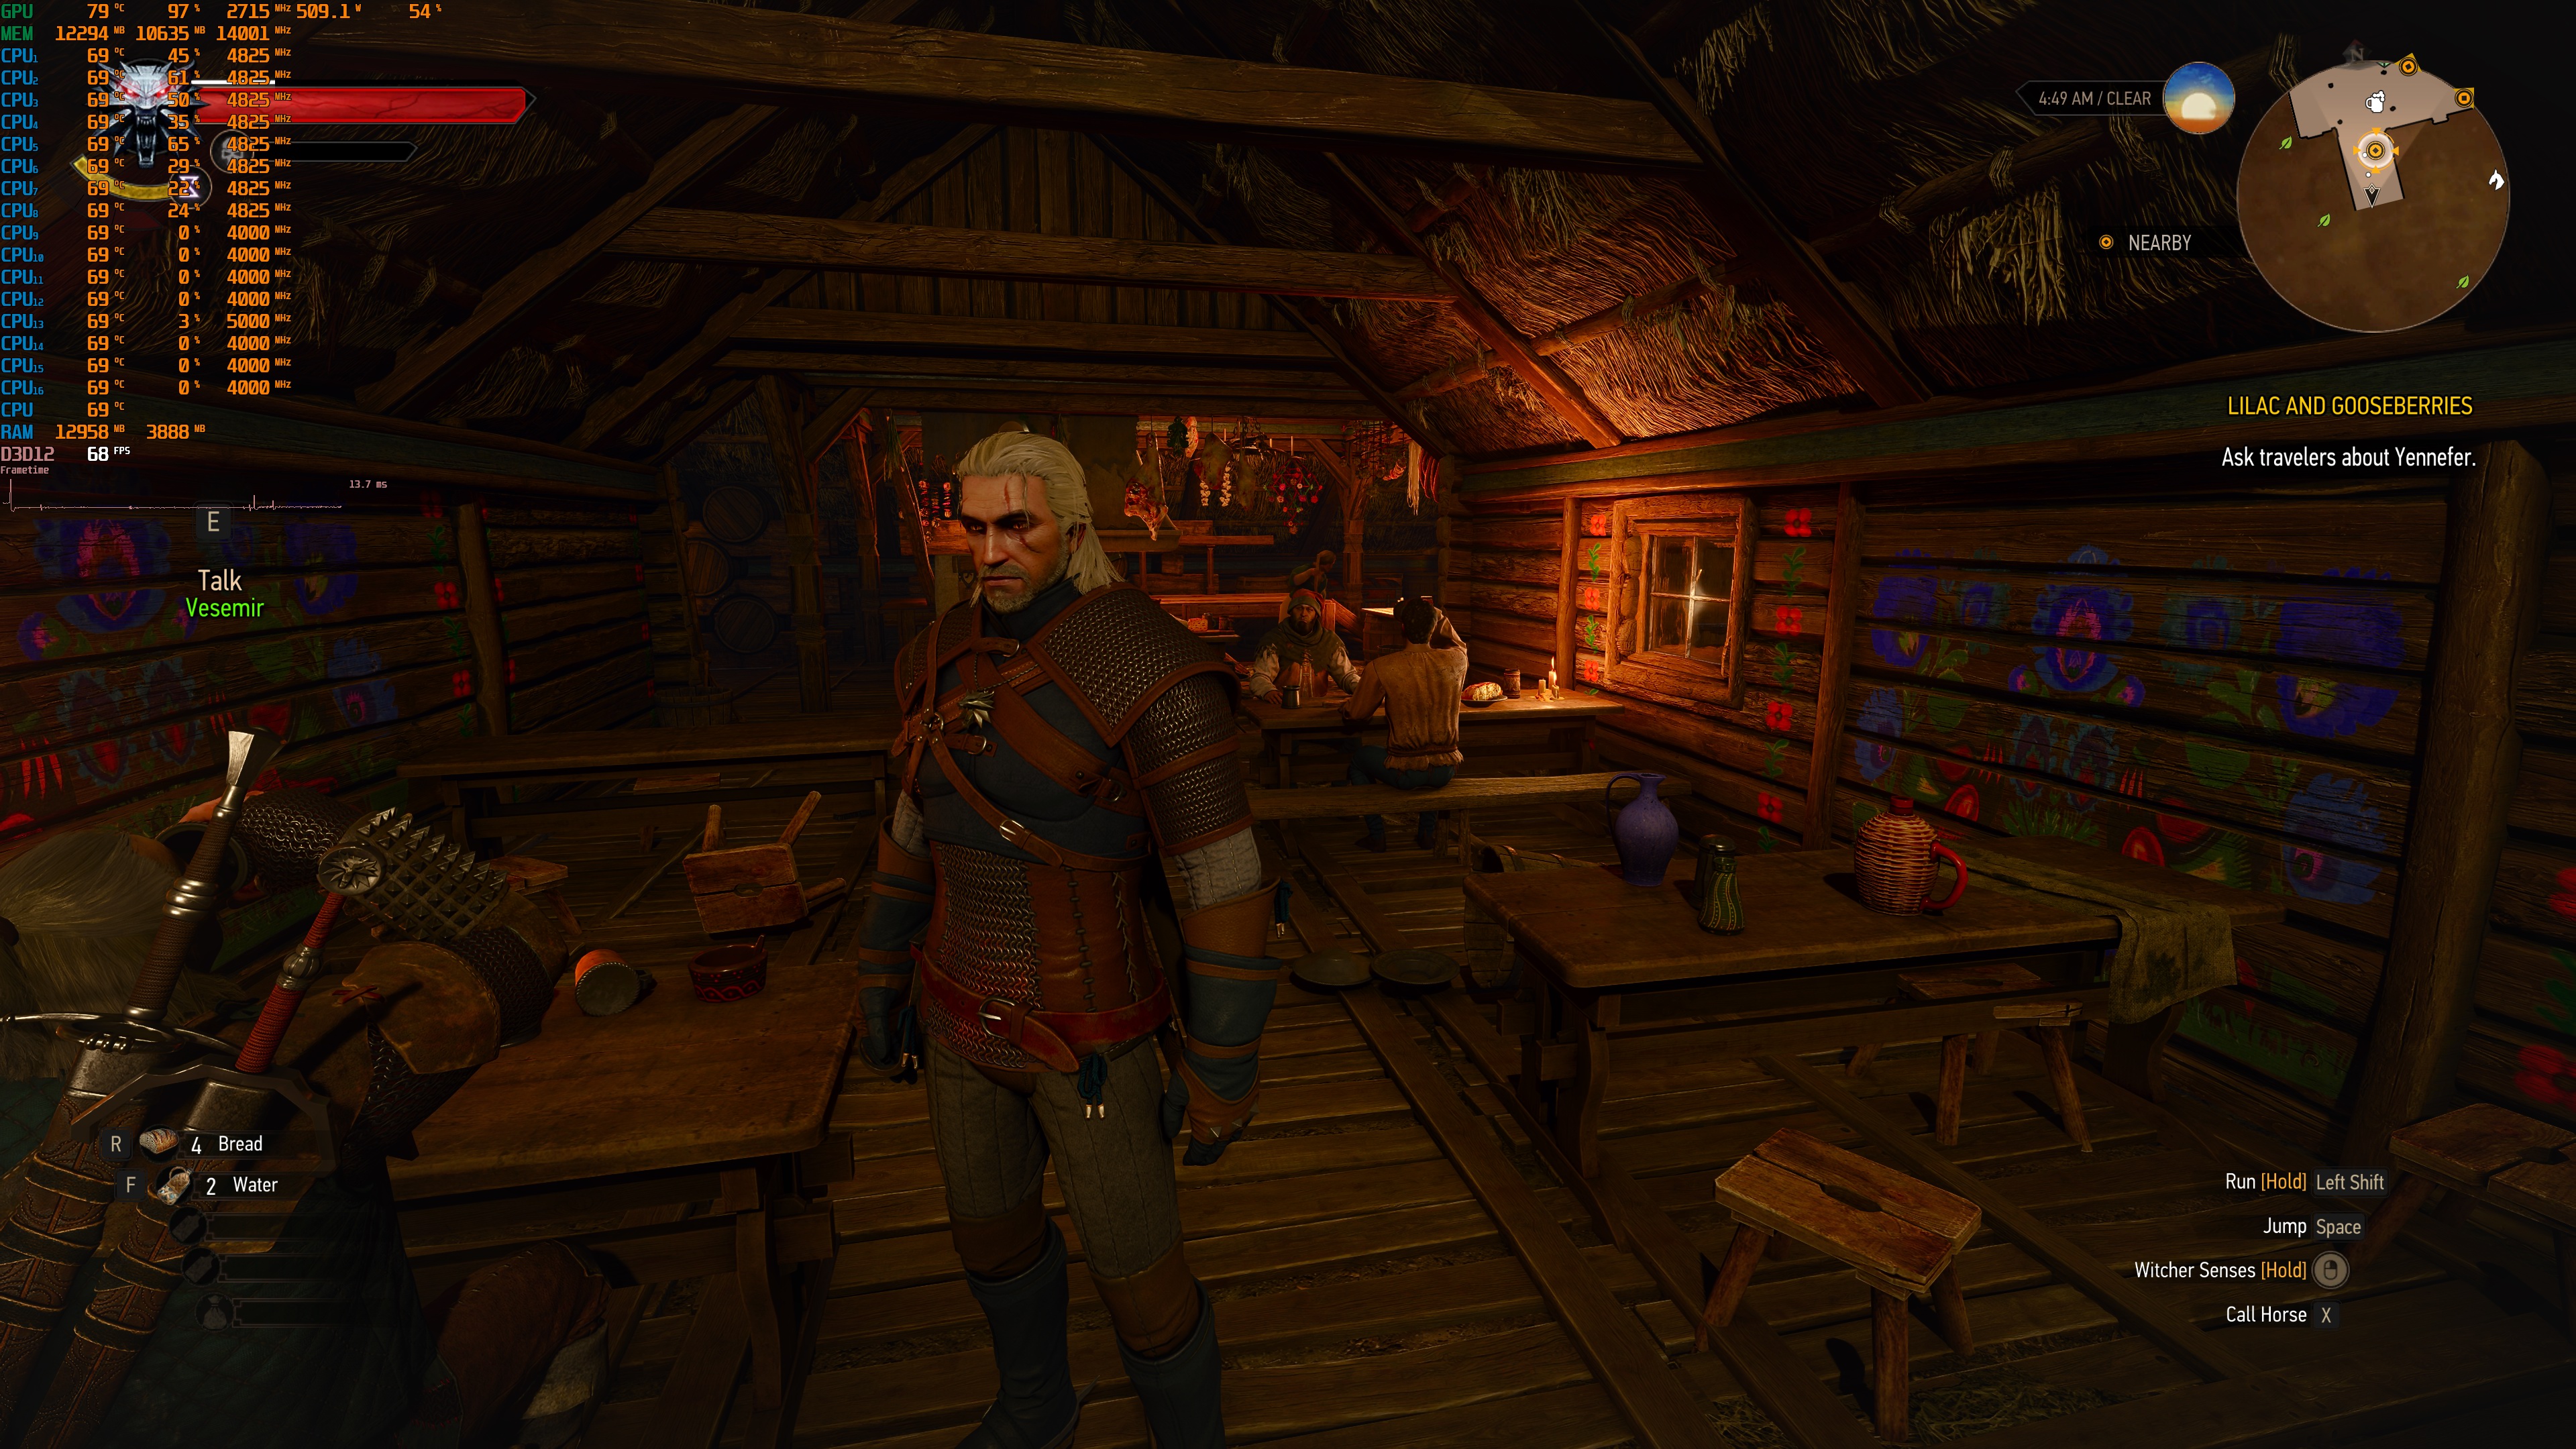
So, here are some comparison screenshots. On the left, we have the Path Tracing version. On the right, we have the Ray Tracing version with DLSS 5.
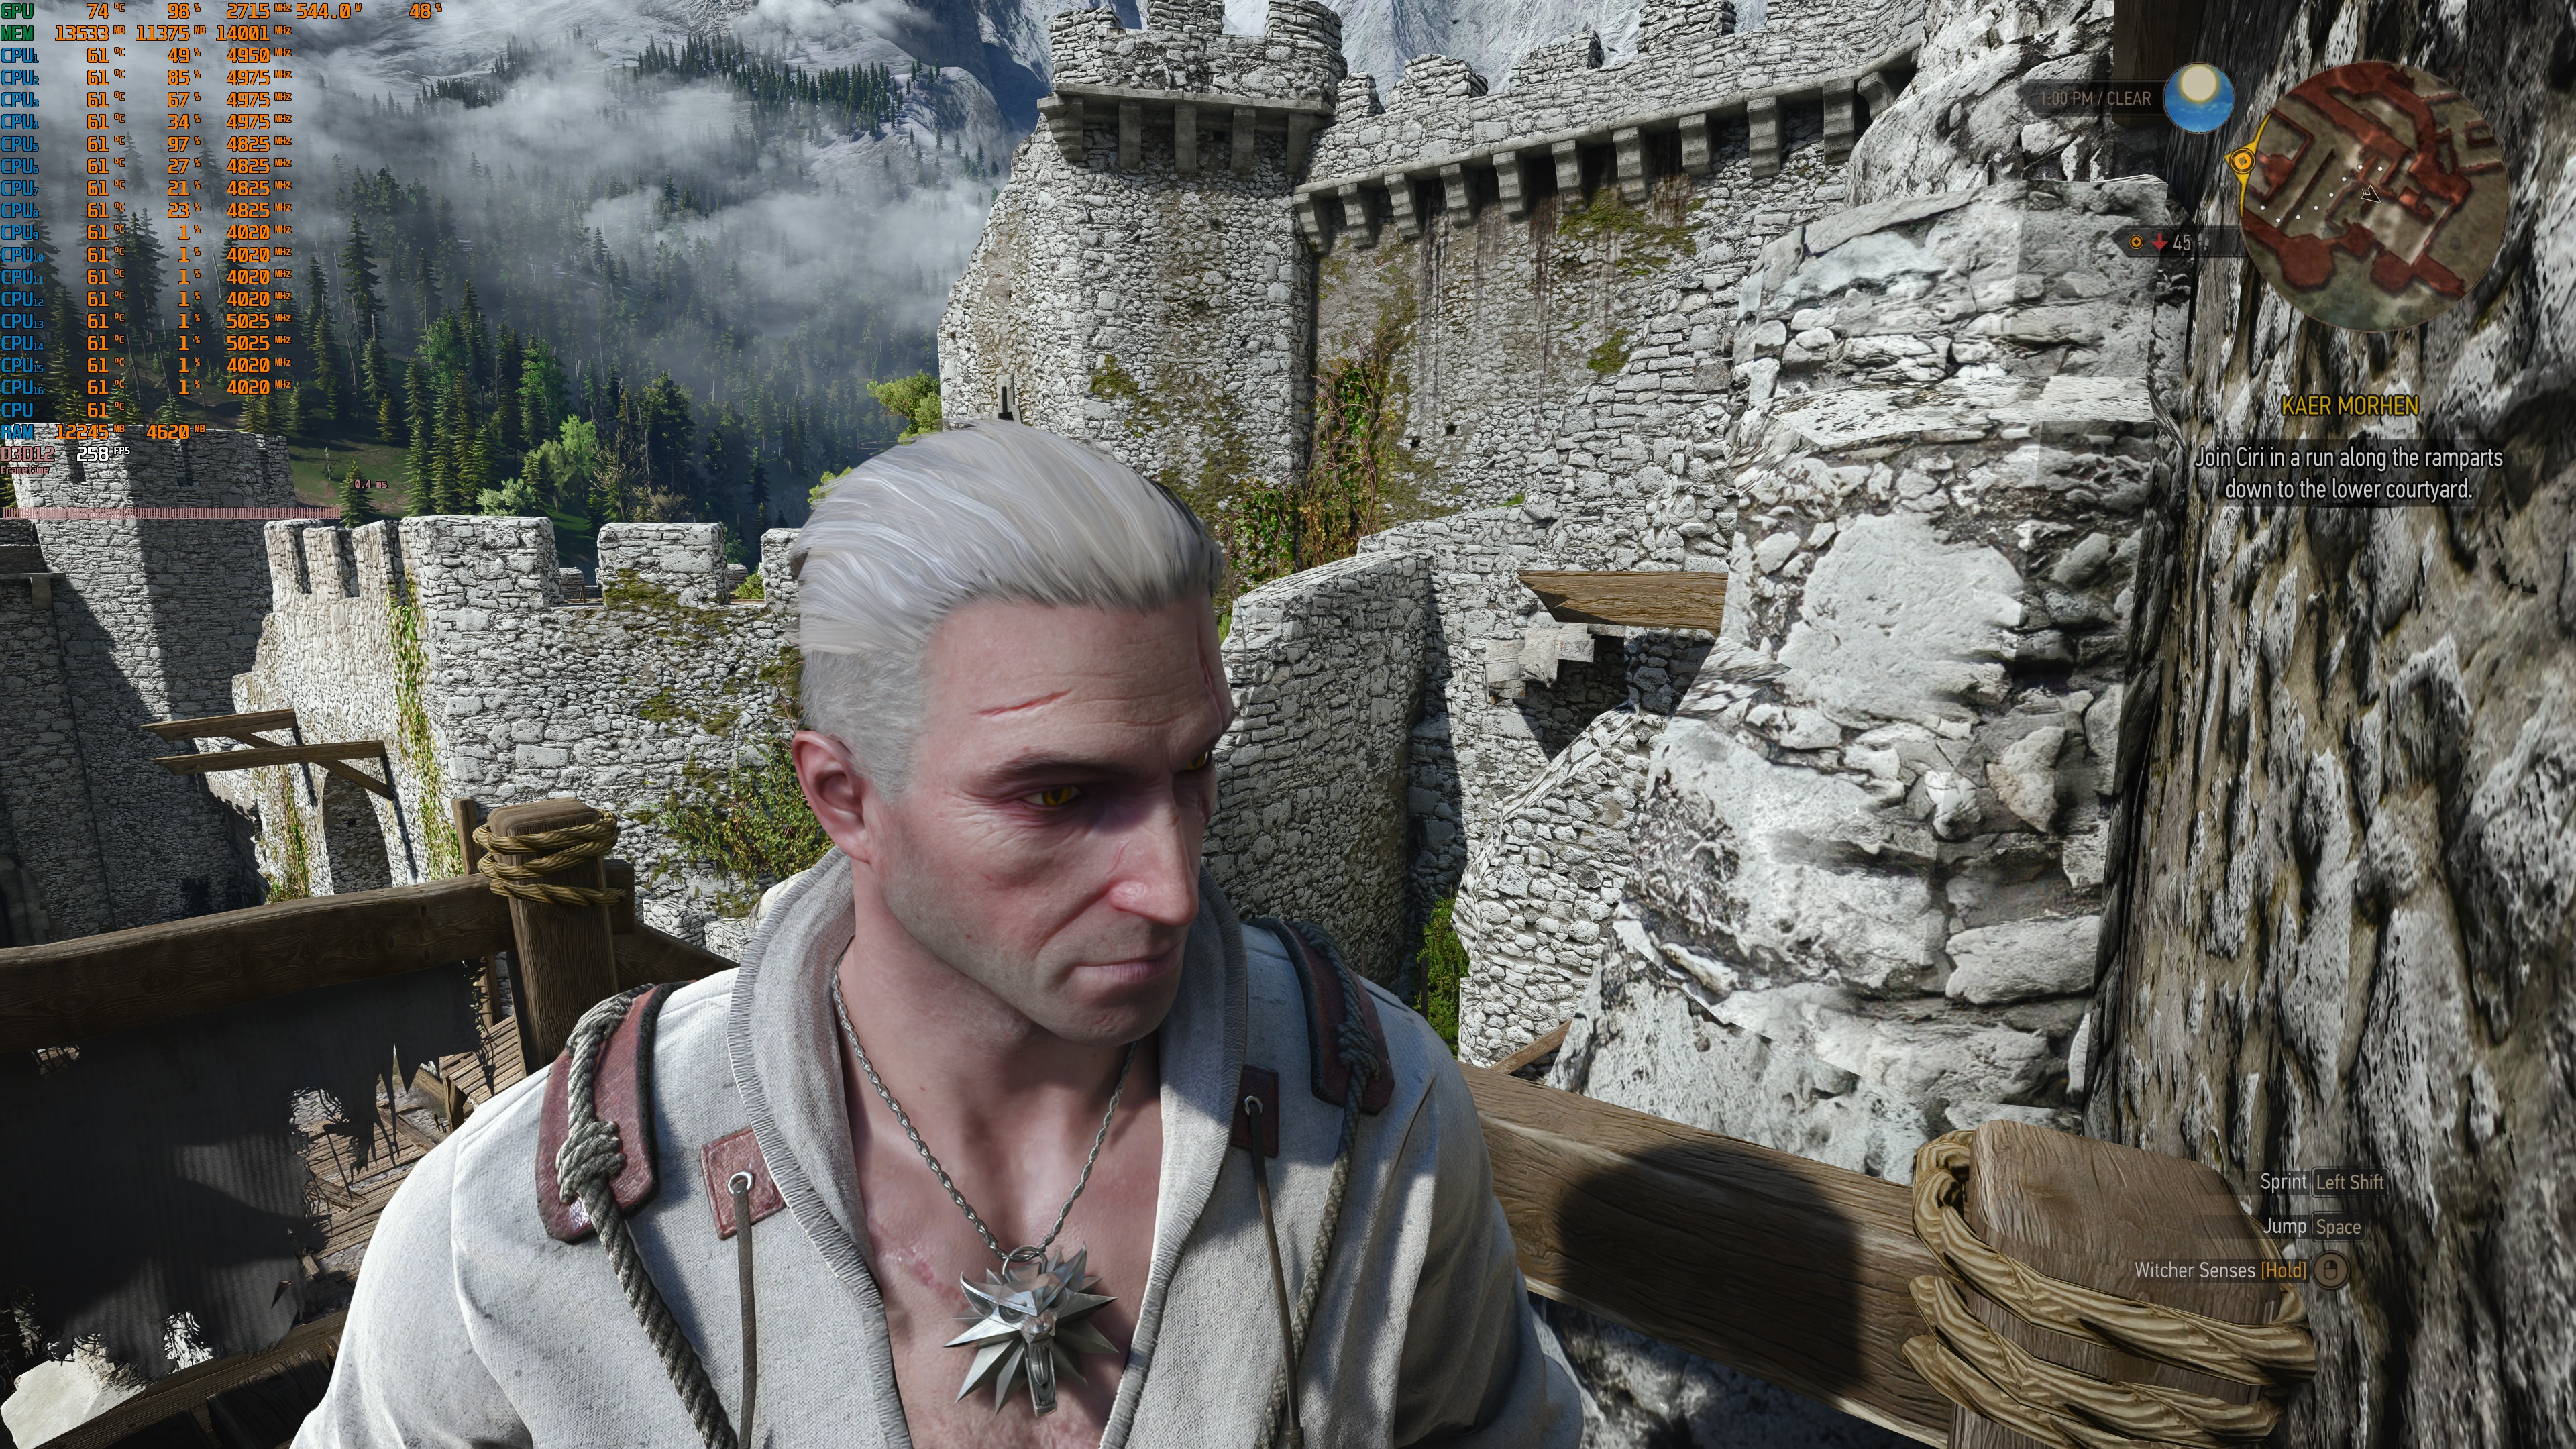
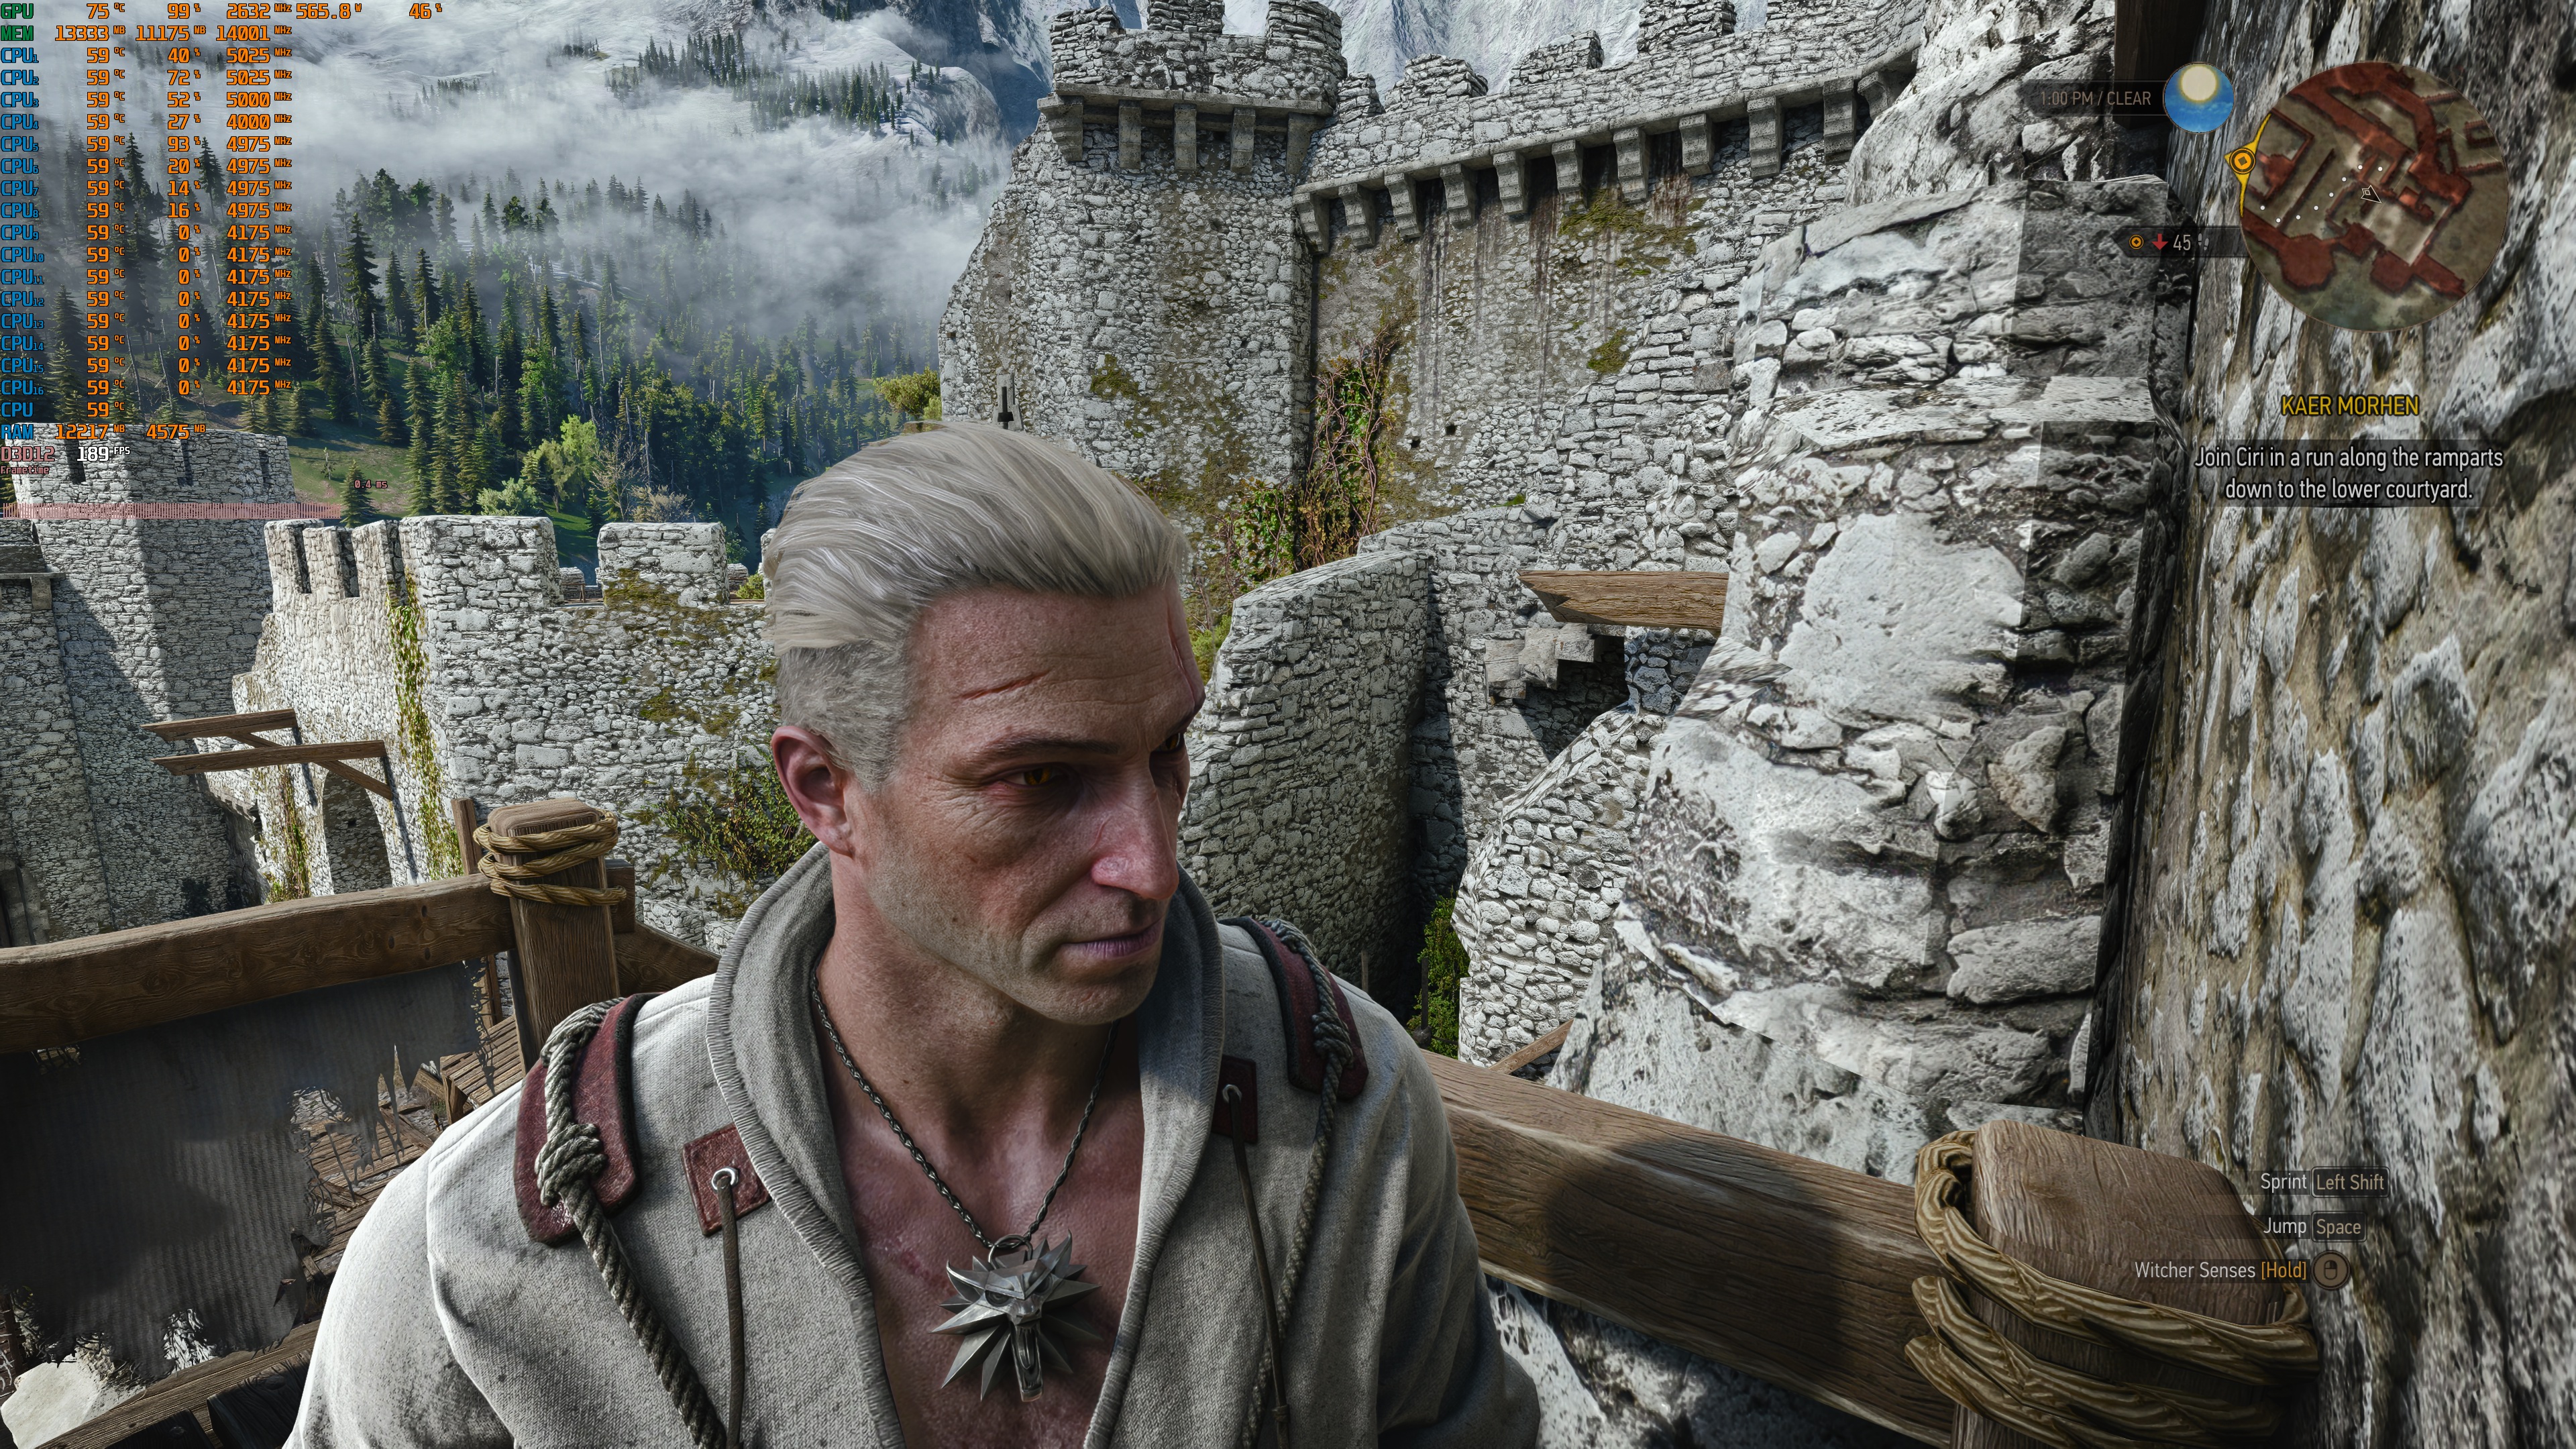
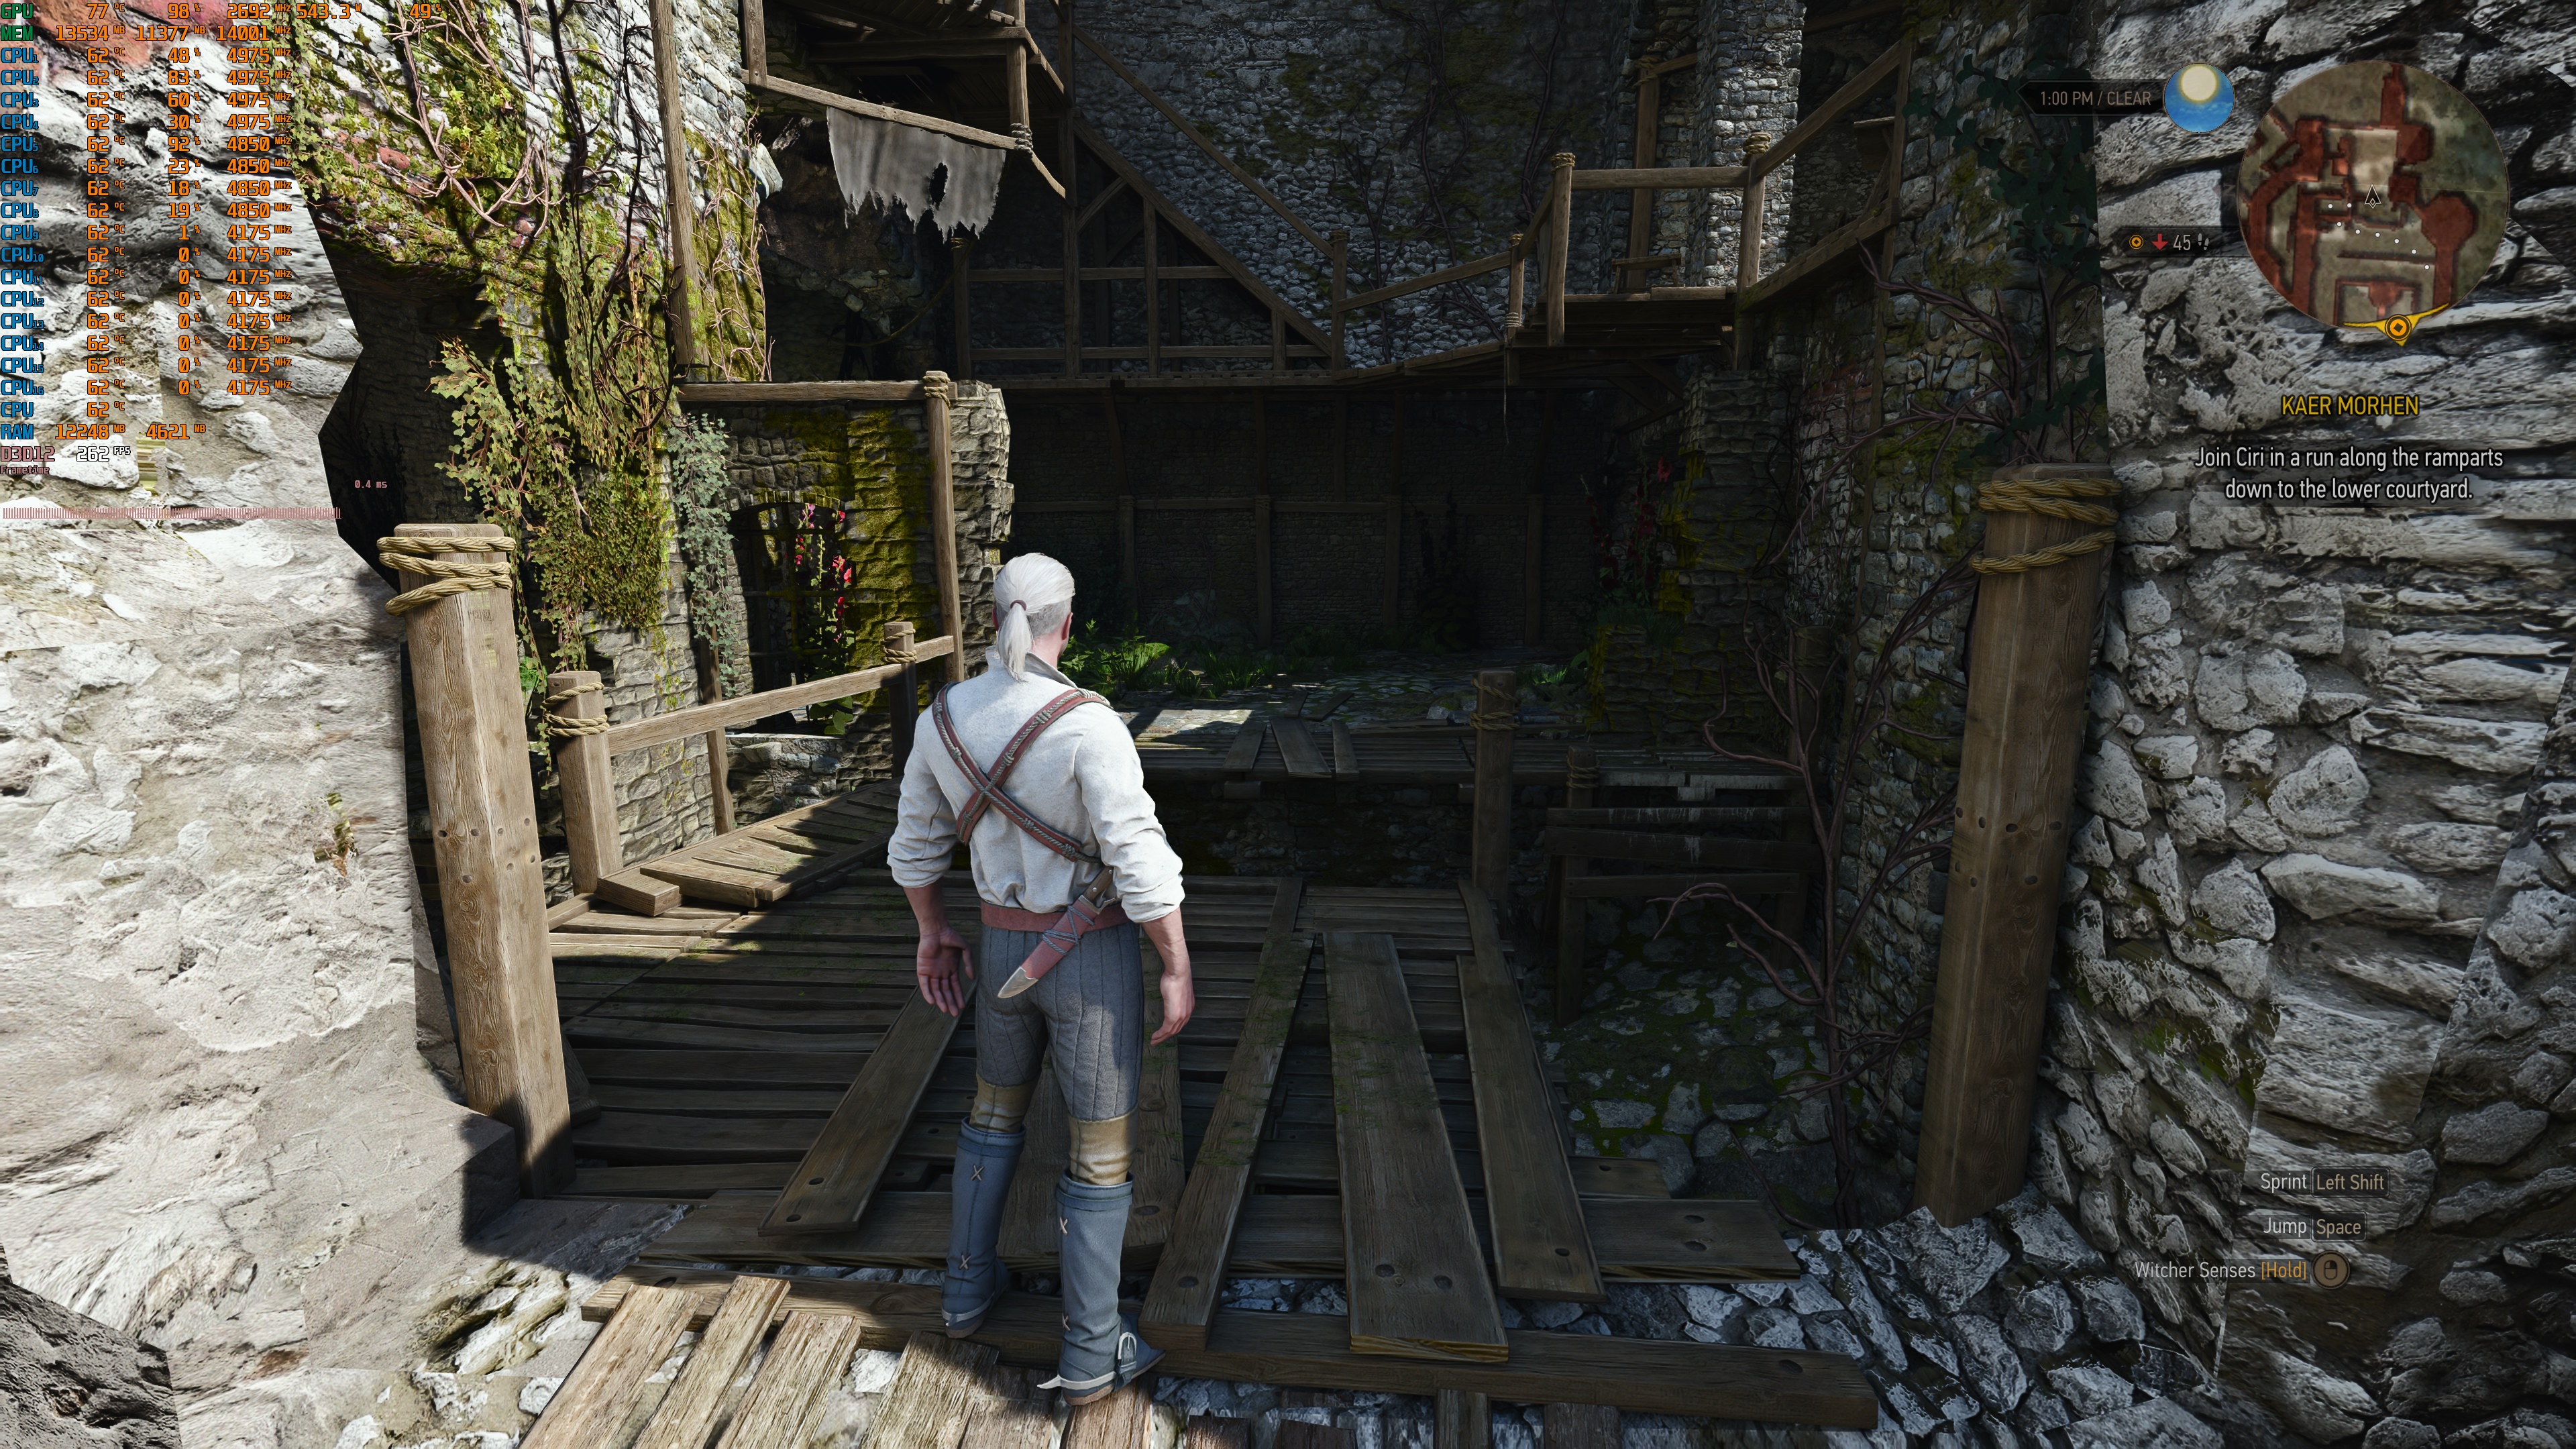
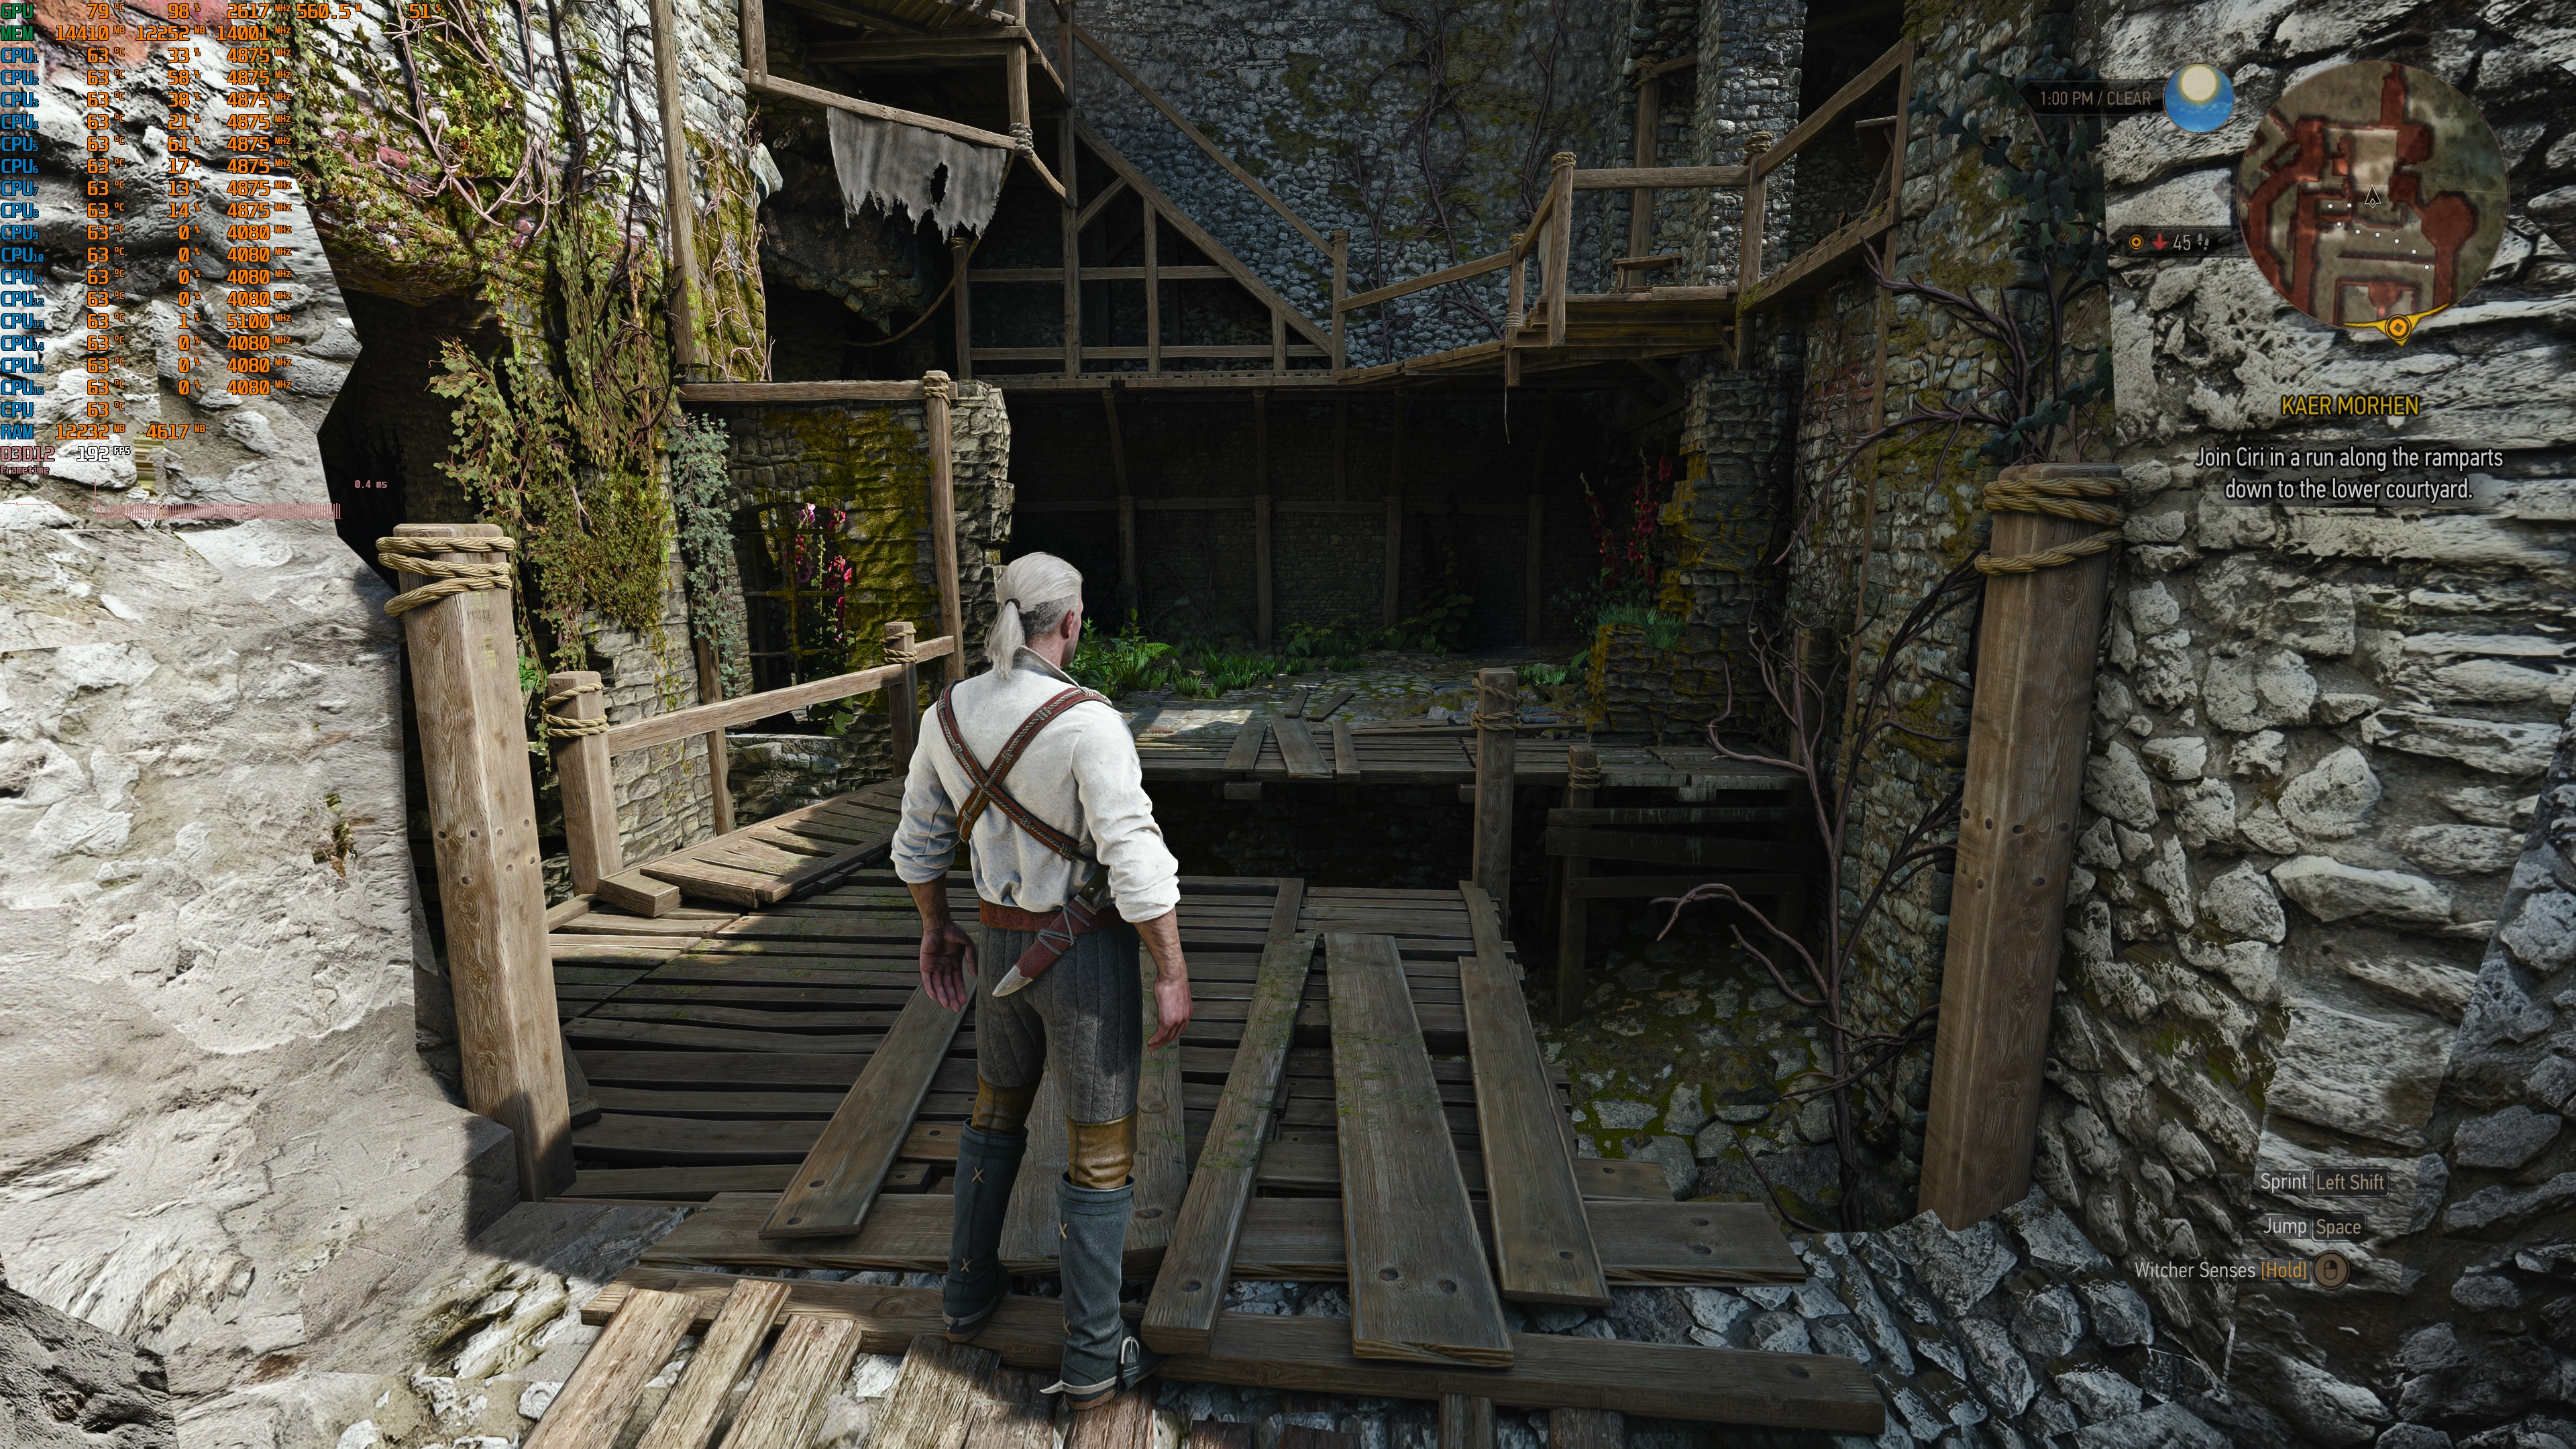
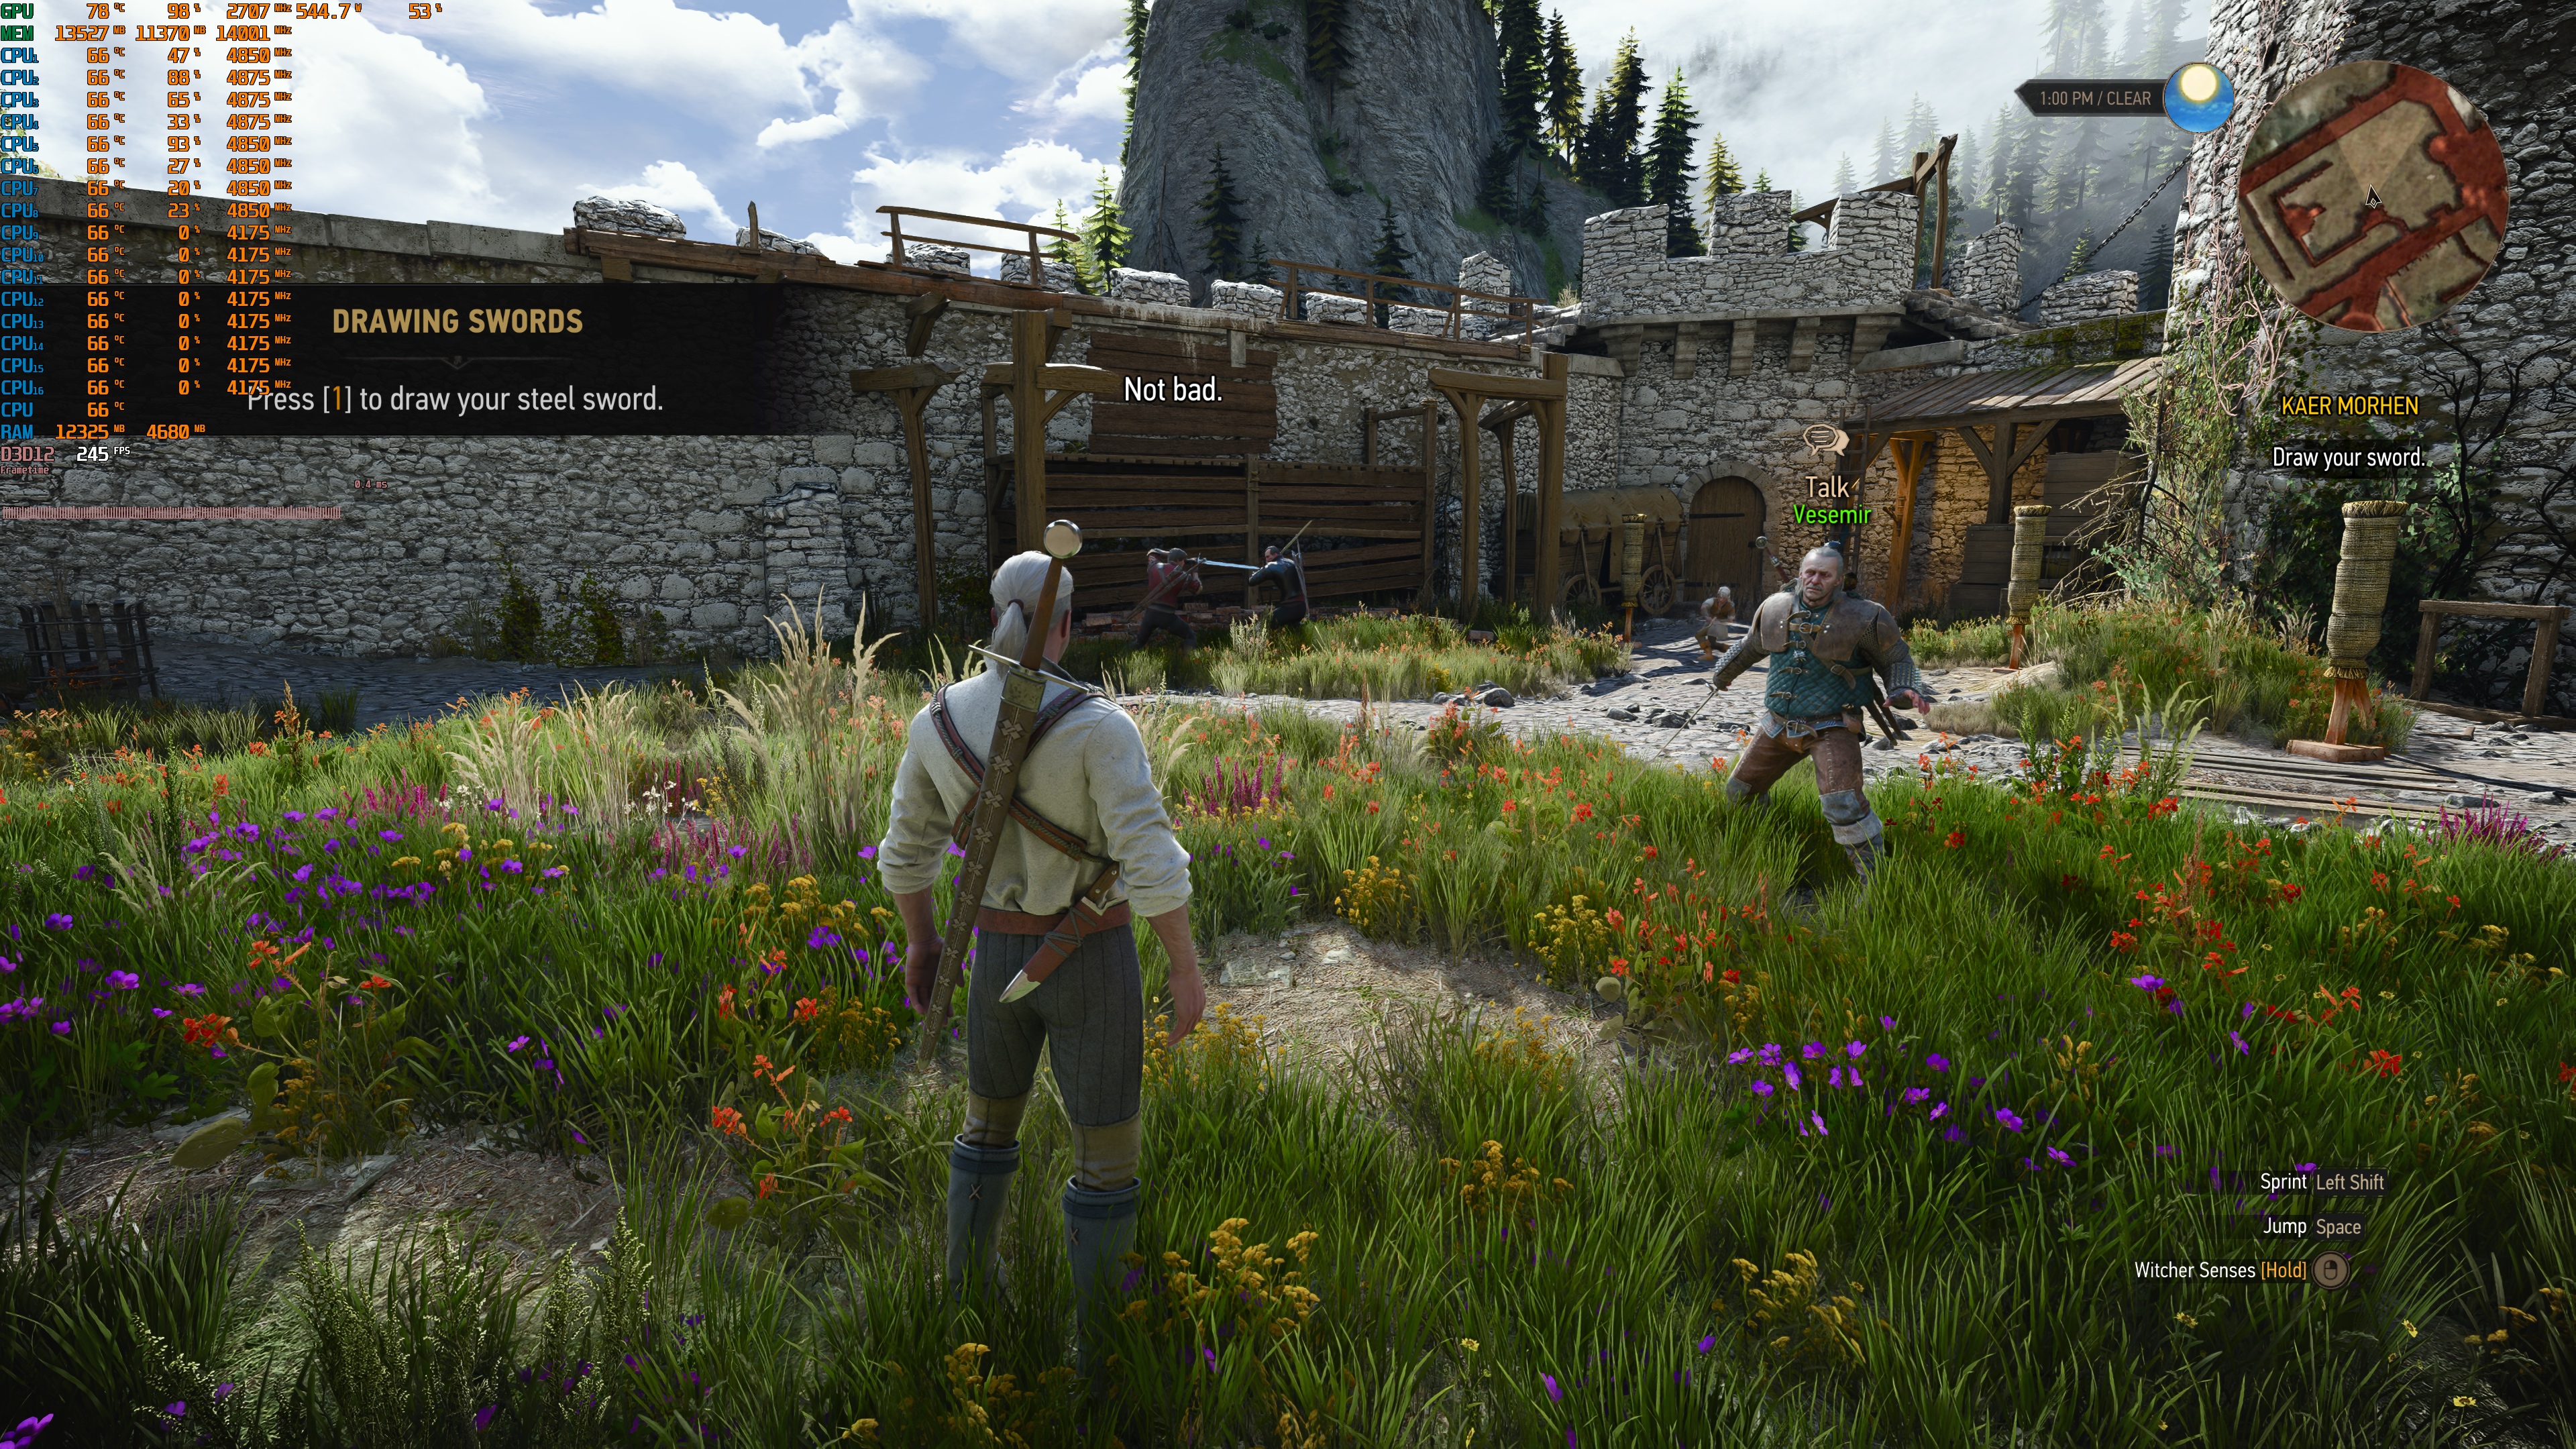
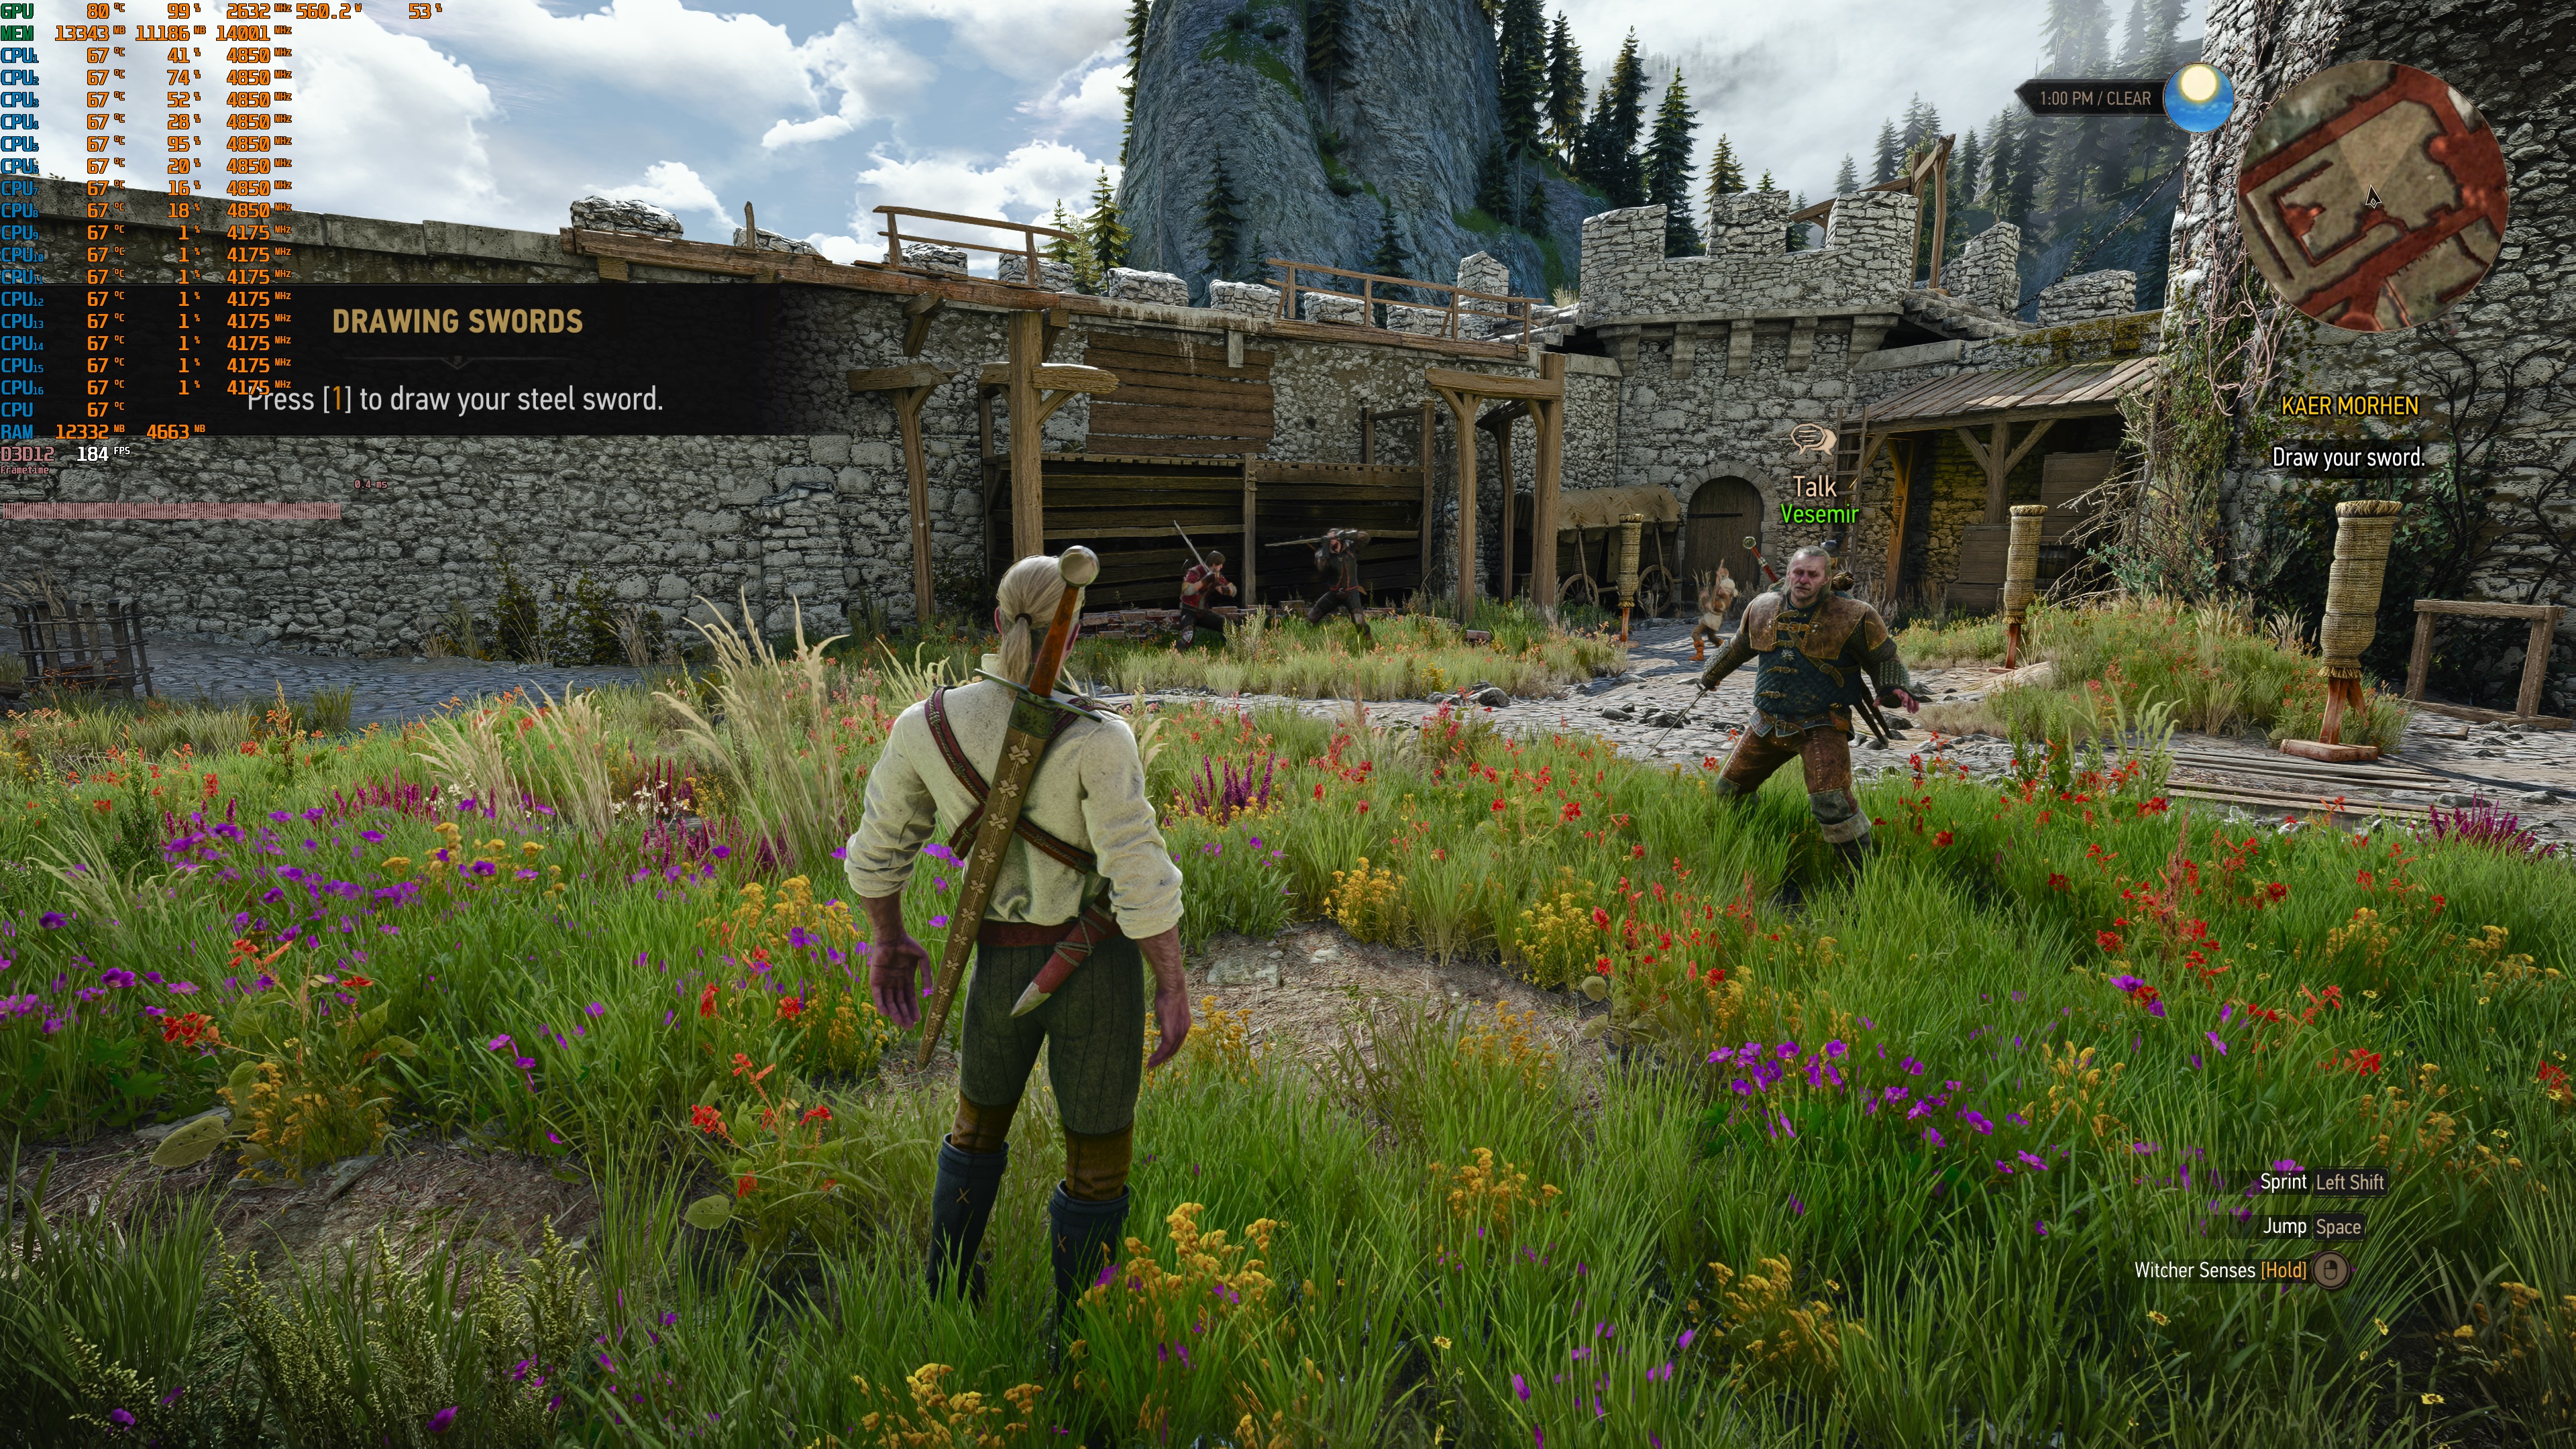
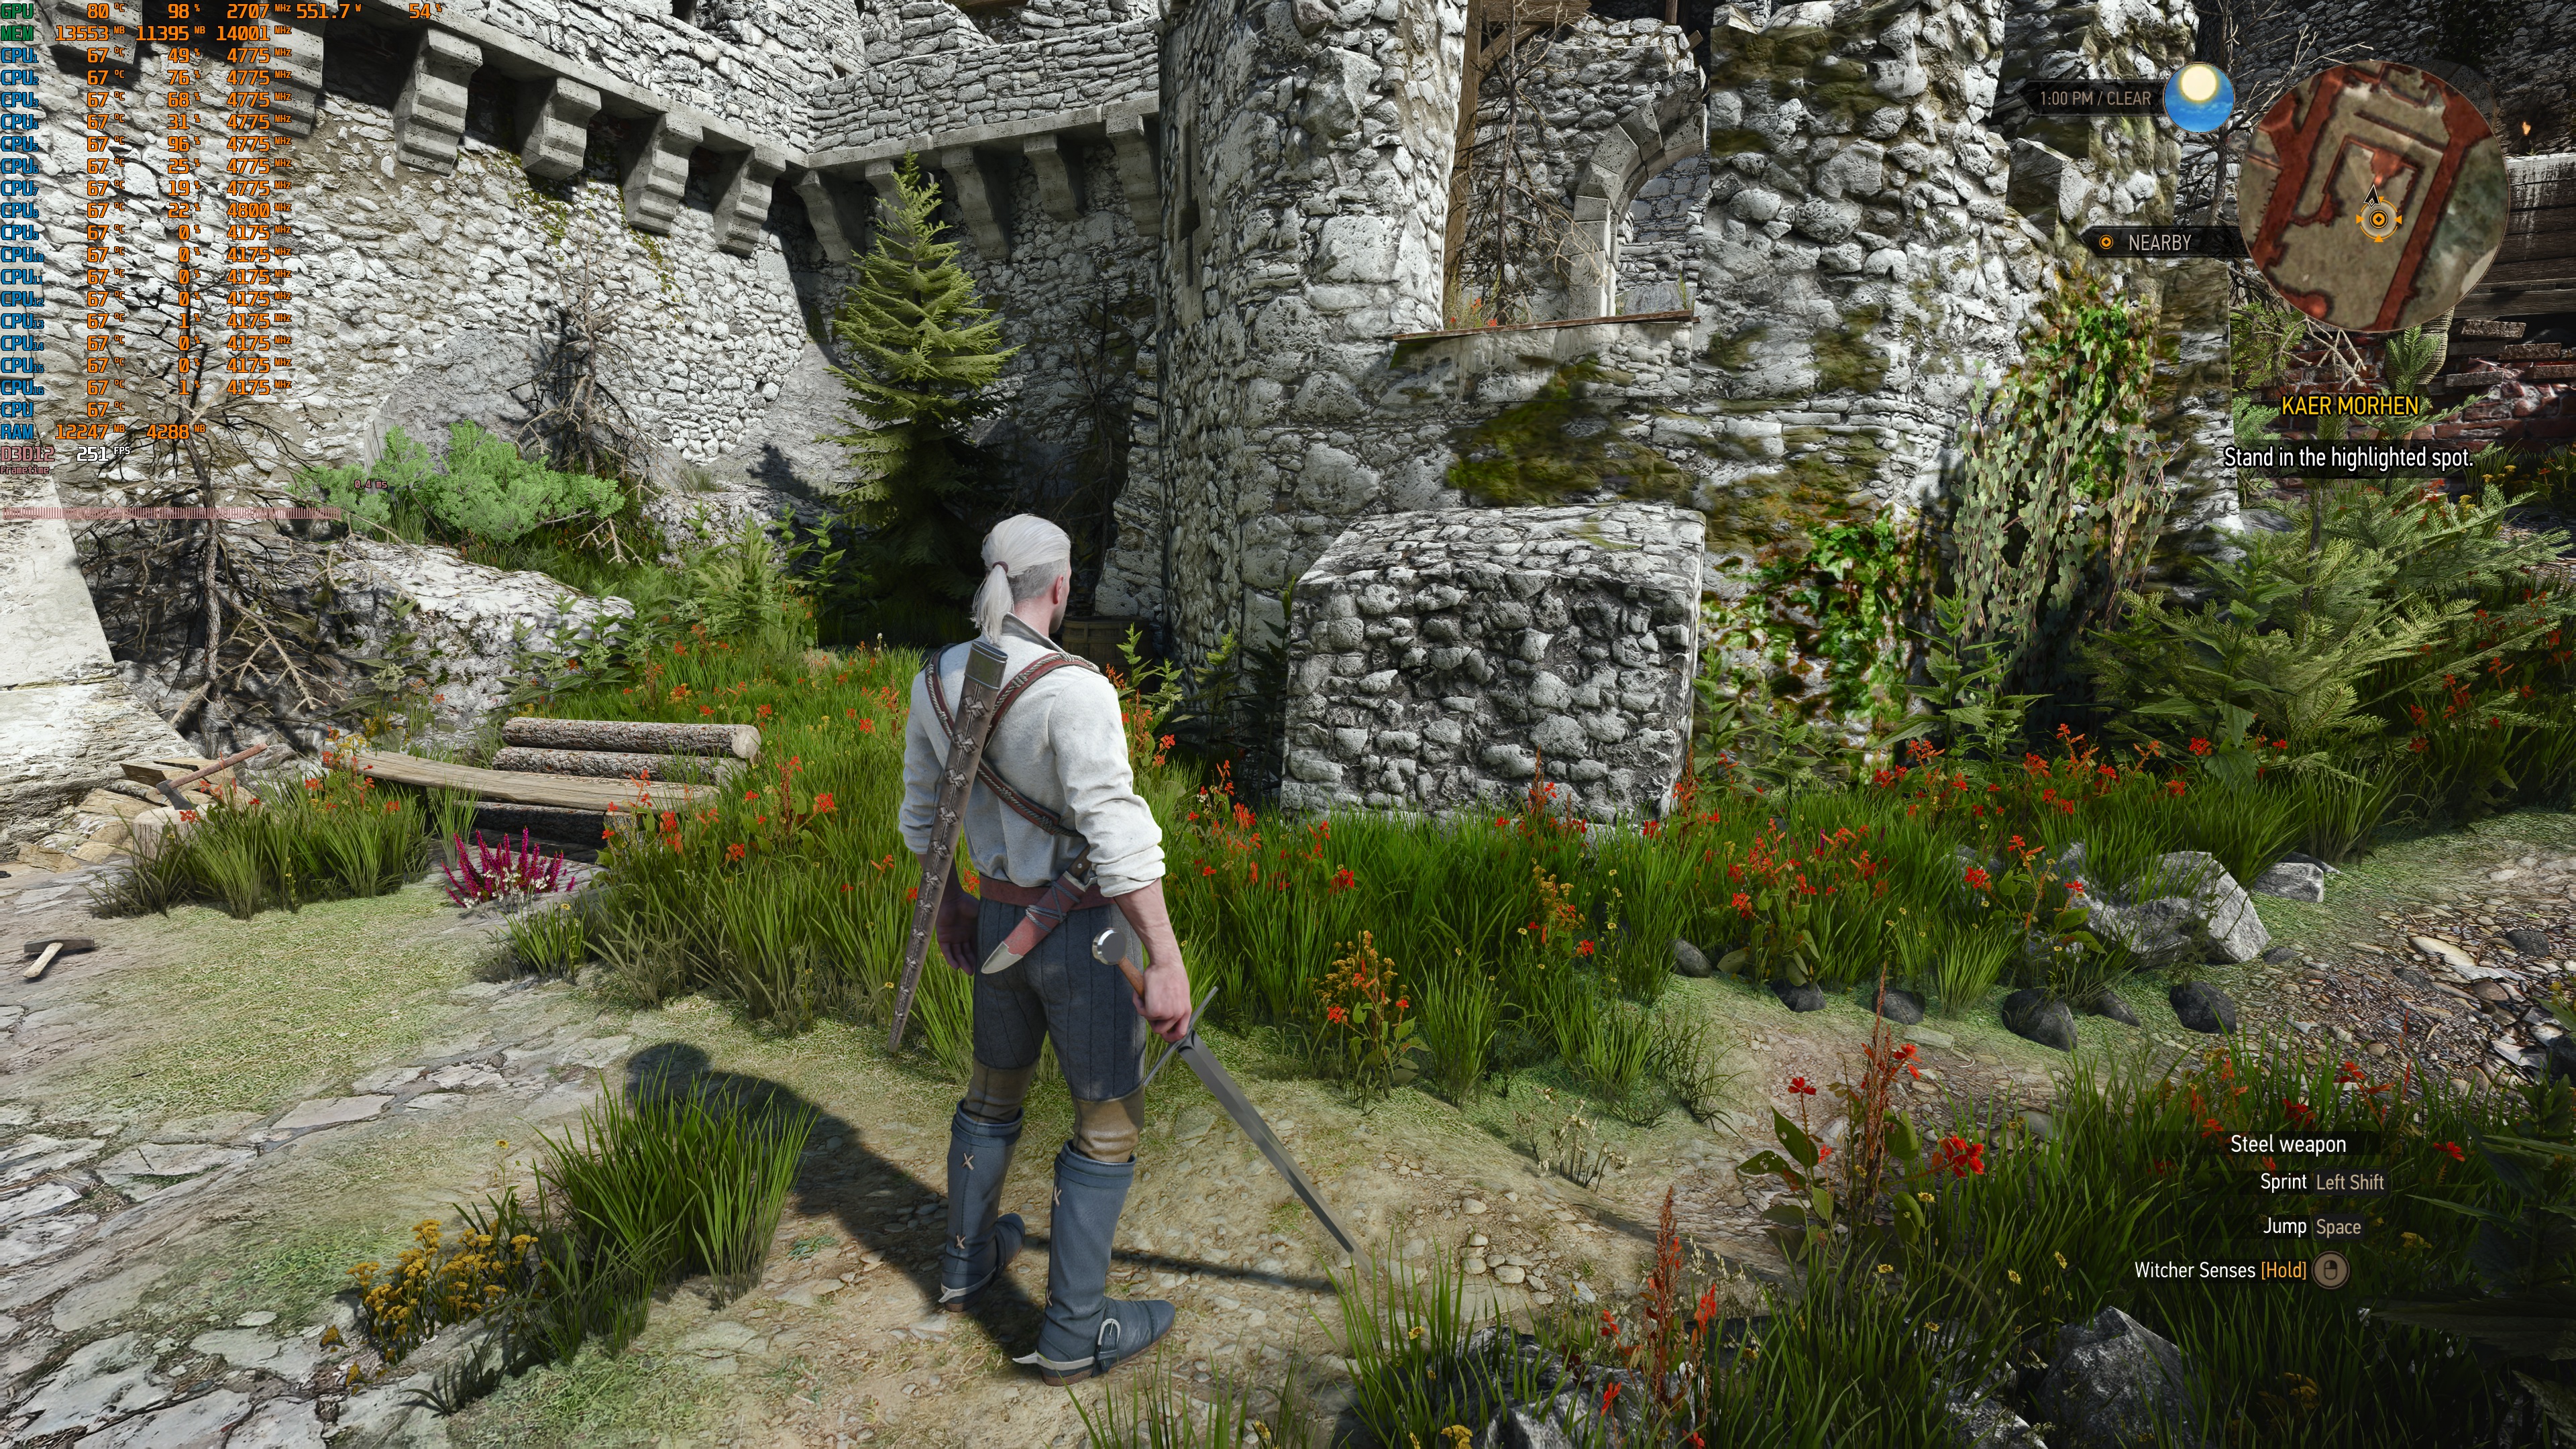
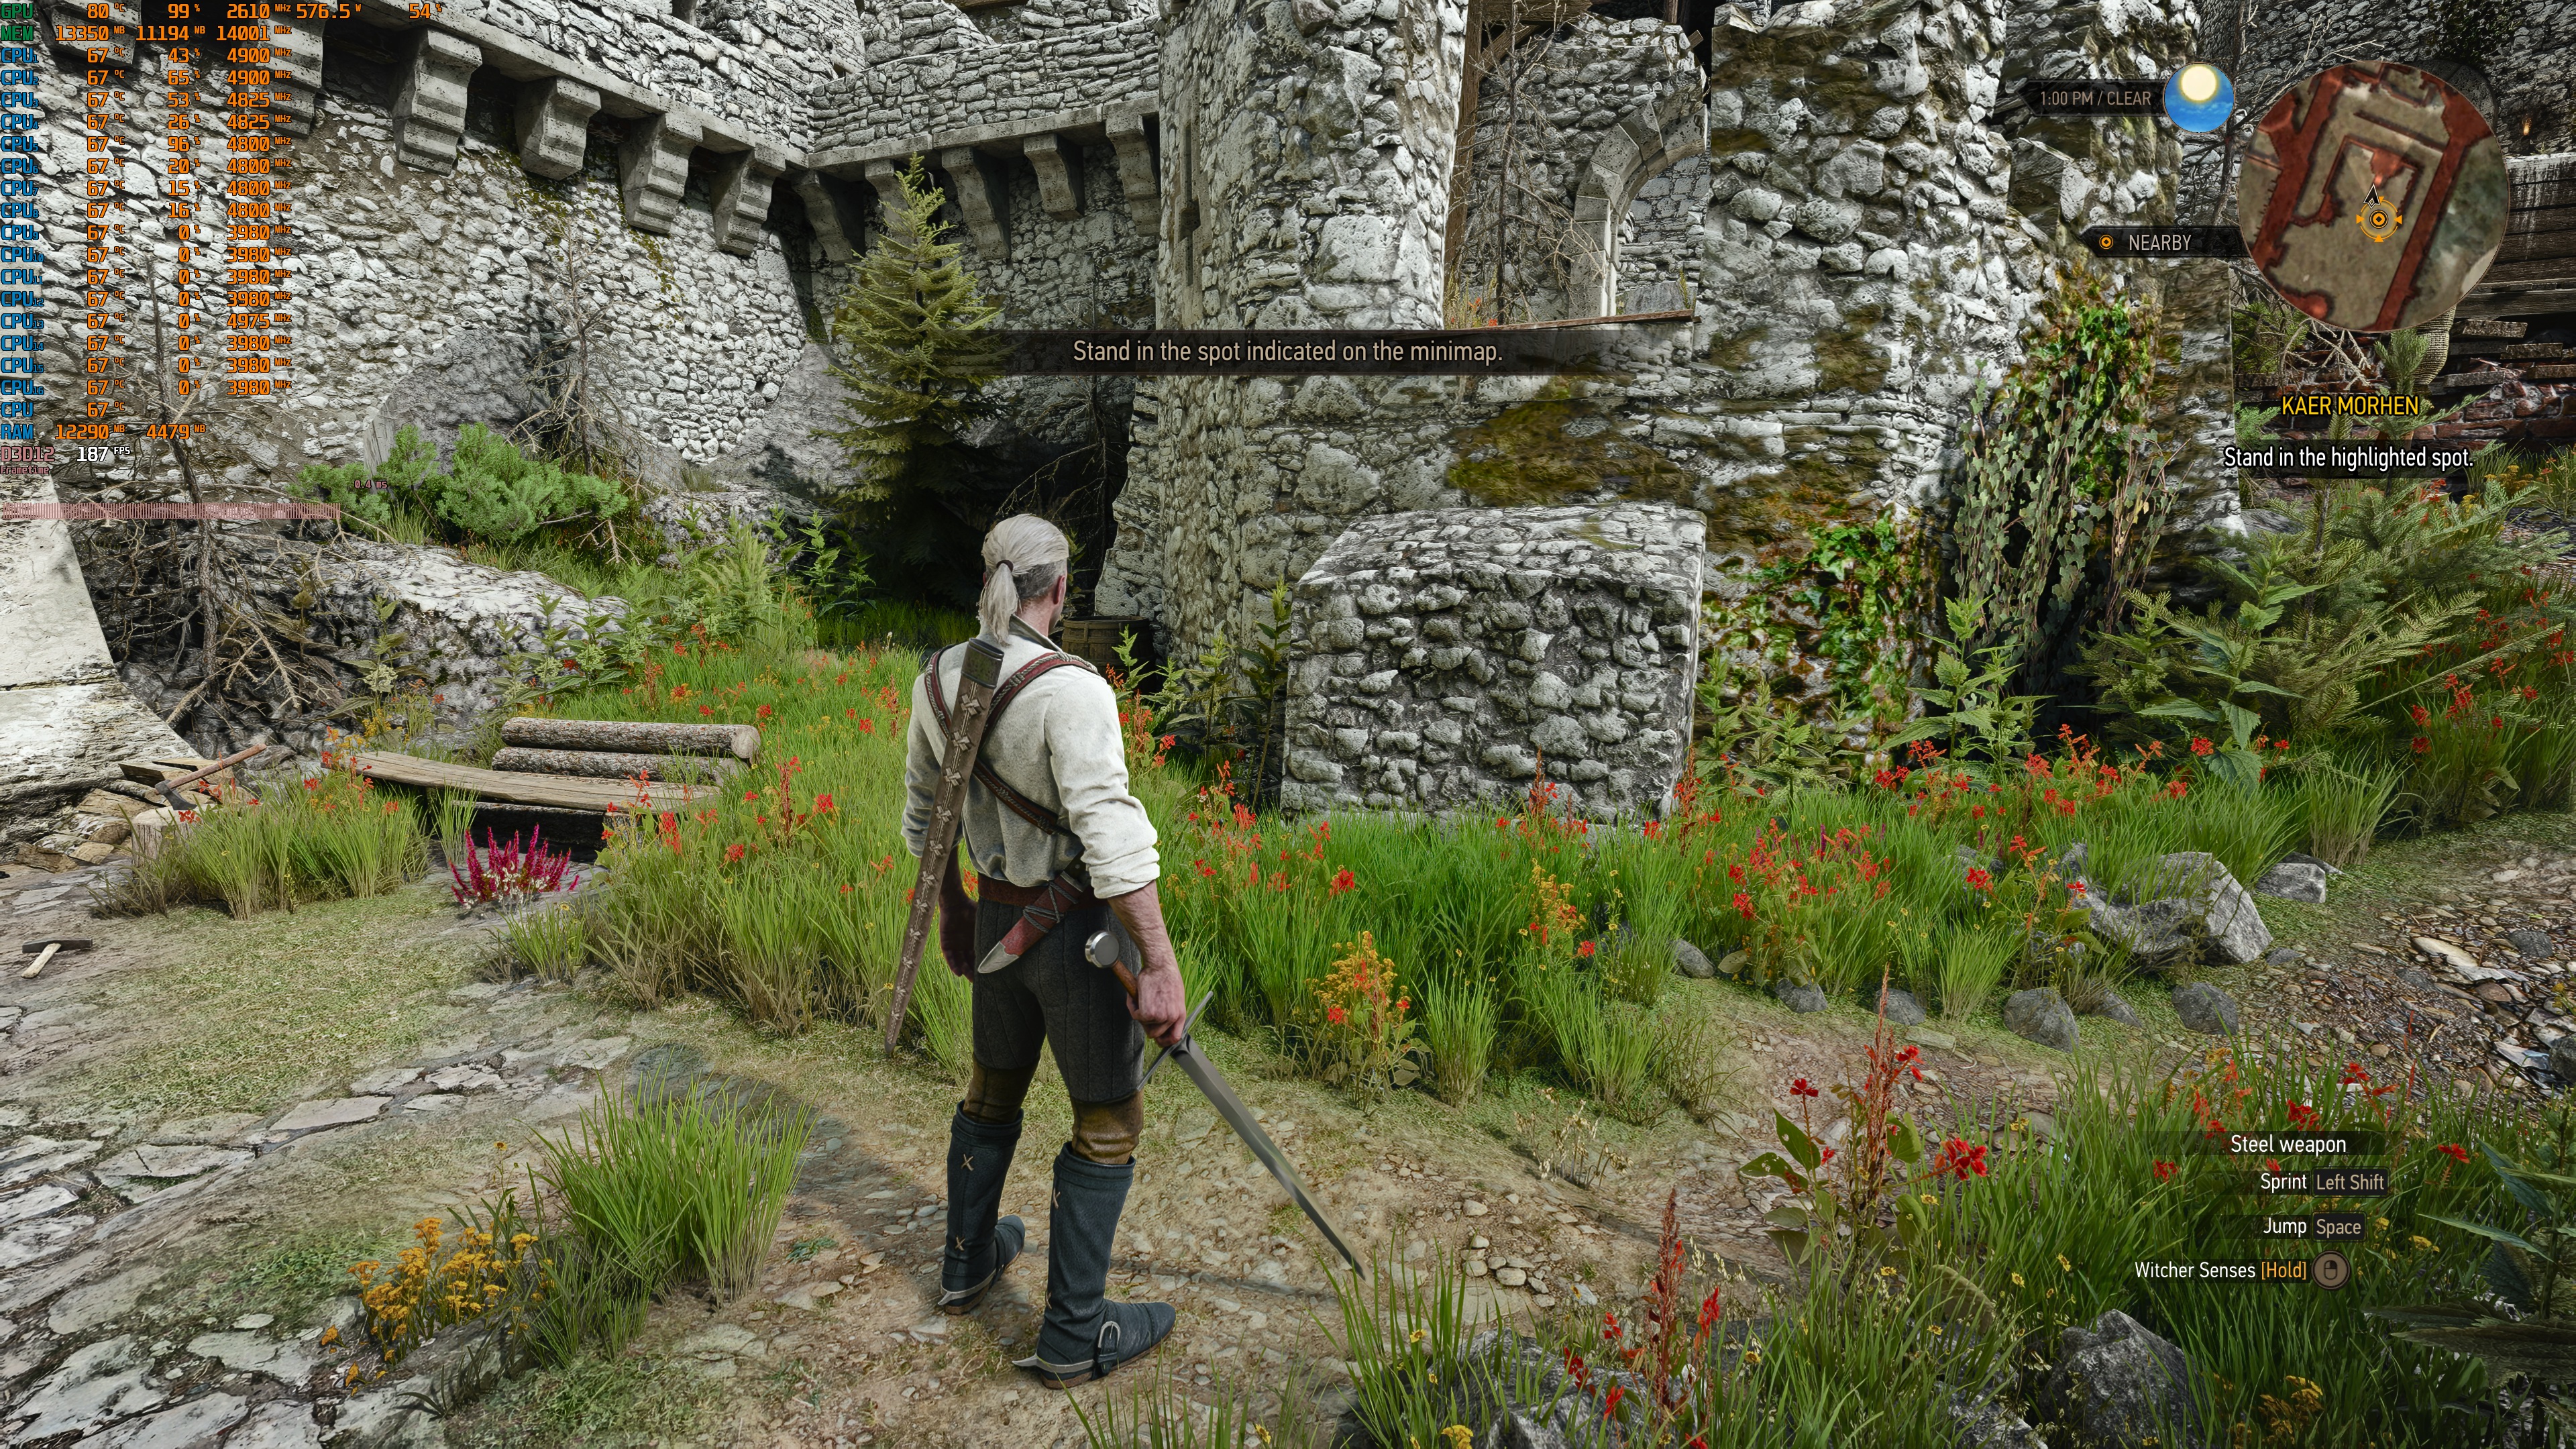
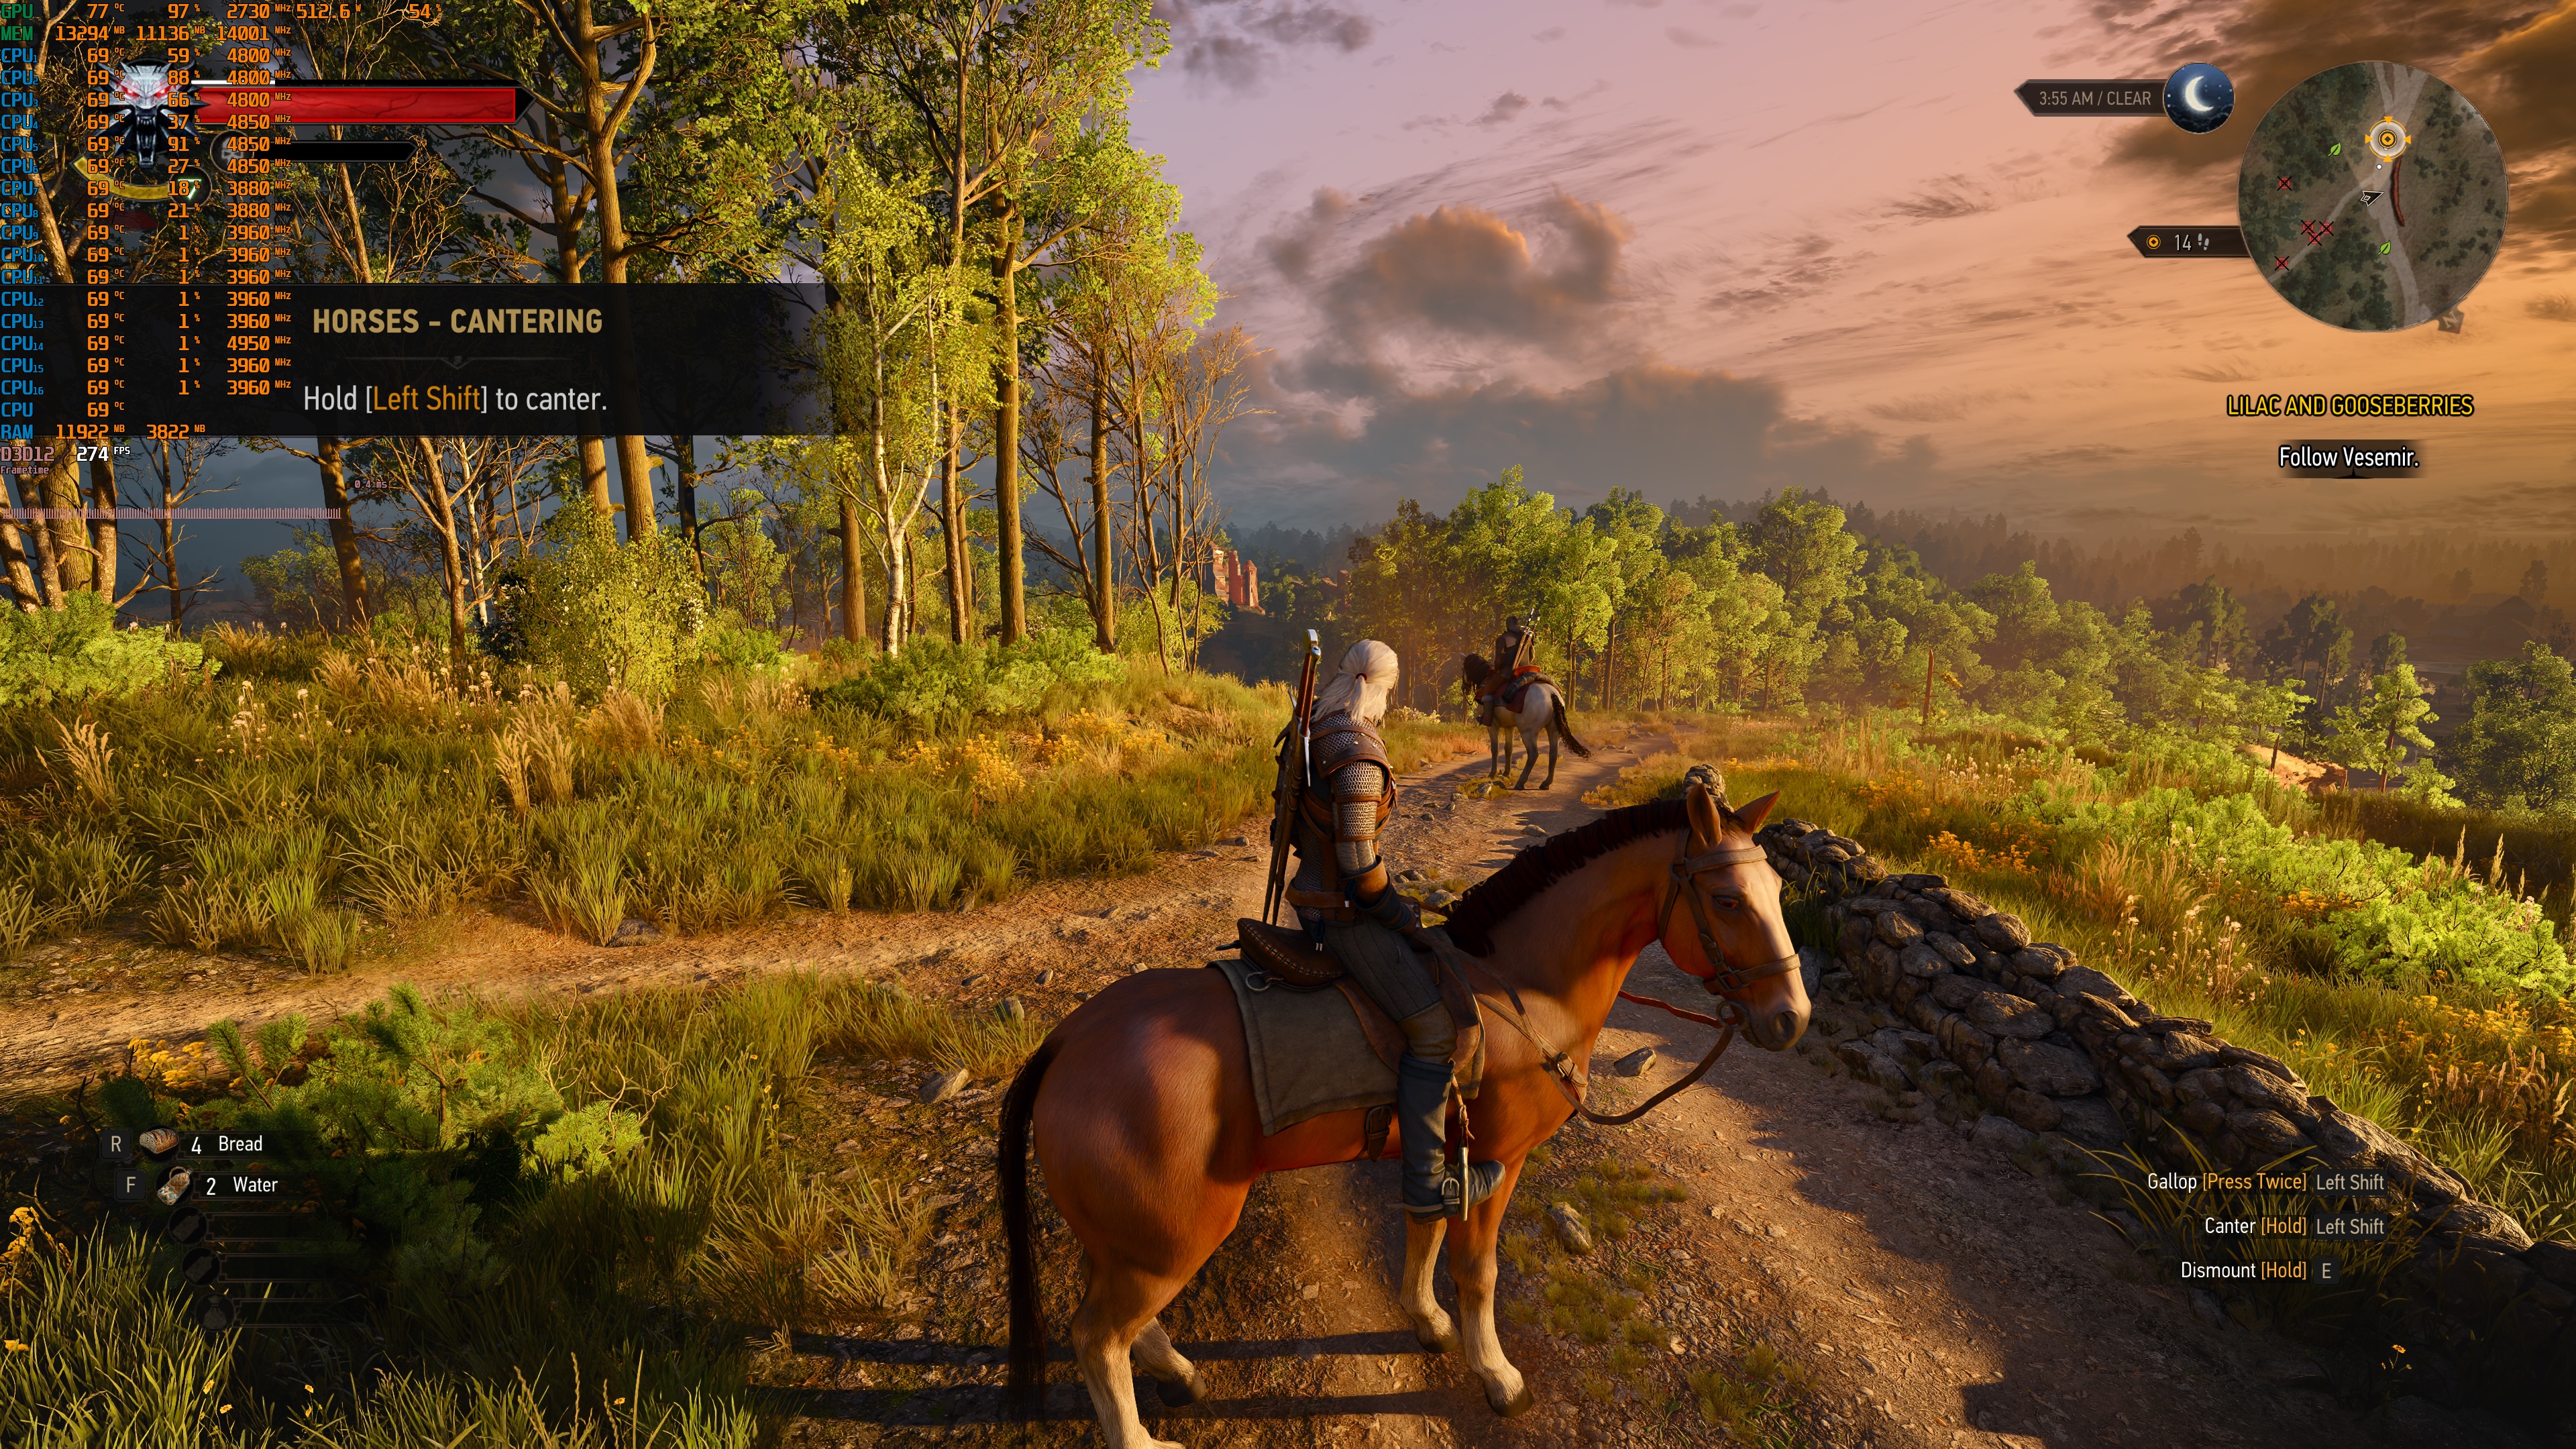
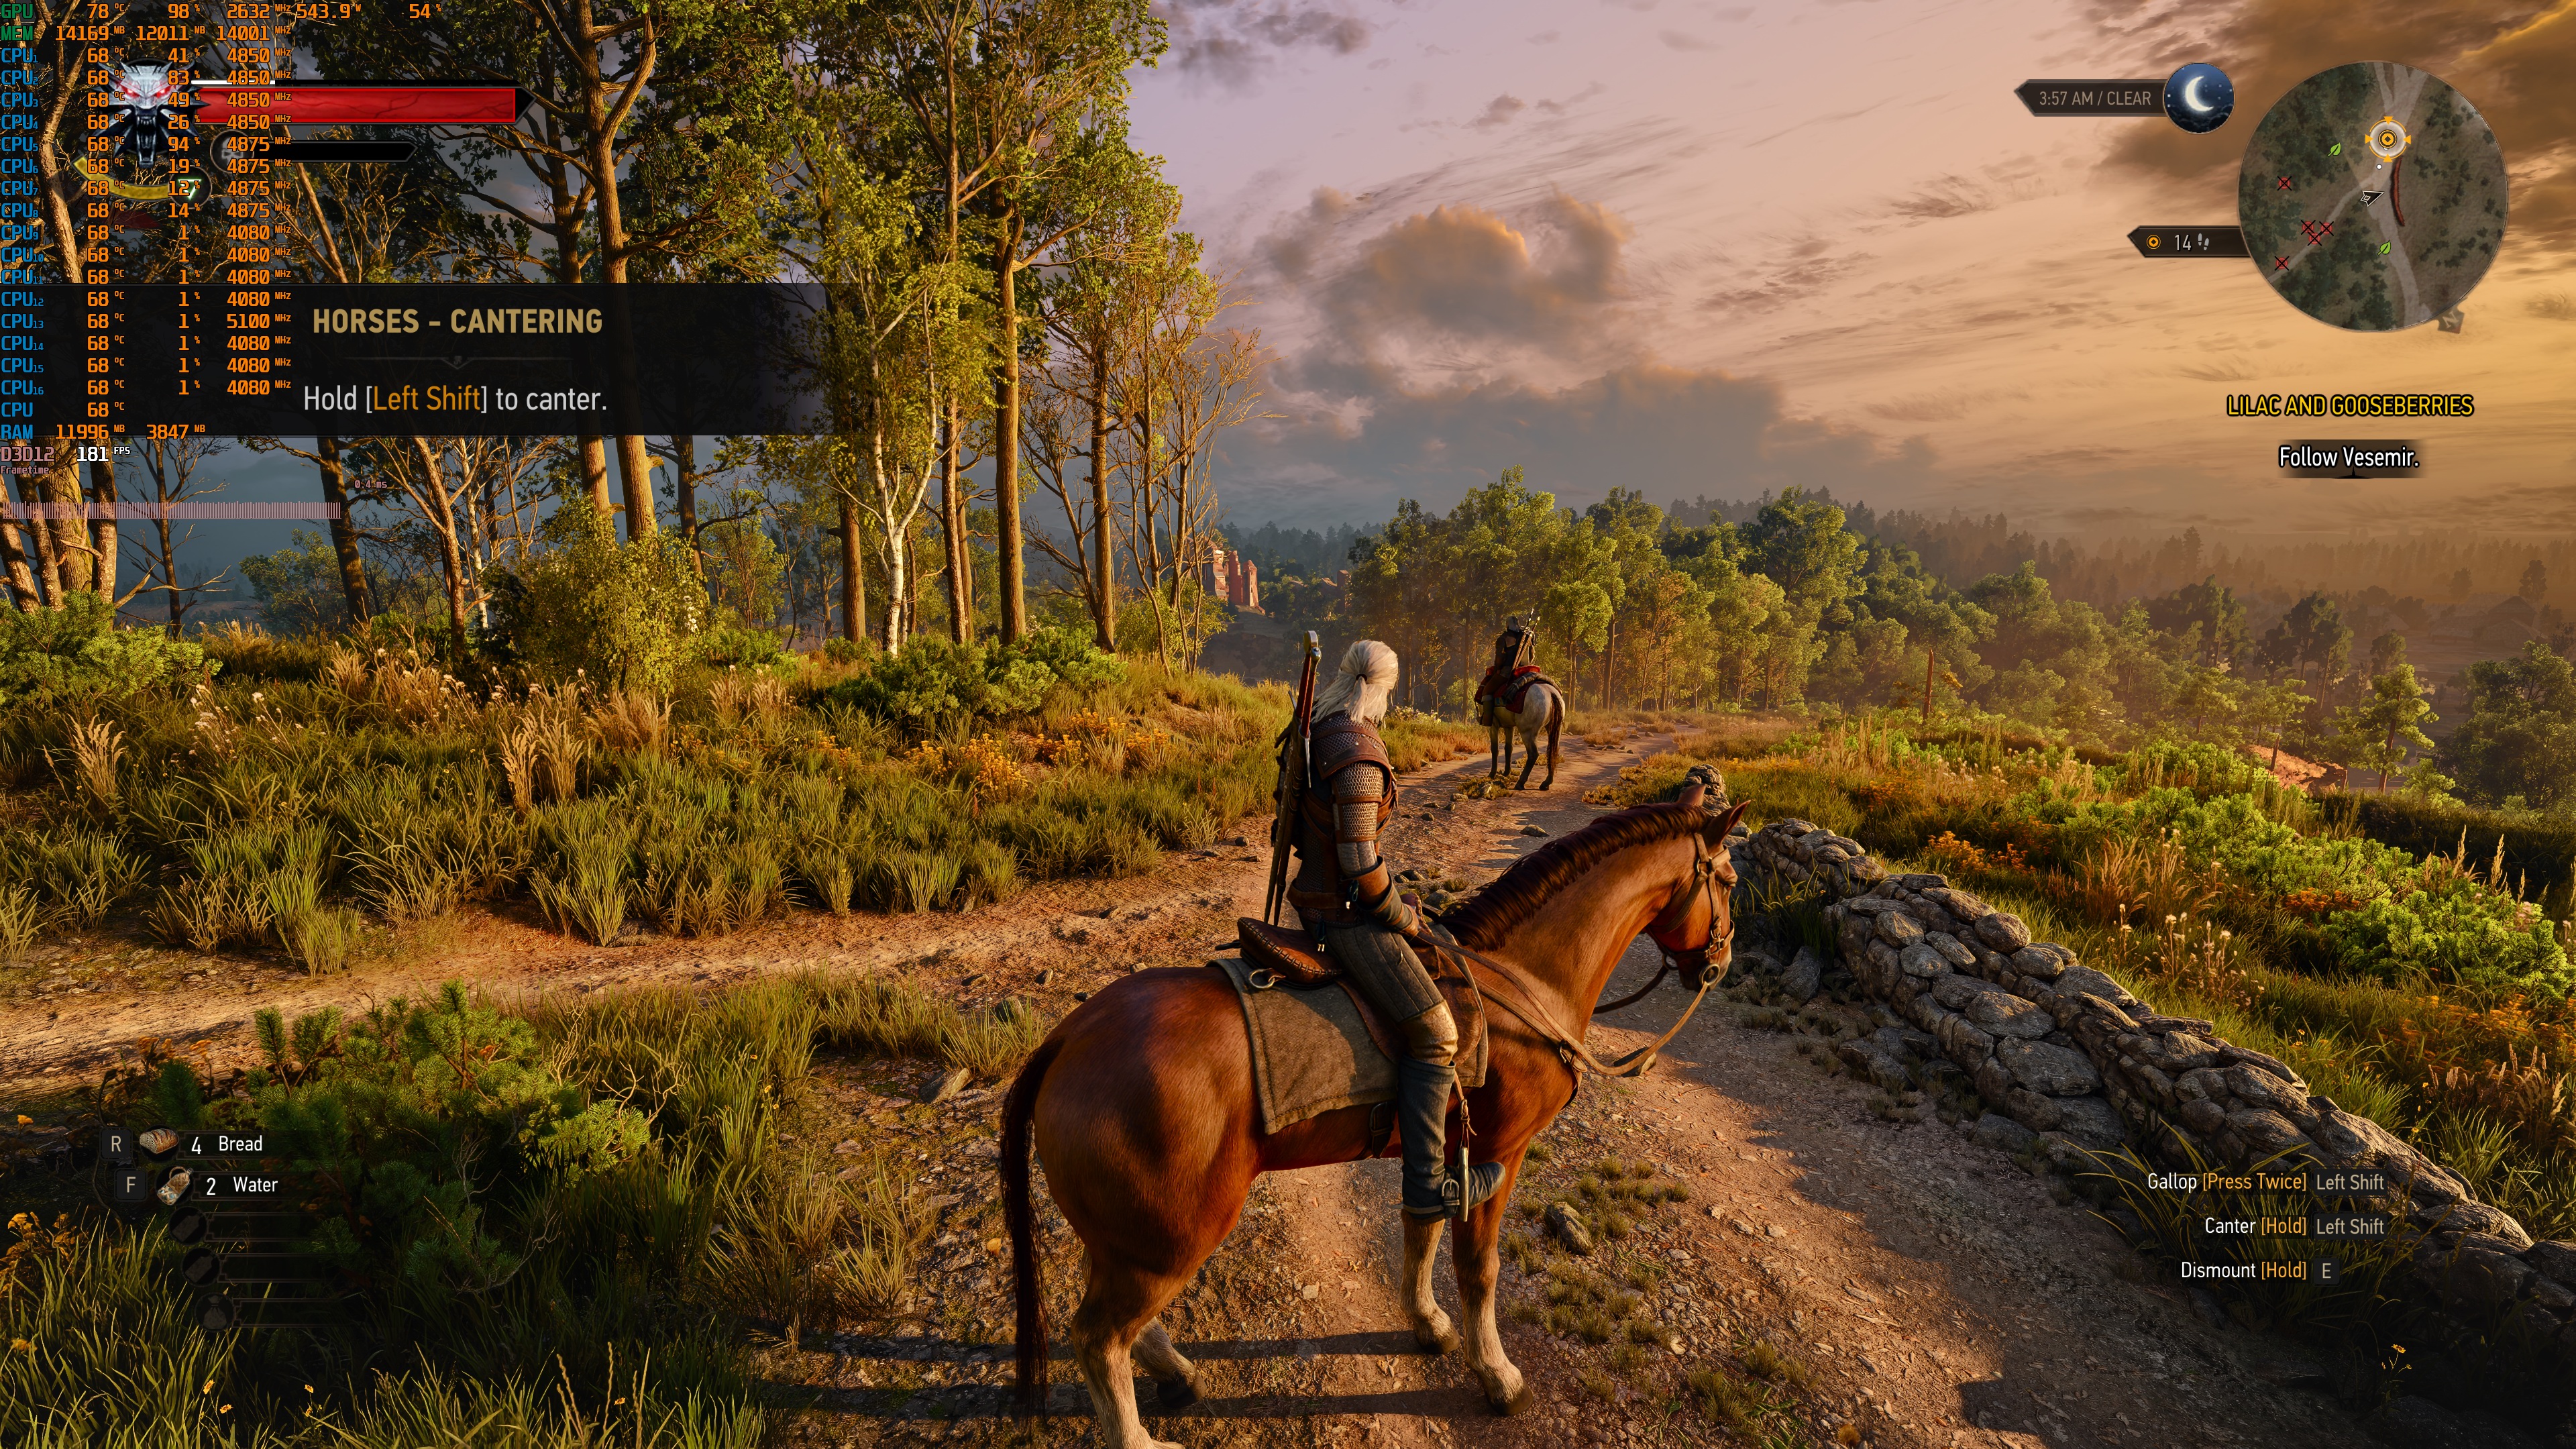
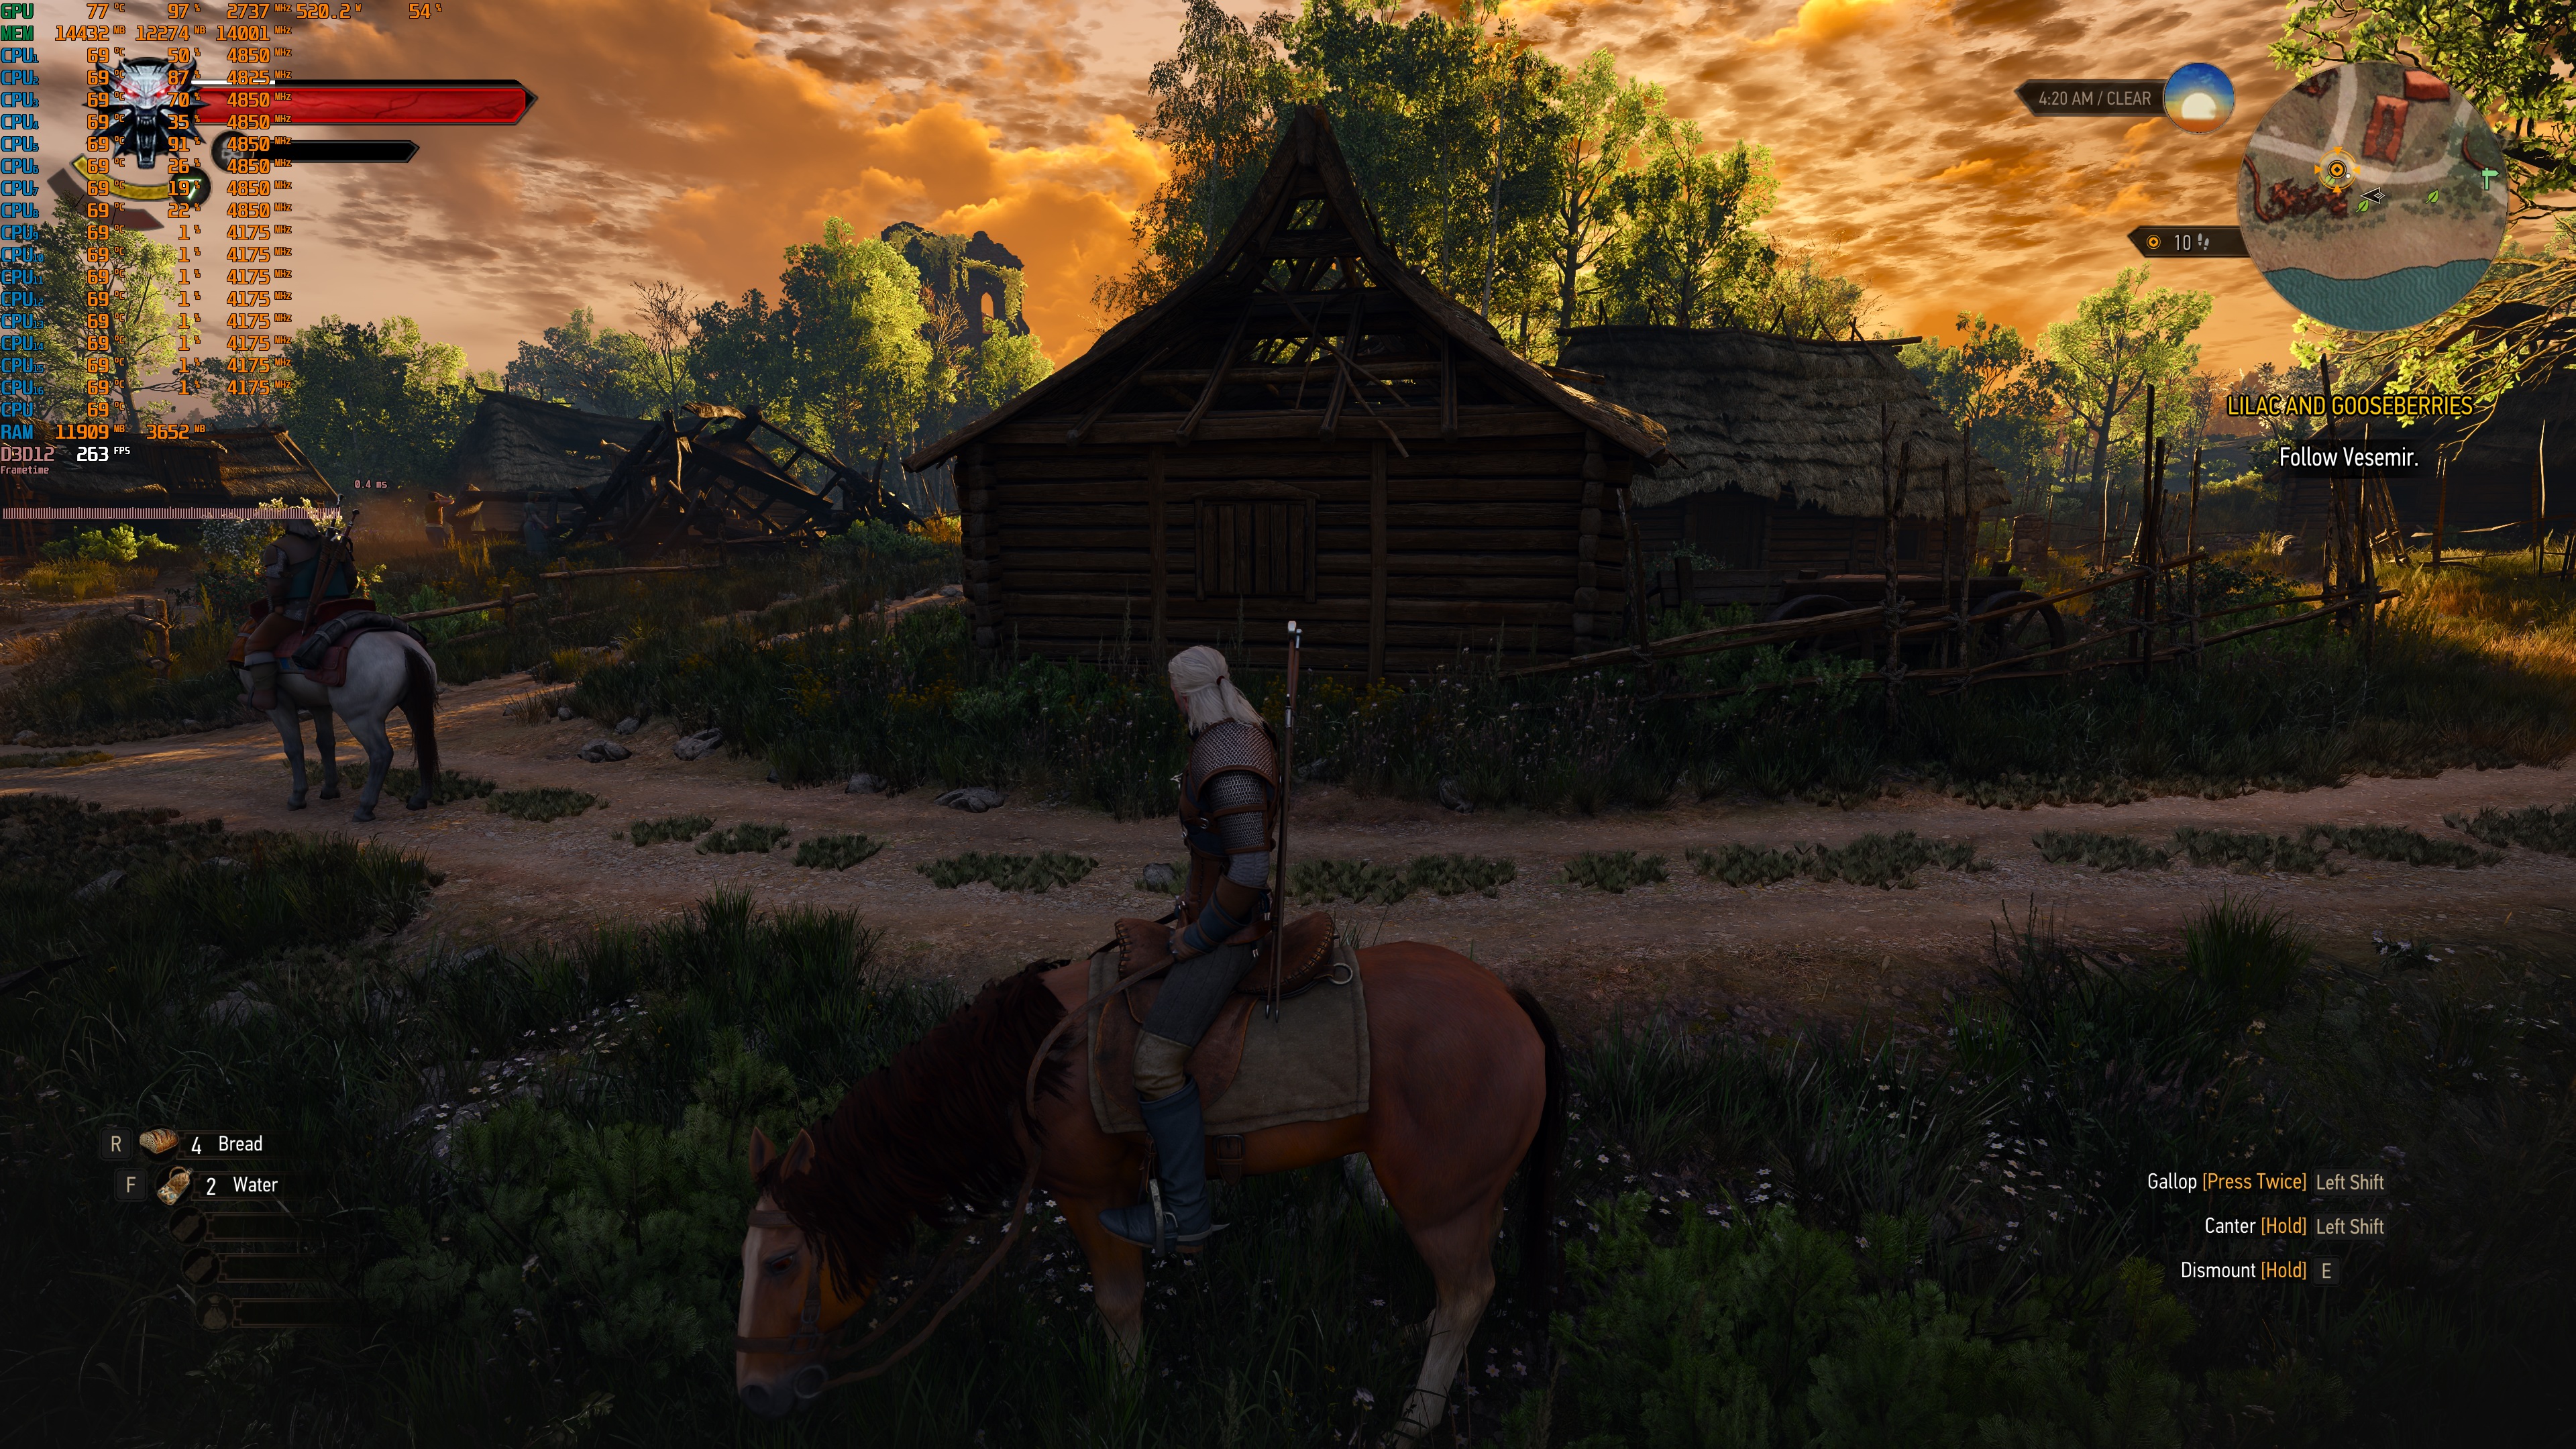
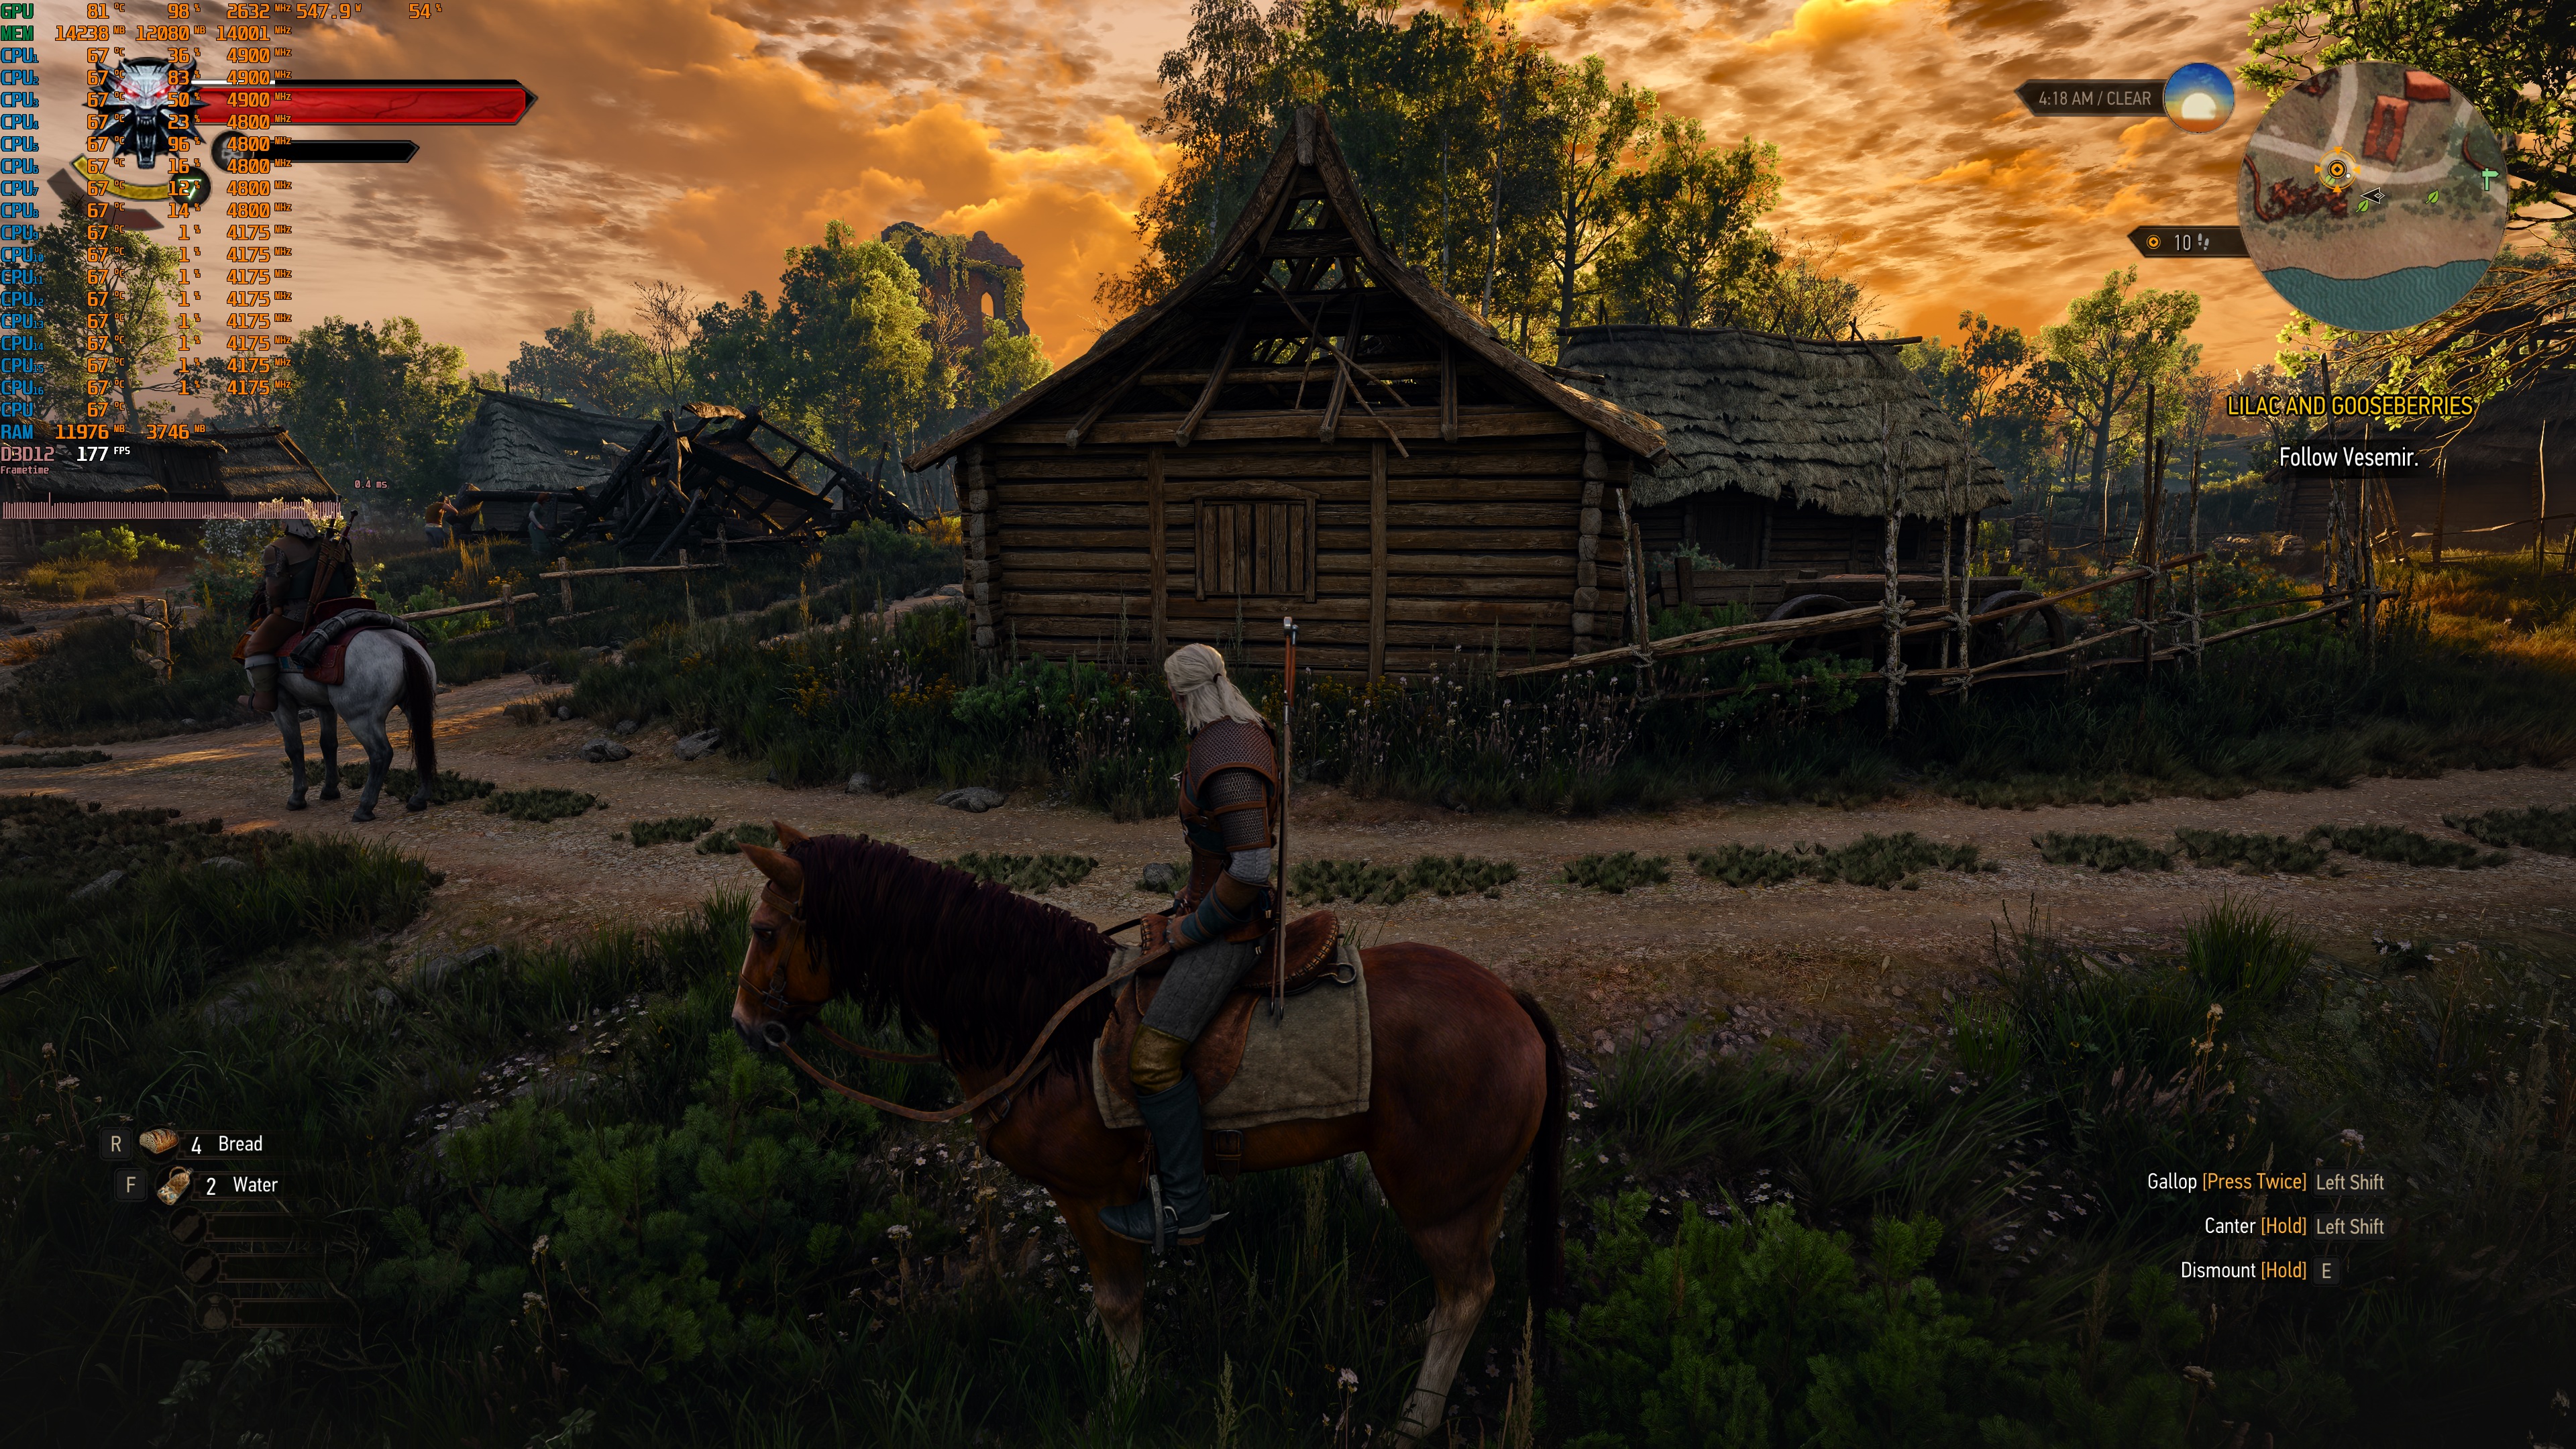
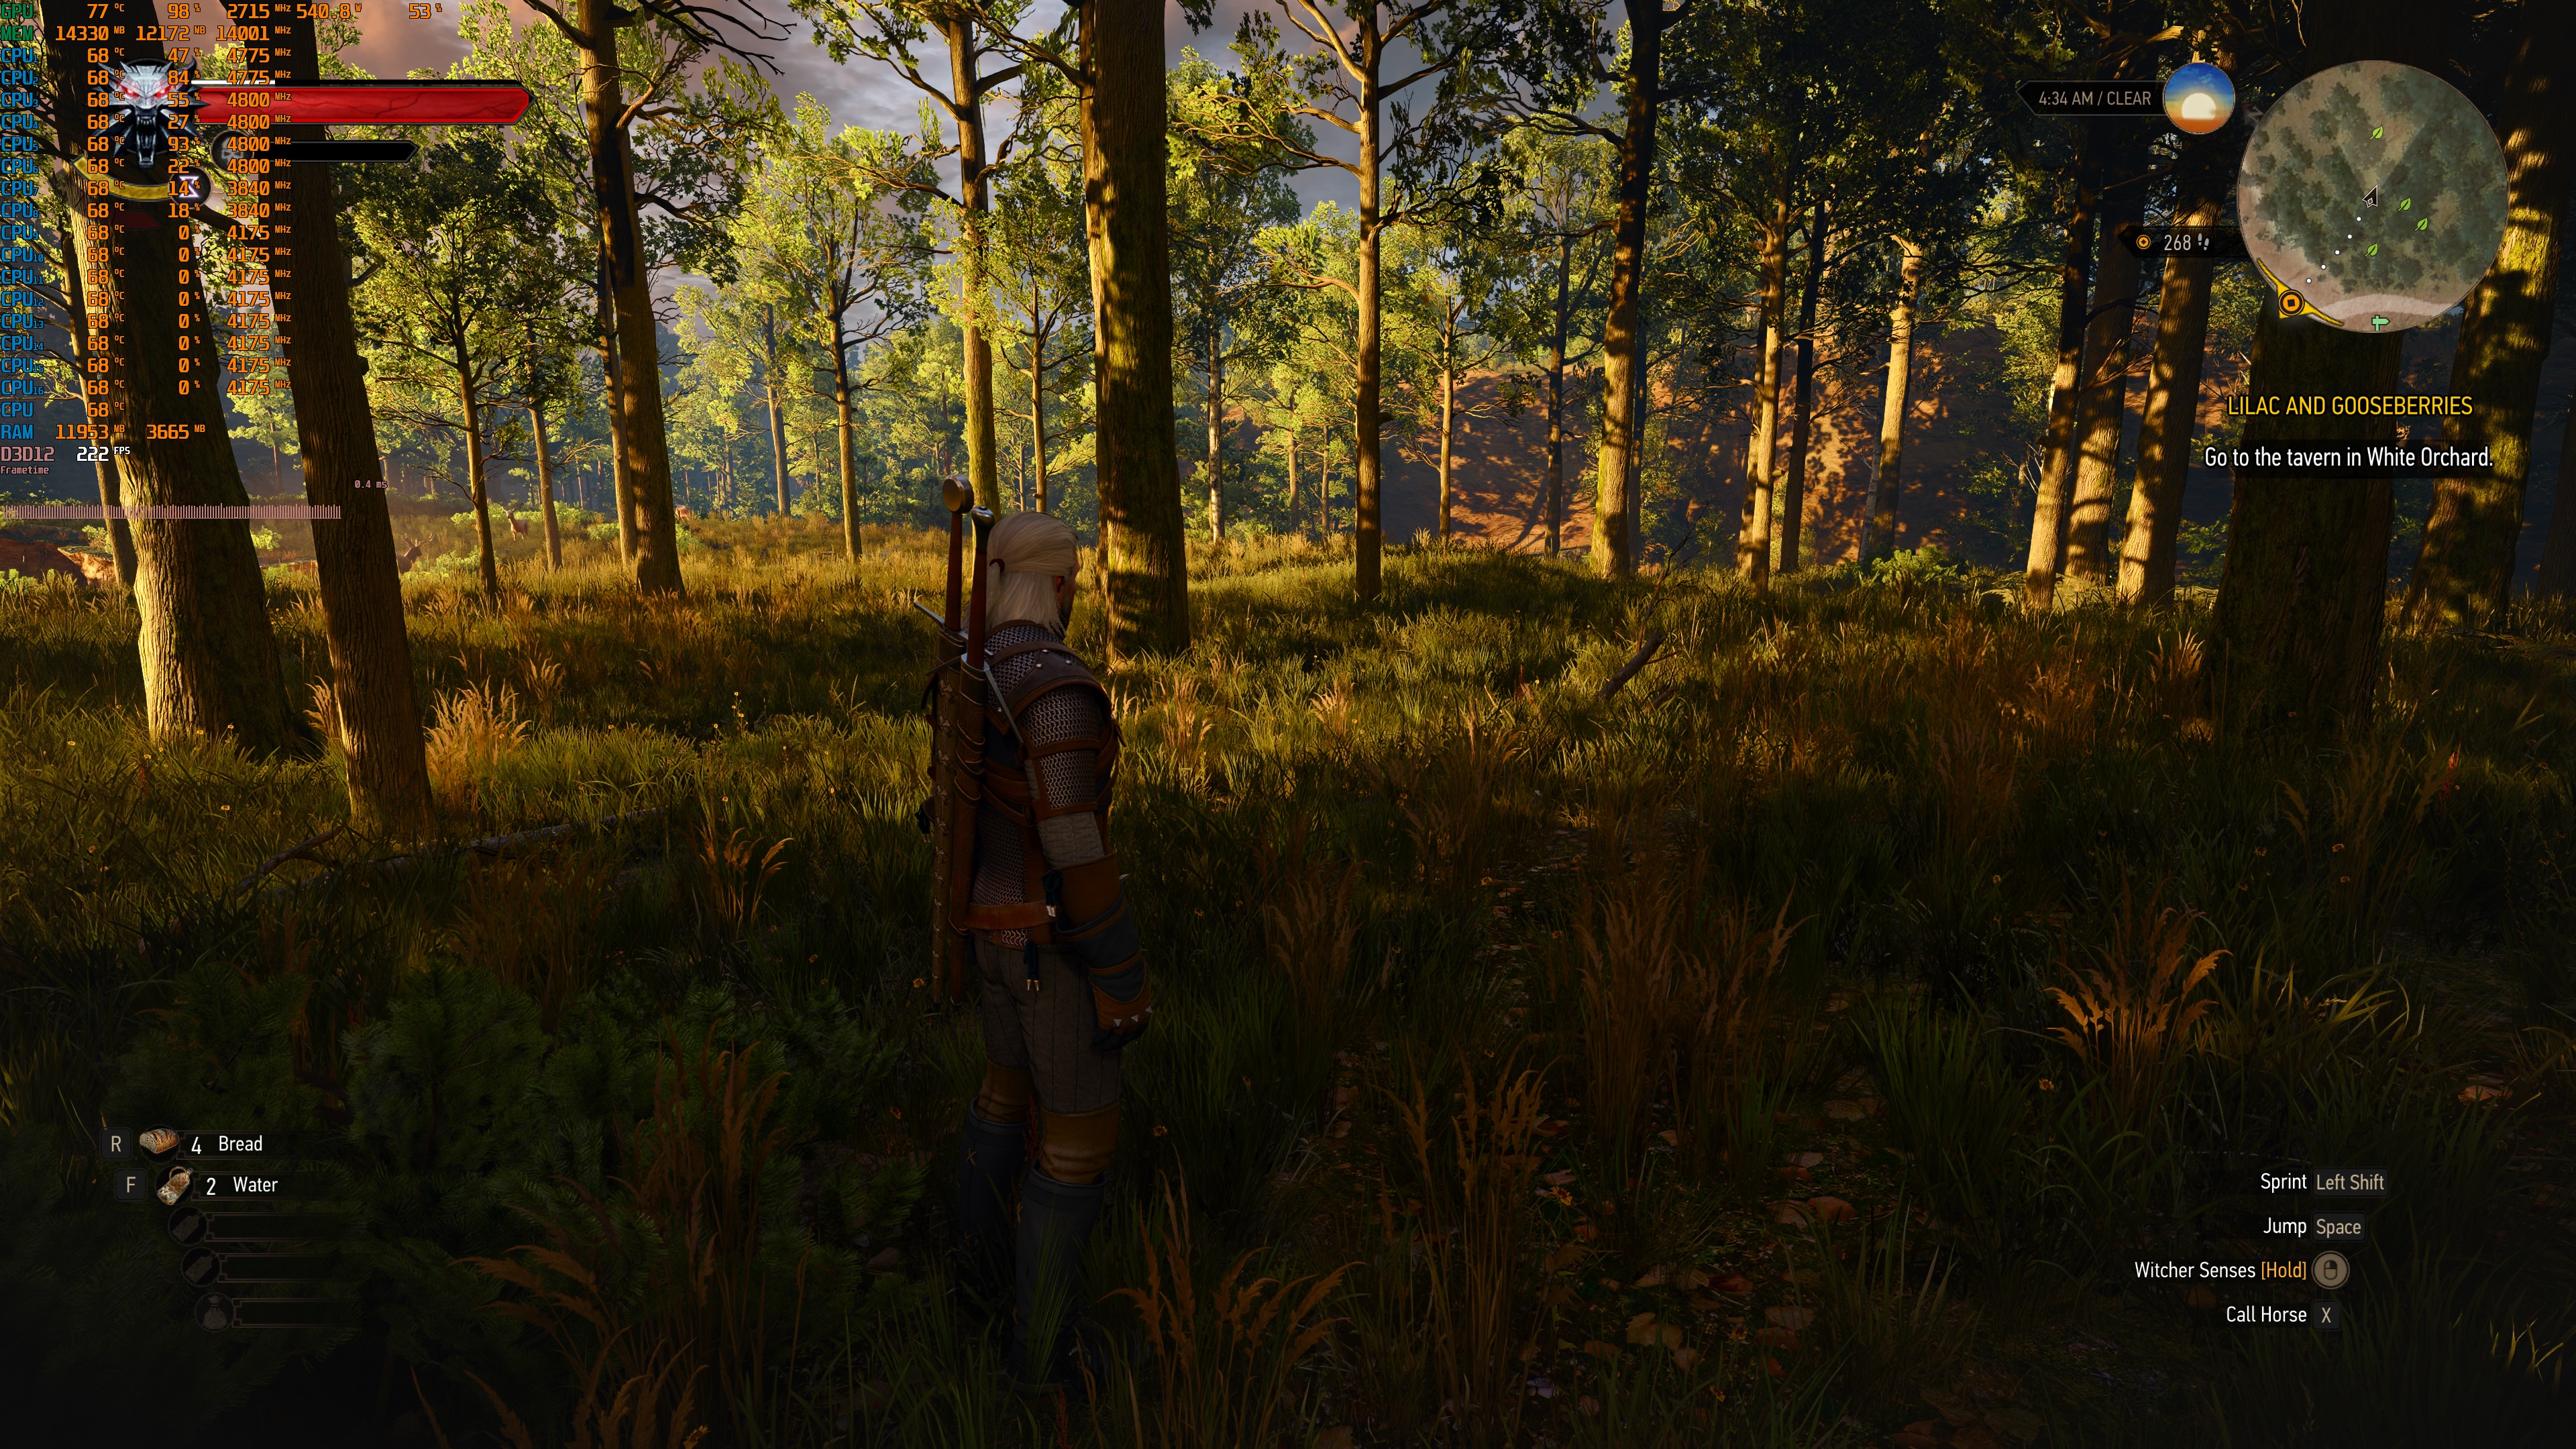
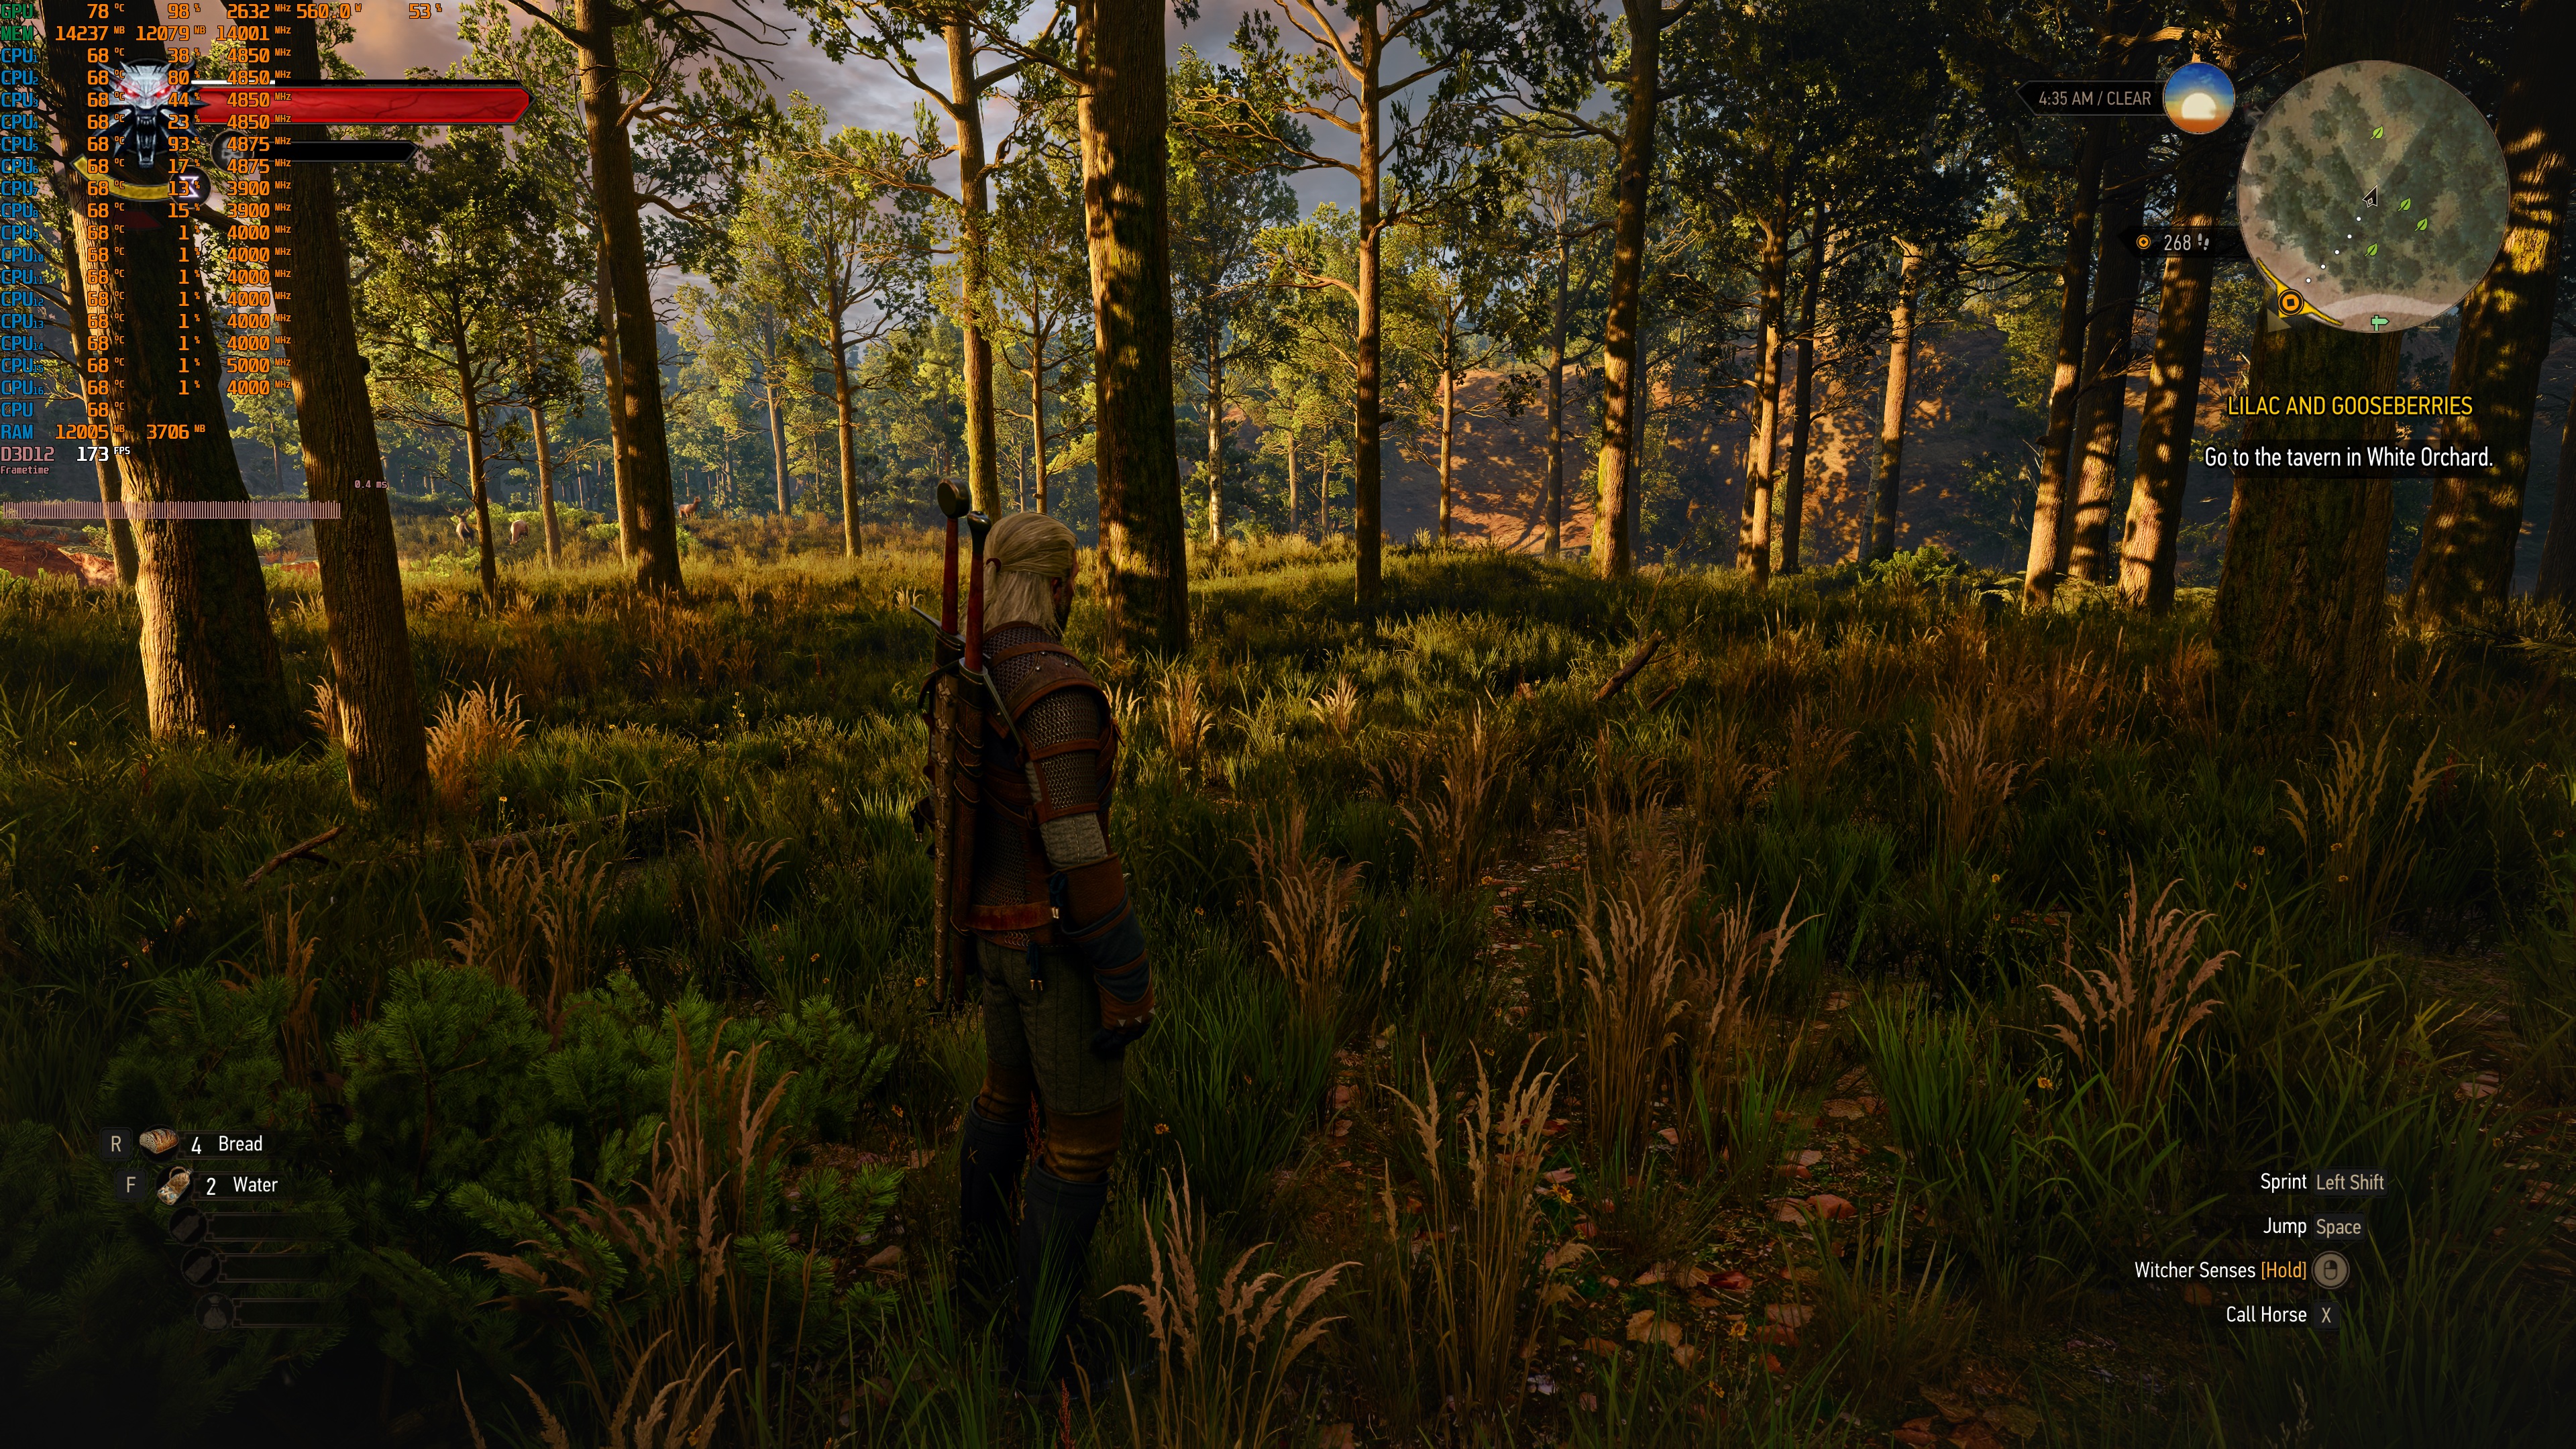
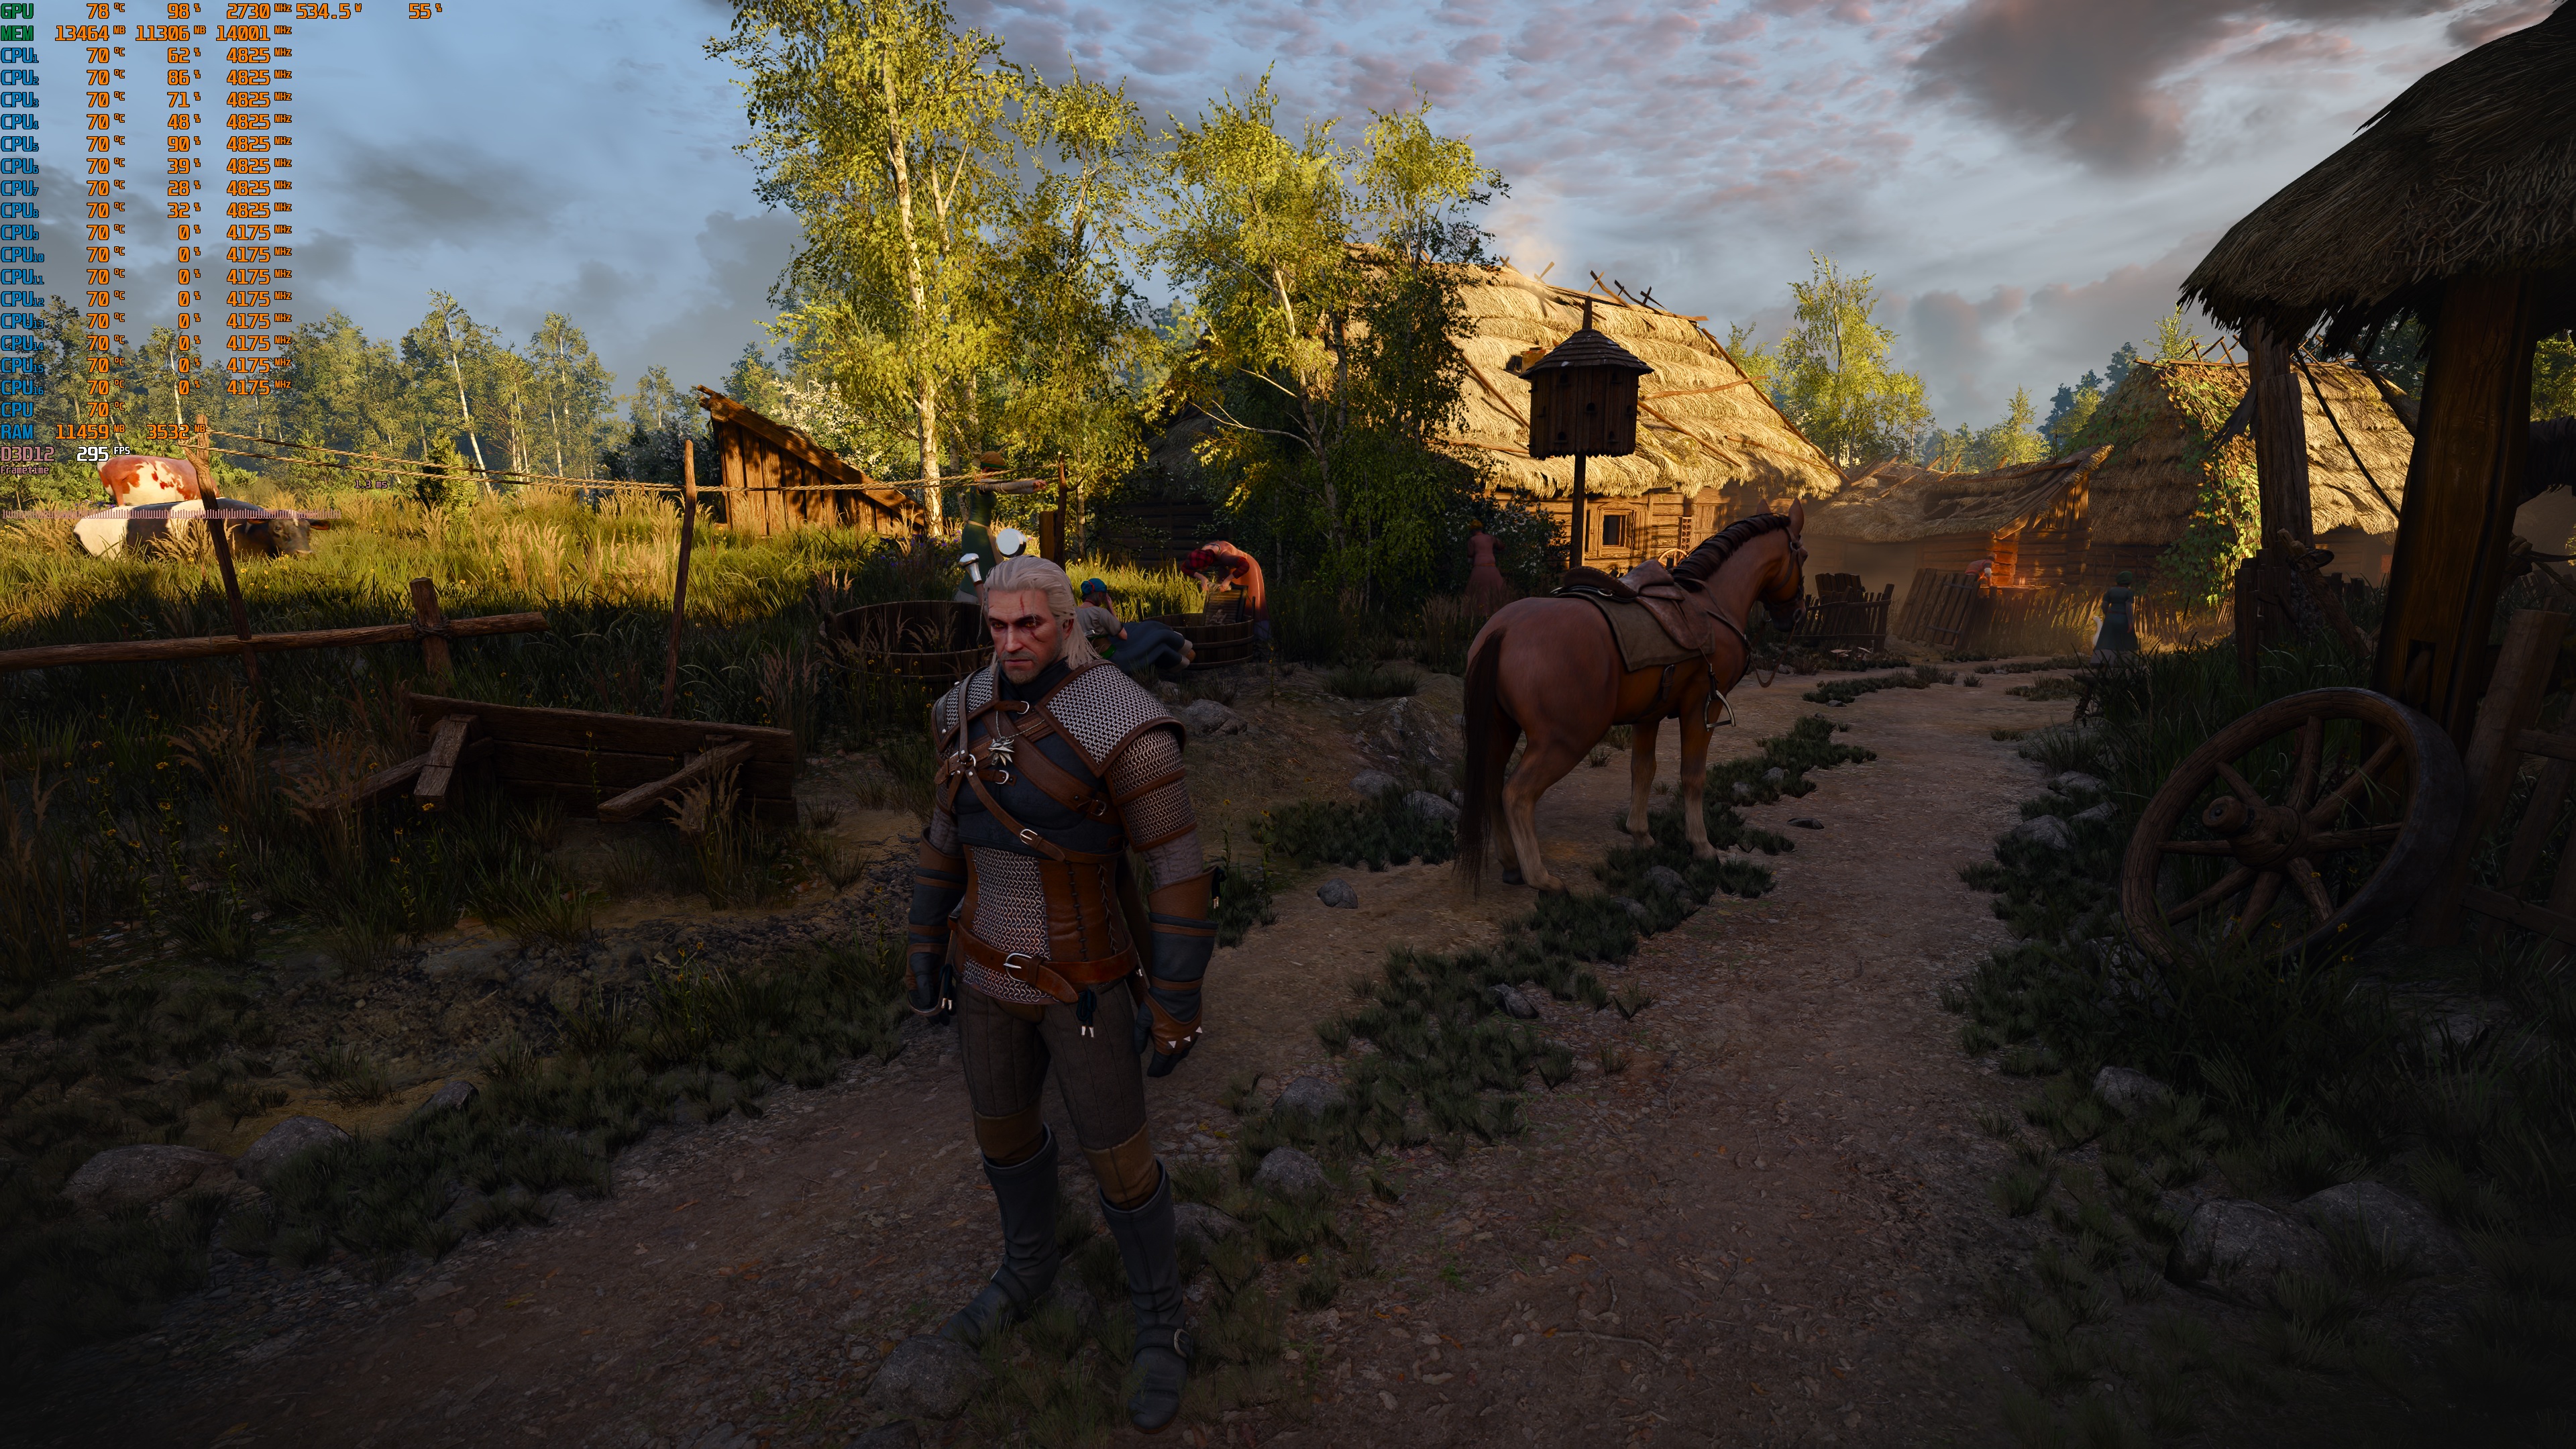
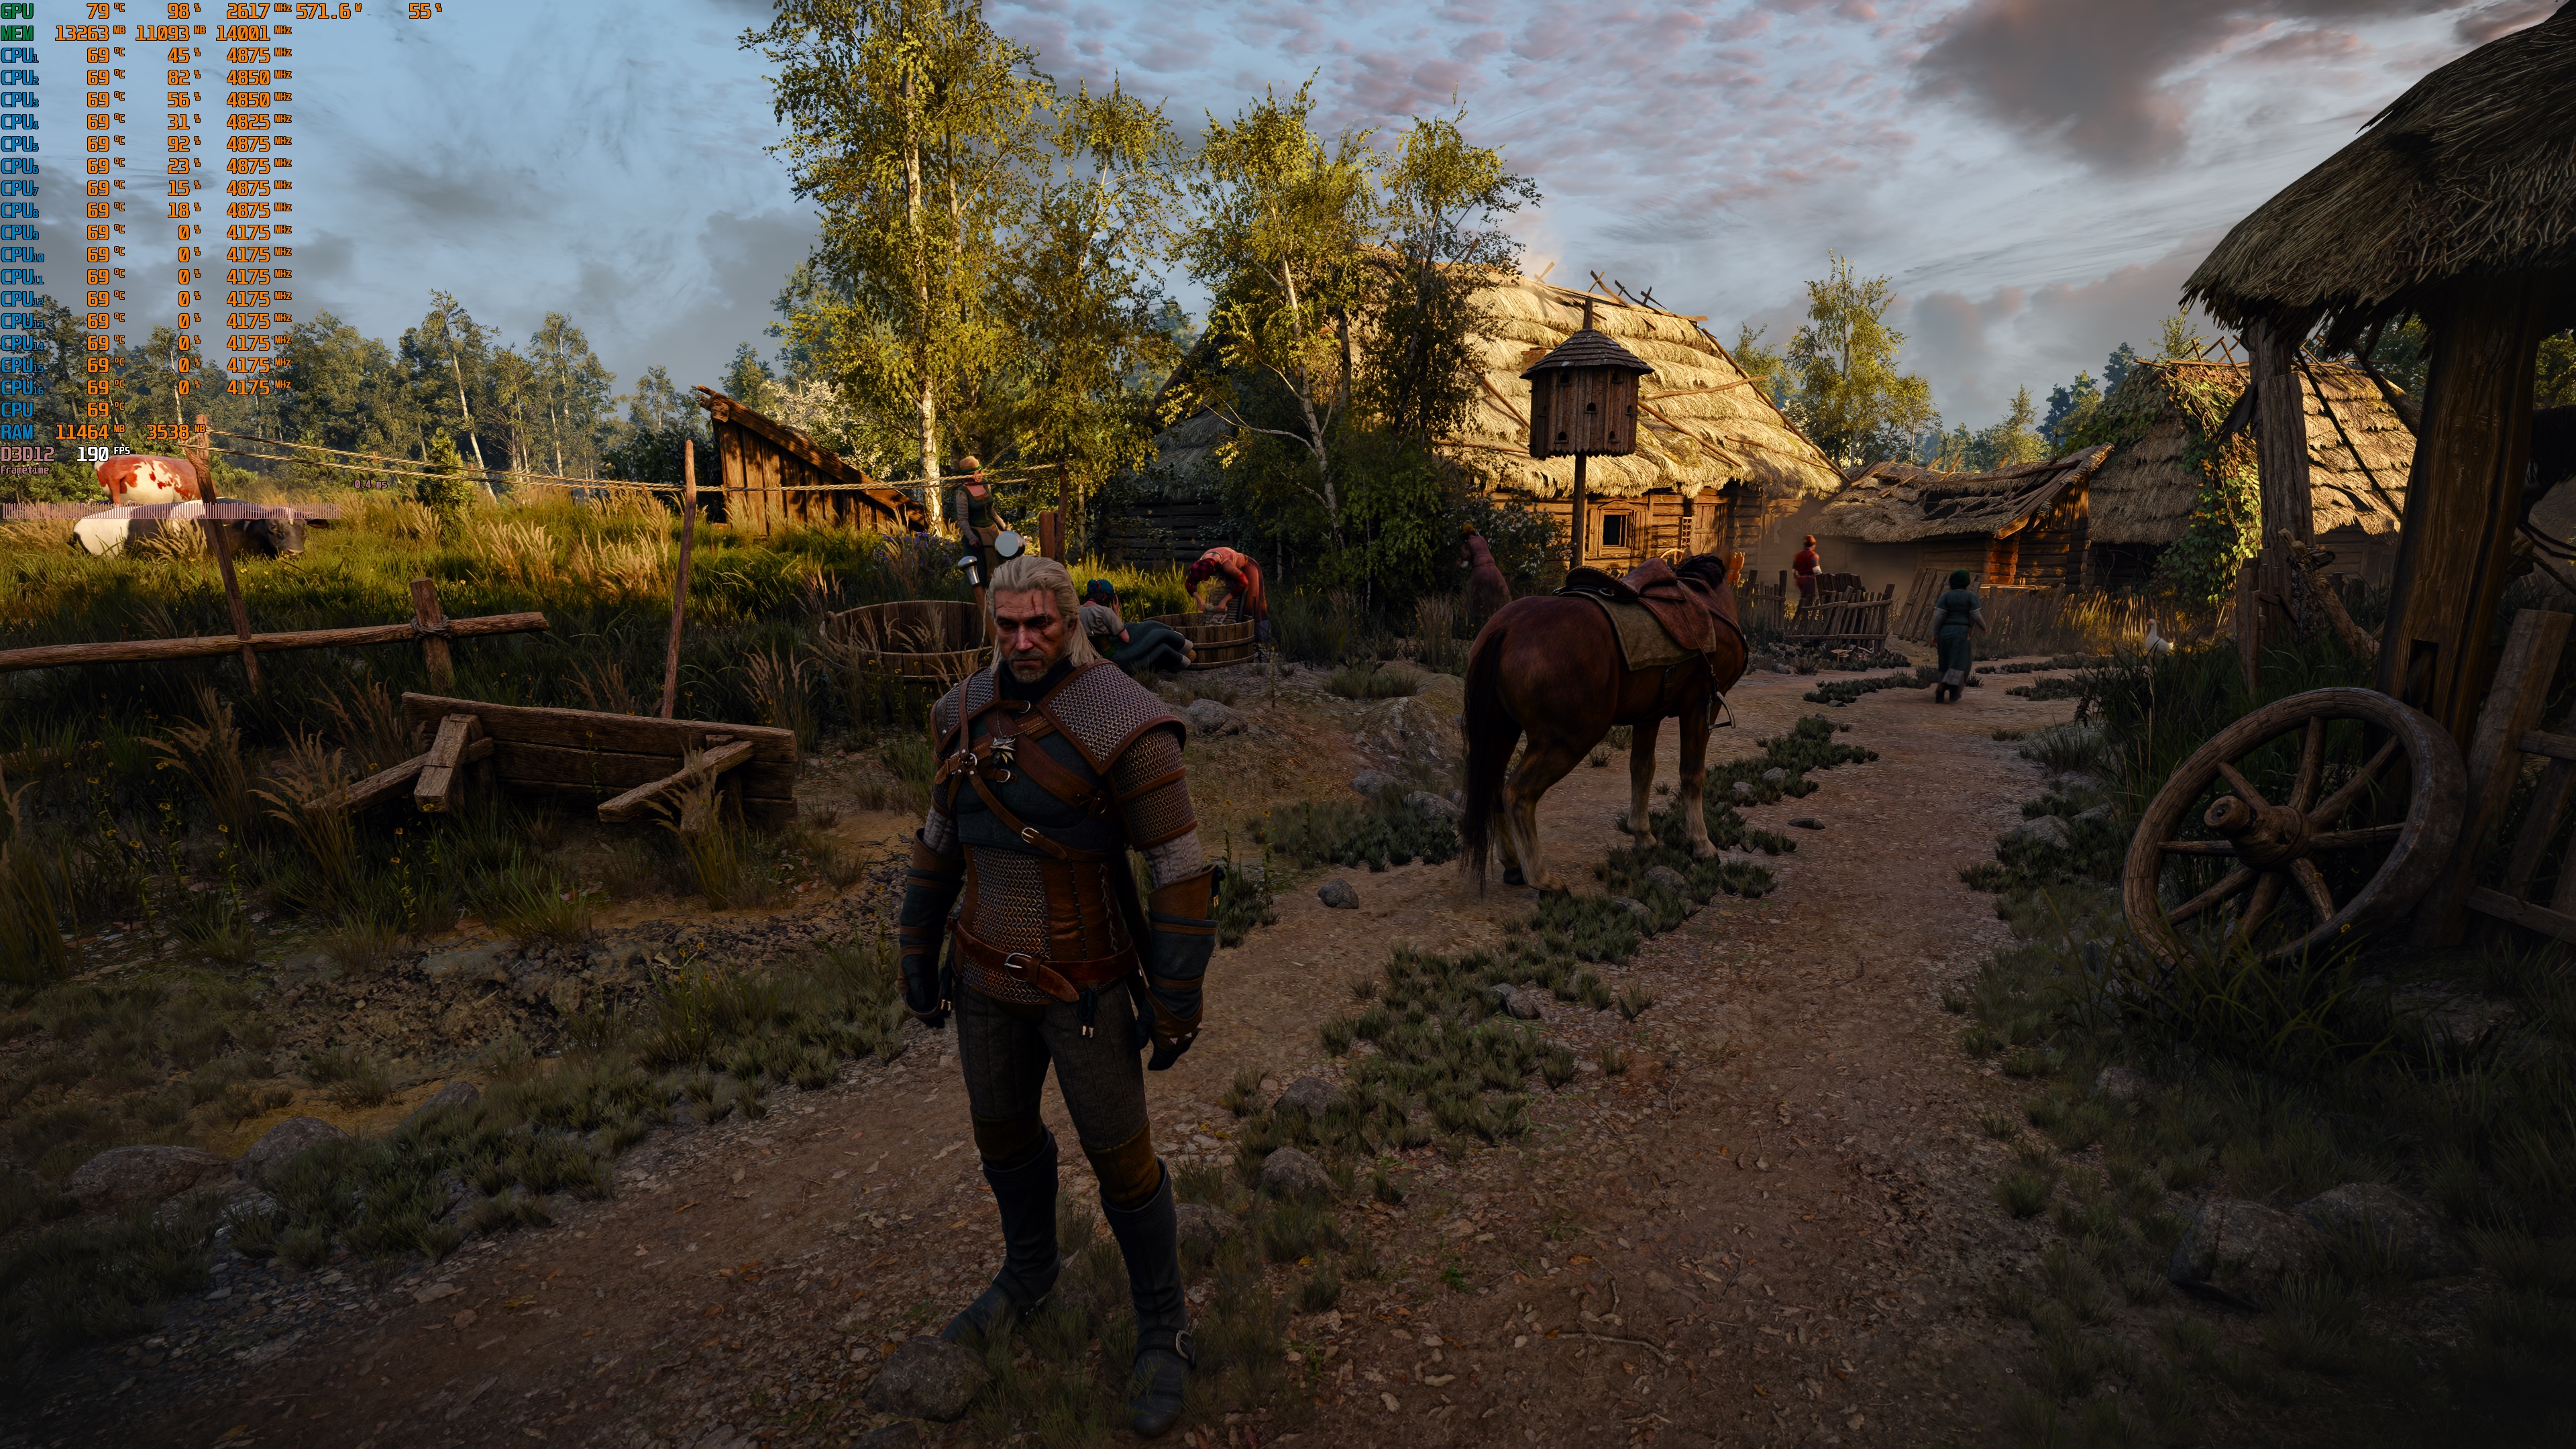
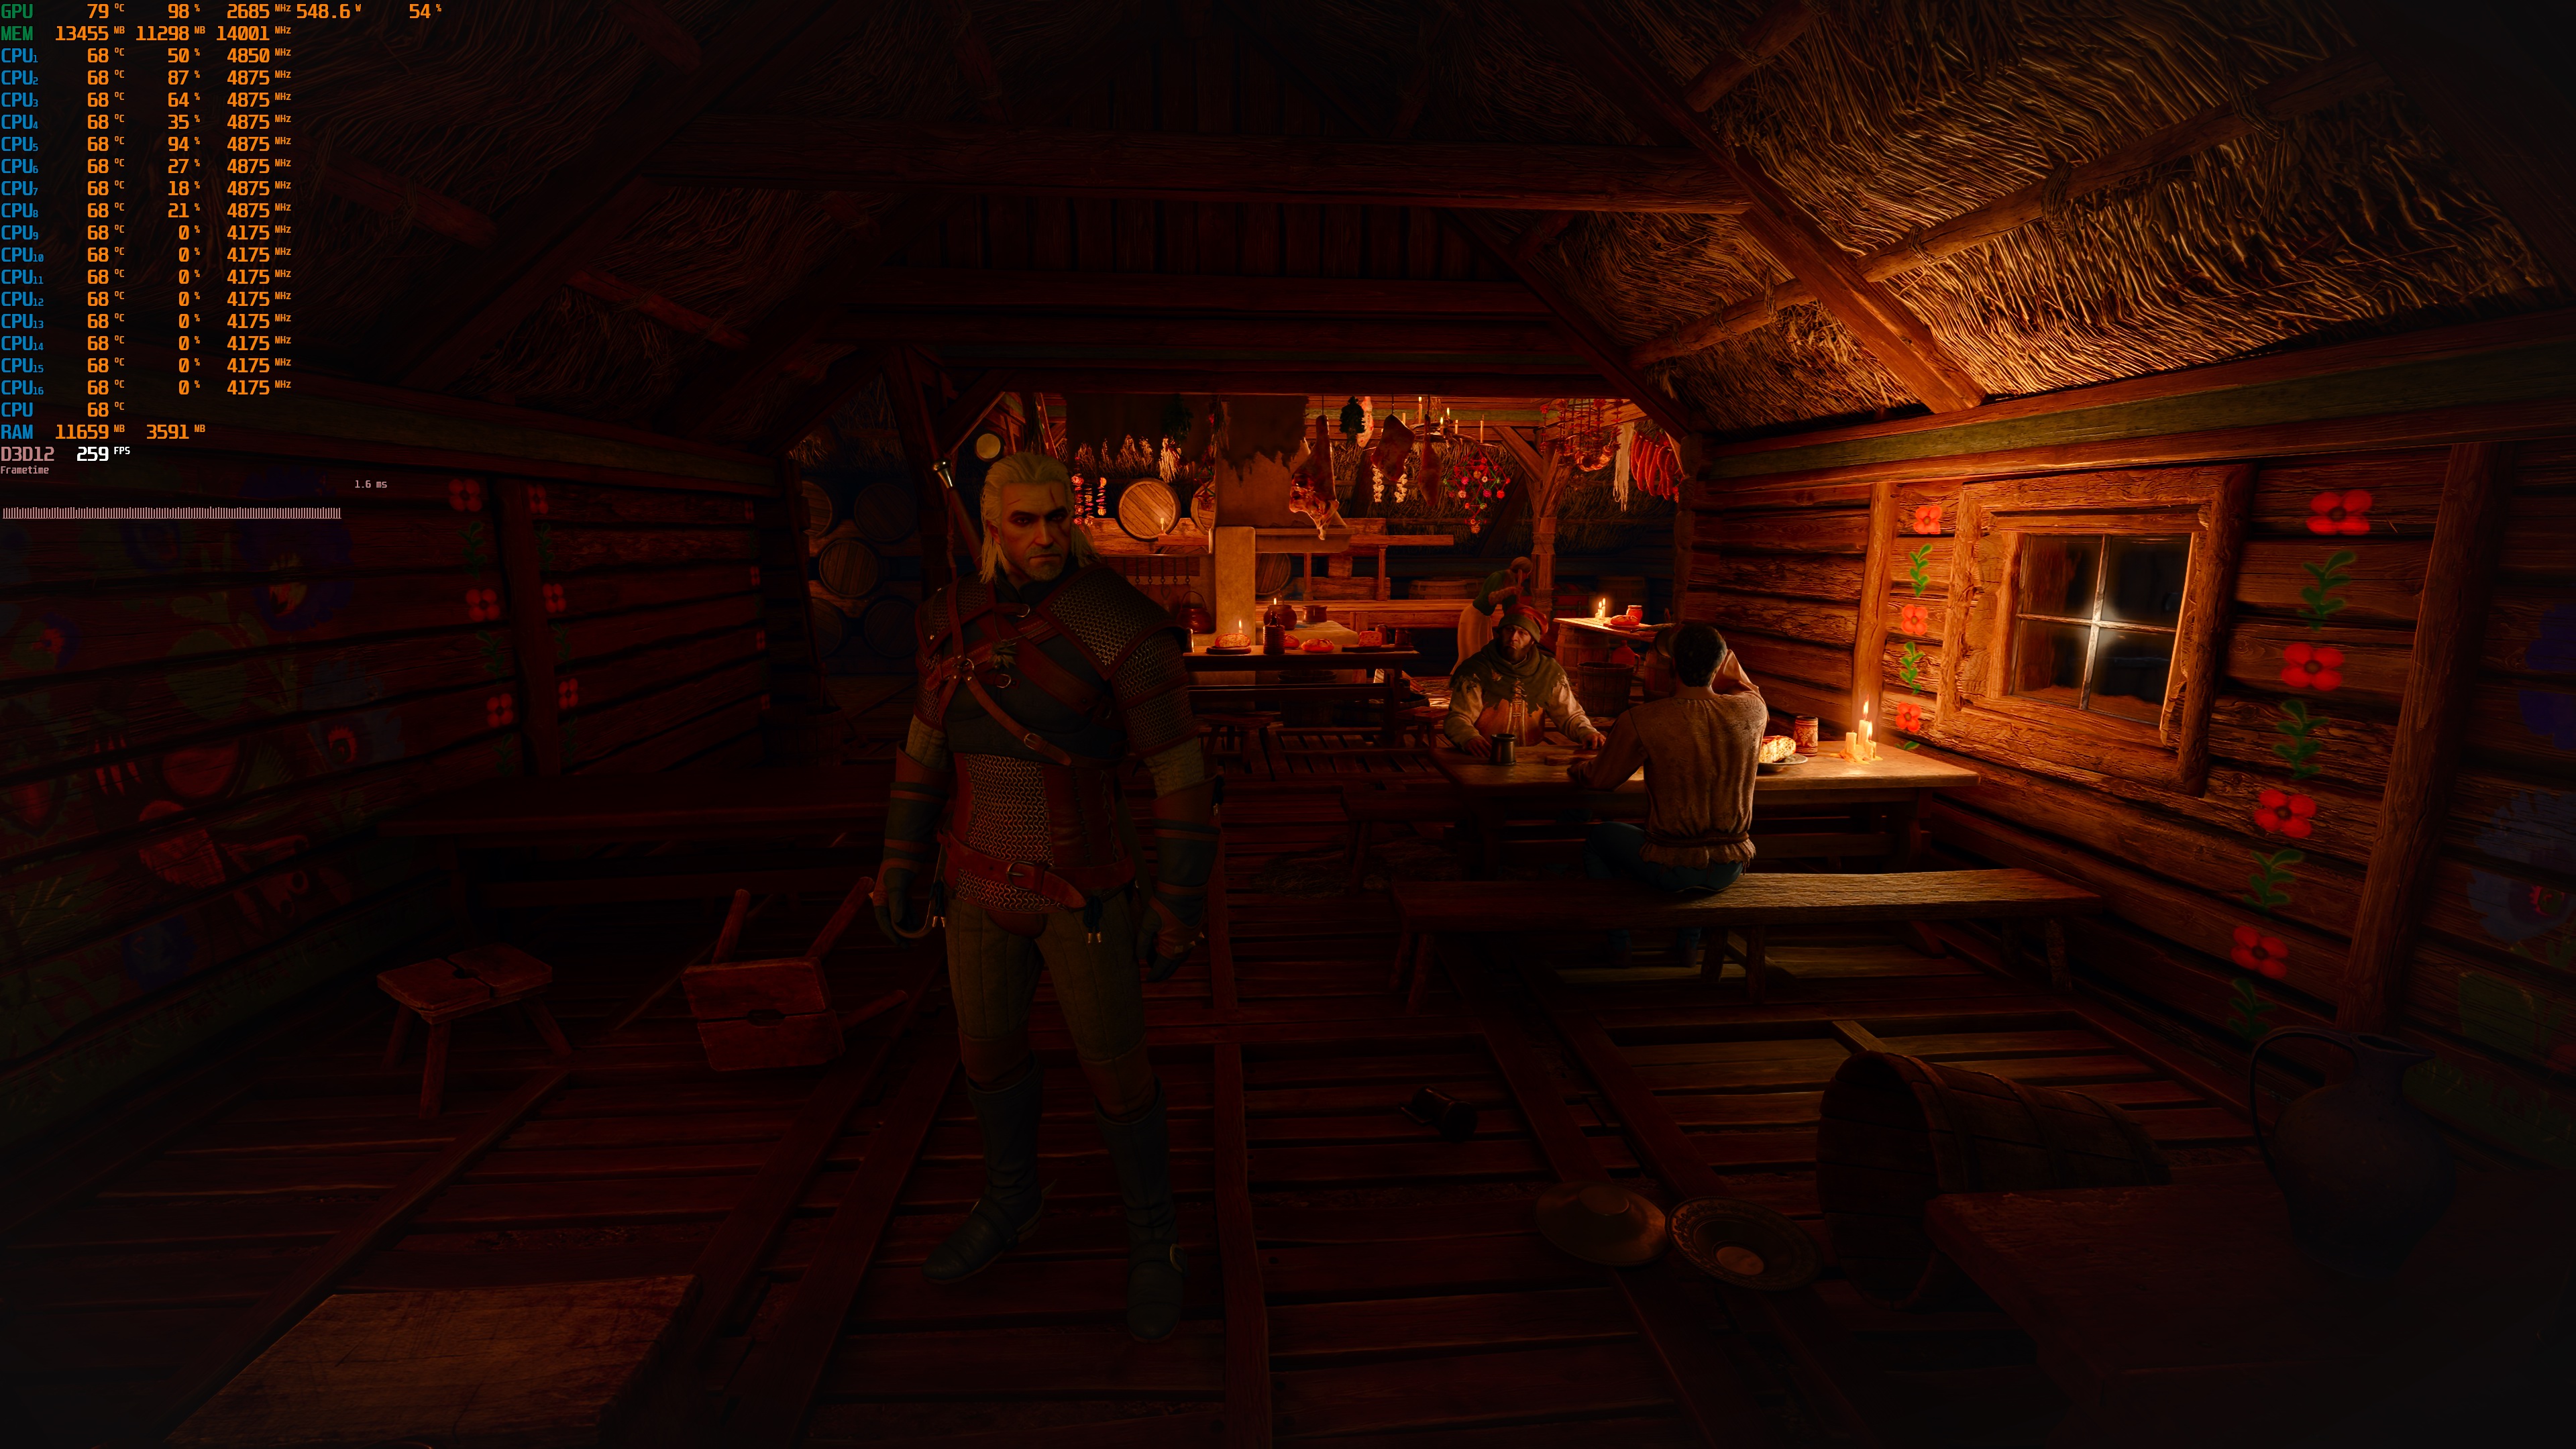
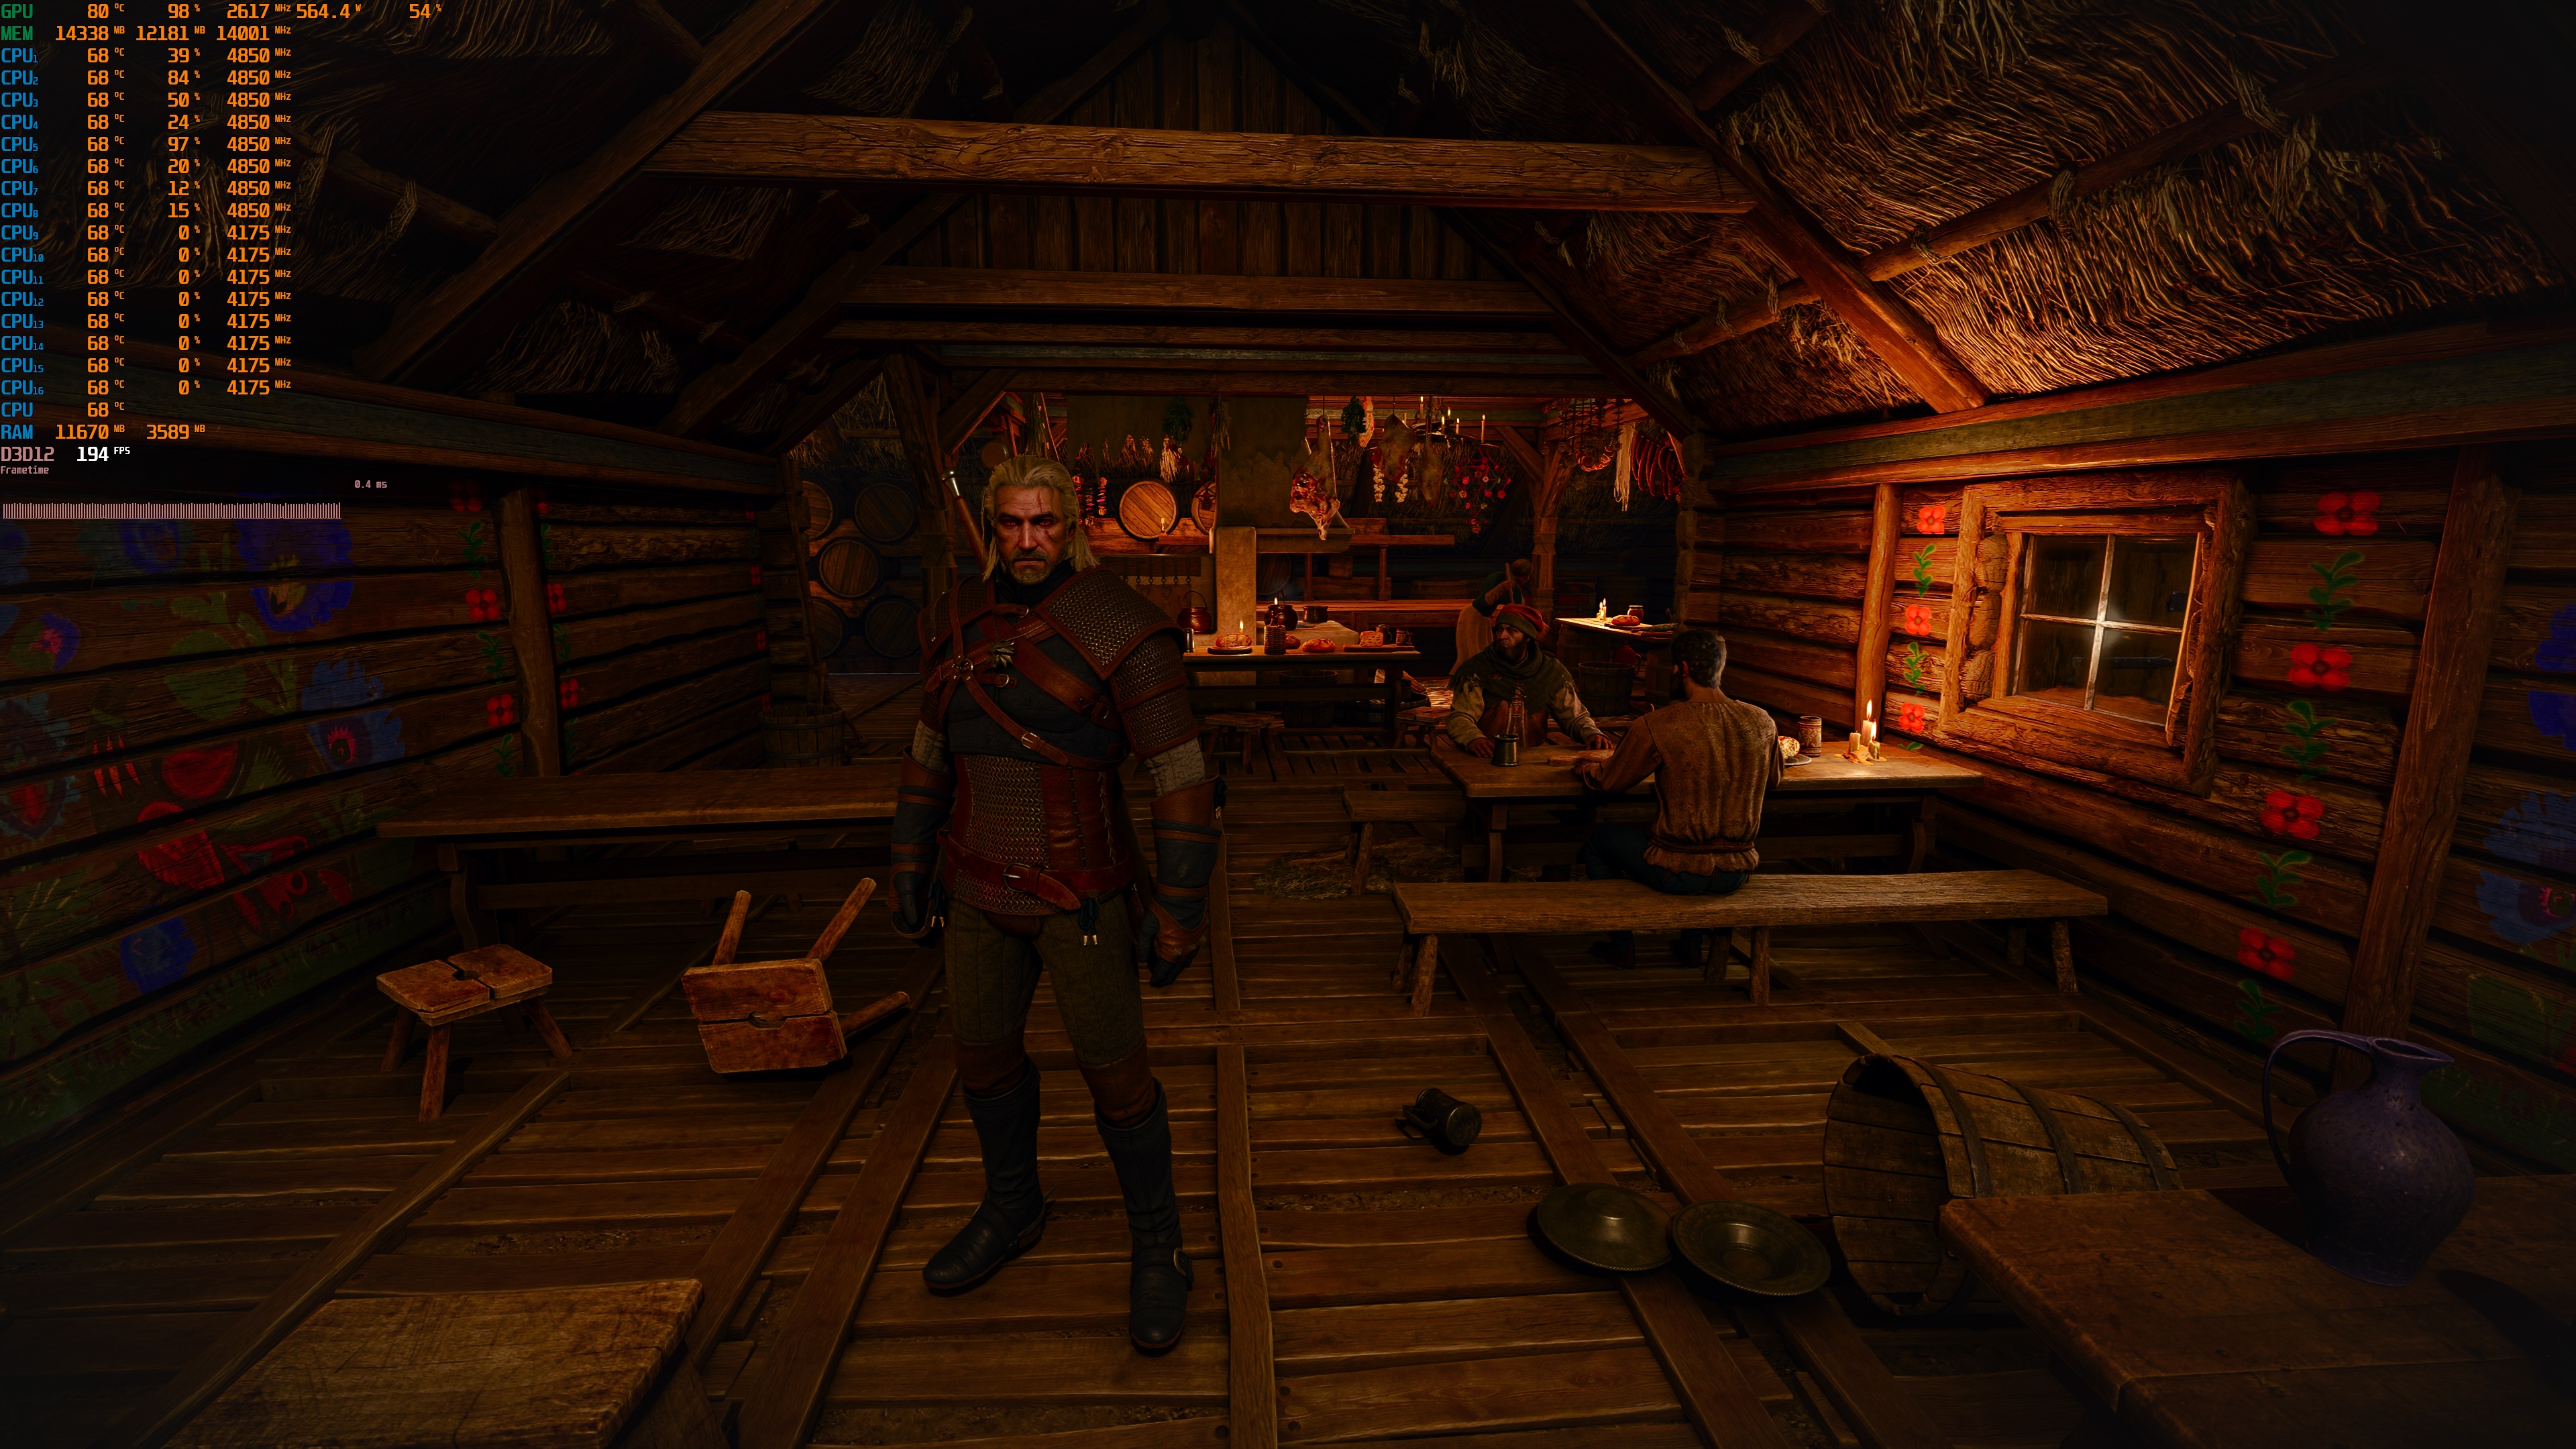
DLSS 5 greatly improves all of the game’s characters. They look more detailed than ever. At the same time, they do not have the uncanny look seen in some other DLSS 5 mods. This is often caused by using the highest settings. The environments also get a visual boost. Lighting, ambient occlusion, and shadows look better.
Take this scene as an example. Path Tracing is on the left, Ray Tracing with DLSS 5 is in the middle, and Ray Tracing Ultra is on the right. With Ray Tracing, the scene does not look very good. DLSS 5 does a great job of getting closer to the Path Tracing look. It is not 100% accurate, but it looks much better than the default Ray Tracing version. When it comes to lighting, though, the Path Tracing version is still better.
So, does DLSS 5 close the gap between Ray Tracing and Path Tracing? It actually does. Thanks to it, the ray-traced version can have better characters. At the same time, its lighting can come close to the path-traced version.
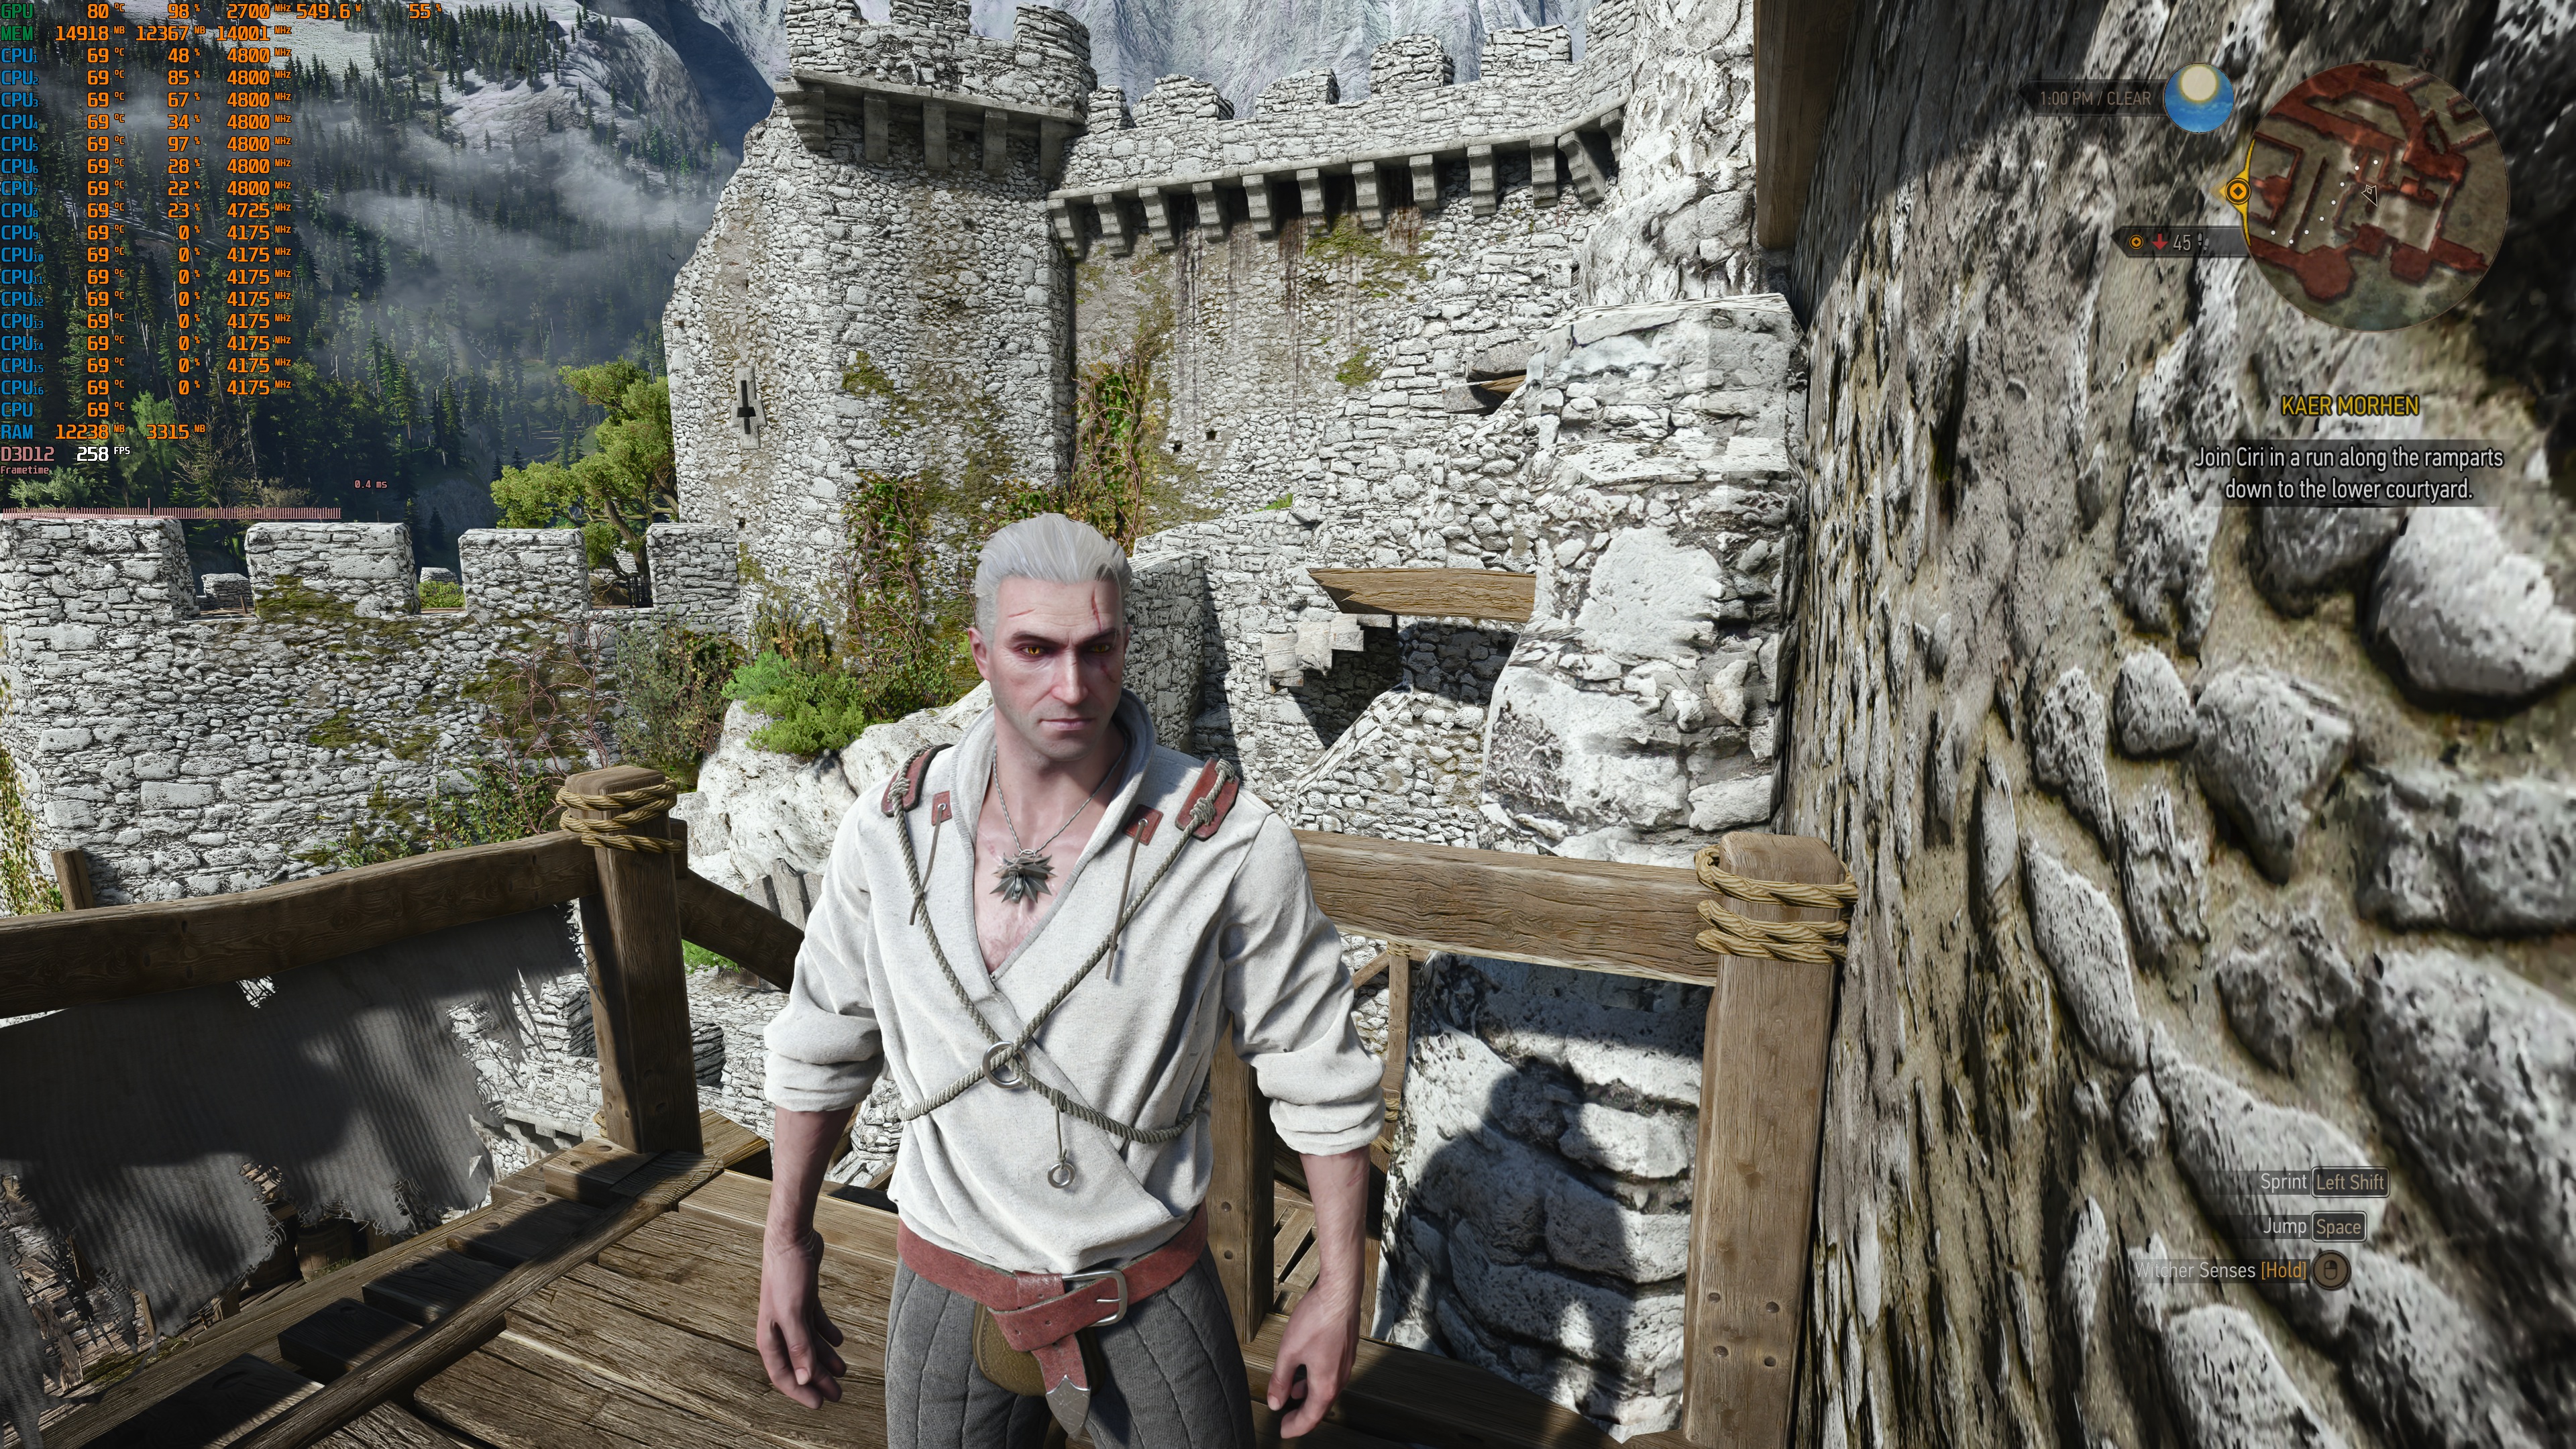
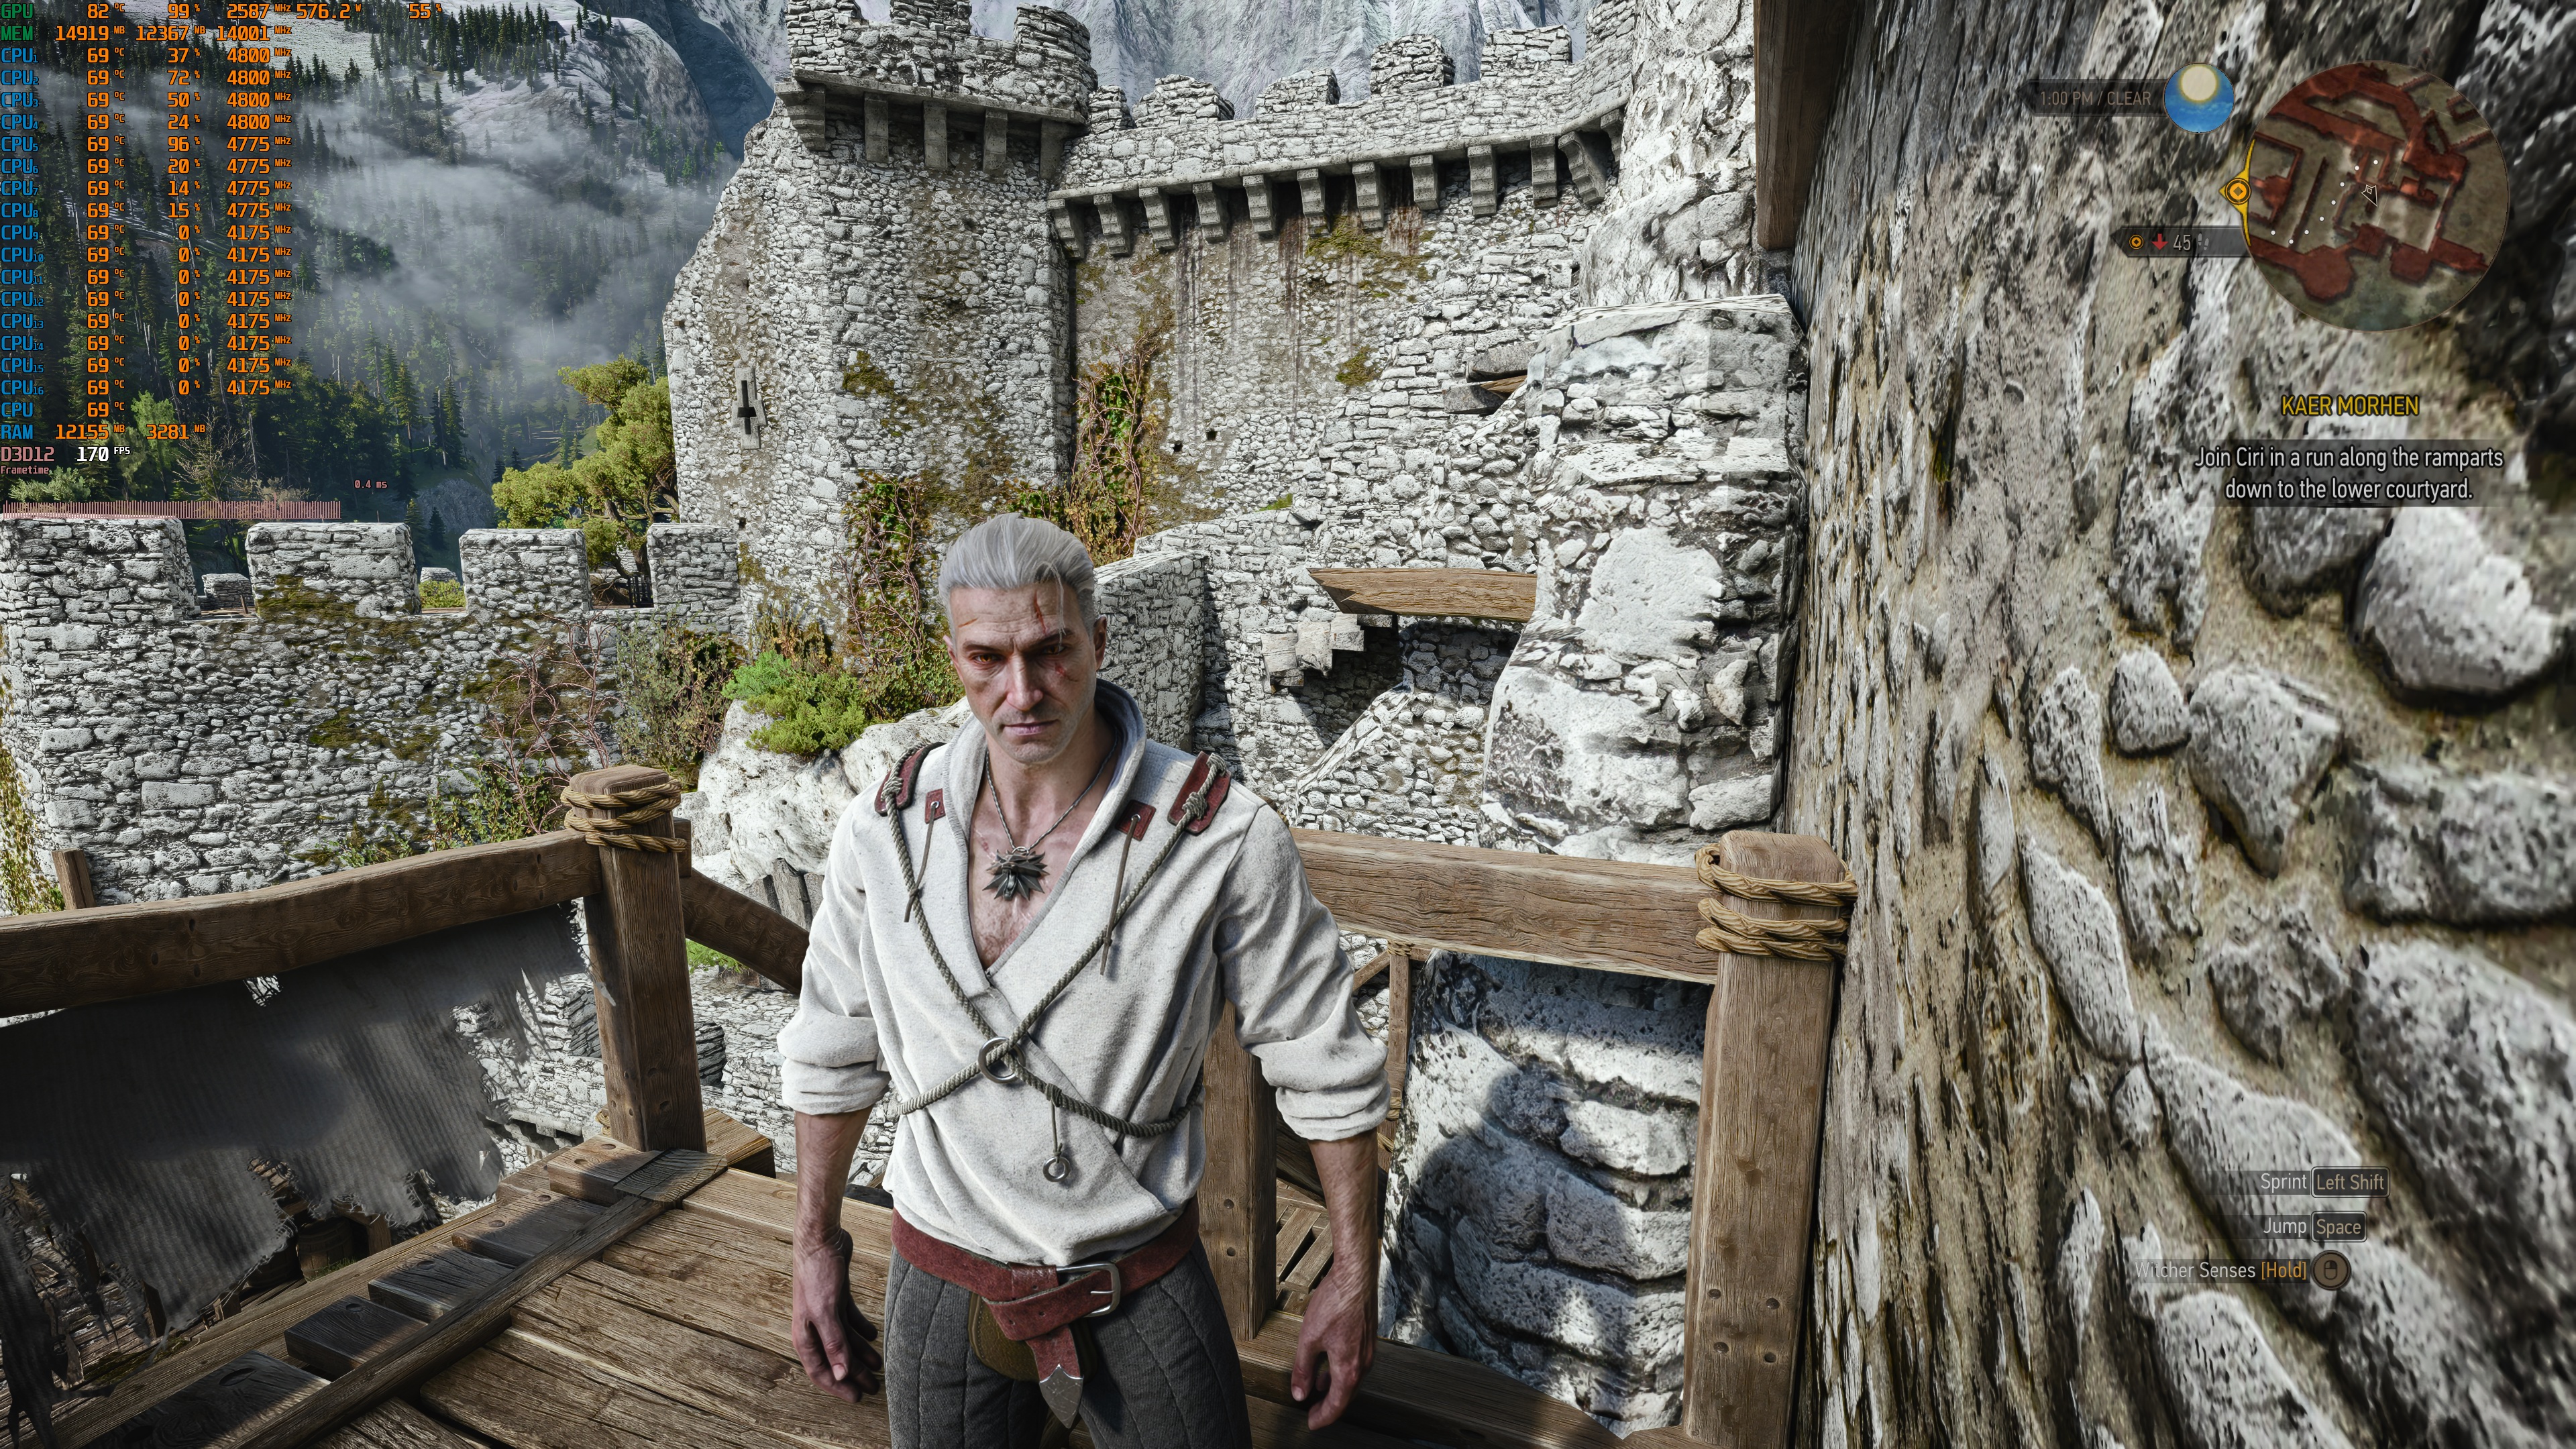
But what about performance? DLSS 5 seems to be more demanding than Path Tracing. In all of my tests, Ray Tracing with DLSS 5 ran slower than the default Path Tracing mode. I have also included performance stats in the screenshots above. As such, you can see how much of a performance hit you can expect when using DLSS 5.
Without Frame Gen, the game was running at 55-57FPS at 4K/Ultra+ with DLSS 4.5 Performance Mode. That was on the NVIDIA RTX 5090. On the NVIDIA RTX 5080, I had to drop my resolution to 1440p.
Ideally, you’d want to use DLSS 5 with Path Tracing. This is the best way to experience The Witcher 3 Remastered, and it is possible on the NVIDIA RTX 5090. At 4K/Ultra+ Settings with DLSS Performance Mode, I was getting 45-49 FPS. So, basically, there is only a 10FPS hit between Ray Tracing with DLSS 5 and Path Tracing with DLSS 5.
45 FPS is a healthy baseline framerate for using DLSS 4.5 Multi Frame Gen. With that baseline, most of you won’t notice any major input lag issues. So, with DLSS 4.5 MFG X4, I was able to get a really smooth gaming experience.
All in all, The Witcher 3 Remastered looks amazing with DLSS 5. I would not call it next-gen, though. And look, I know you can get more impressive results by heavily tweaking the settings.
However, these extreme settings will only look great in some scenes, and they will look worse in others. You will also get a lot of artifacts and white lines. So, these extreme settings are only useful for taking screenshots. For gaming, they are completely useless.
The settings I used above gave me more consistent results across the game, without any visual artifacts. As such, you will not have to change the settings each time you enter a new area. They also work well indoors, in castles, and at different times of day.
Enjoy!

John is the founder and Editor in Chief at DSOGaming. He is a PC gaming fan and highly supports the modding and indie communities. Before creating DSOGaming, John worked on numerous gaming websites. While he is a die-hard PC gamer, his gaming roots can be found on consoles. John loved – and still does – the 16-bit consoles, and considers SNES to be one of the best consoles. Still, the PC platform won him over consoles. That was mainly due to 3DFX and its iconic dedicated 3D accelerator graphics card, Voodoo 2. John has also written a higher degree thesis on the “The Evolution of PC graphics cards.”
Contact: Email